|
Advertisement / Annons: |
Tutorial AstroImageJ:
|
Content:
Note: |
2, Test patternsLong time ago since I looked at this. Star pattern, 3x3 mosaic:What I do here is to find my optics distortion. To examine that I need some sort of test pattern. In the introduction I mentioned the plugin Distortion correction. That plugin use a 3x3 mosaic with 50% overlap as reference. When in learning process and testing it's easier to have some more control. I did a random picture of stars. There are also nine ref points in the image. That's where the camera lens' optical axis shall point and with the edges just reach the surrounding reference points. Then you get nine photos in a 3x3 mosaic with 50% overlap. 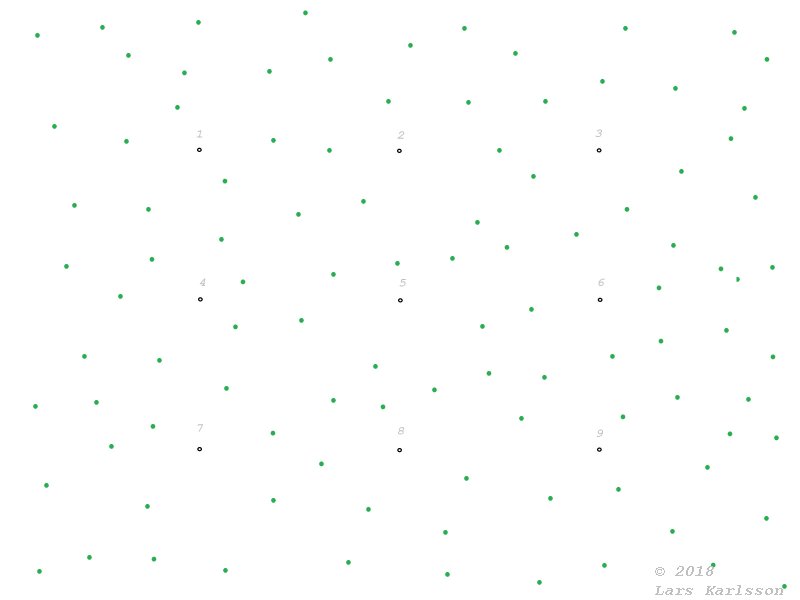
The green dots is the random stars. The black numbered rings is the centers for each sub photo. If you find the test pattern useful you can download it at the bottom of this page. 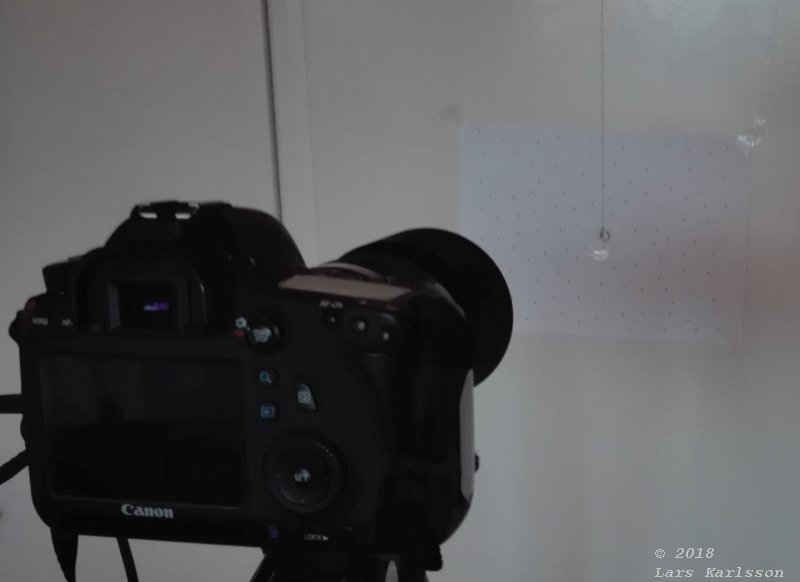
Camera setup, note: this is not at infinity distance and then the distortion is somewhat different. It's very important to have the cameras optical axis exact orthogonal (90 degree) against the test pattern. 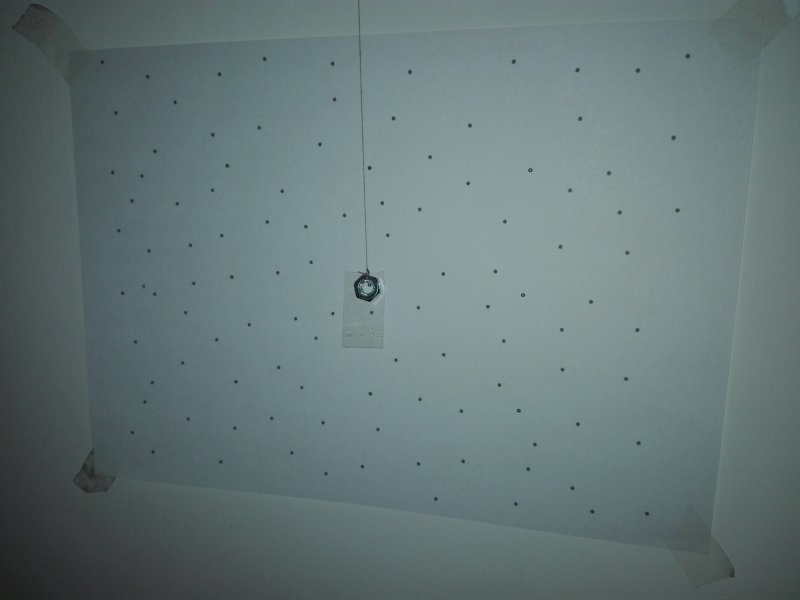
I set a mark where the center point no 5 is and adjust the camera orientation and exposure after this. 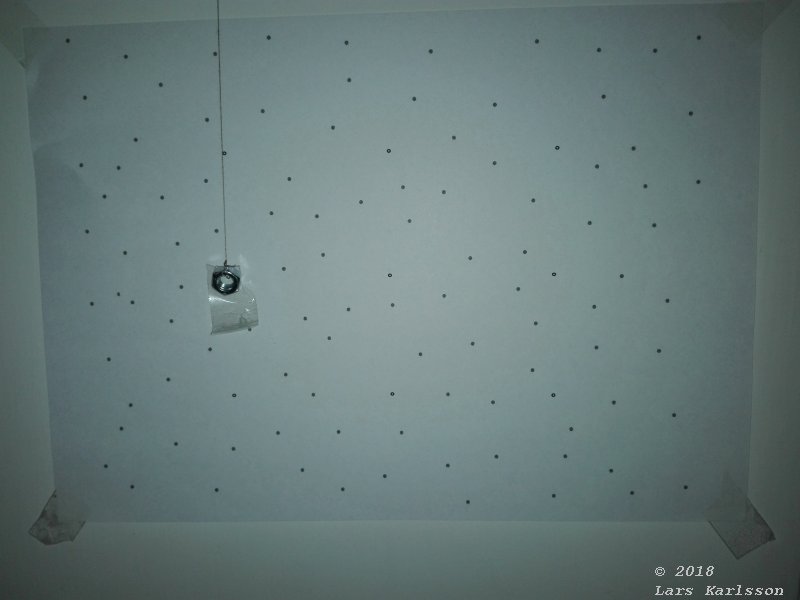
Because it's complicated to move the camera without tilt it I instead move the test pattern. Here the pattern is moved to have point no 4 at the optical axis. 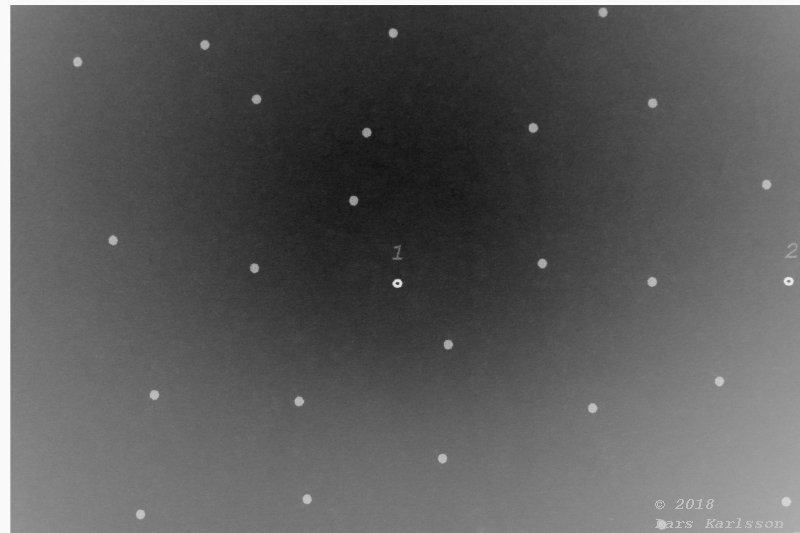
First photo centered at point no 1. I inverted the photo before to make it have a more star look. Better test then if the software can recognize the "stars". 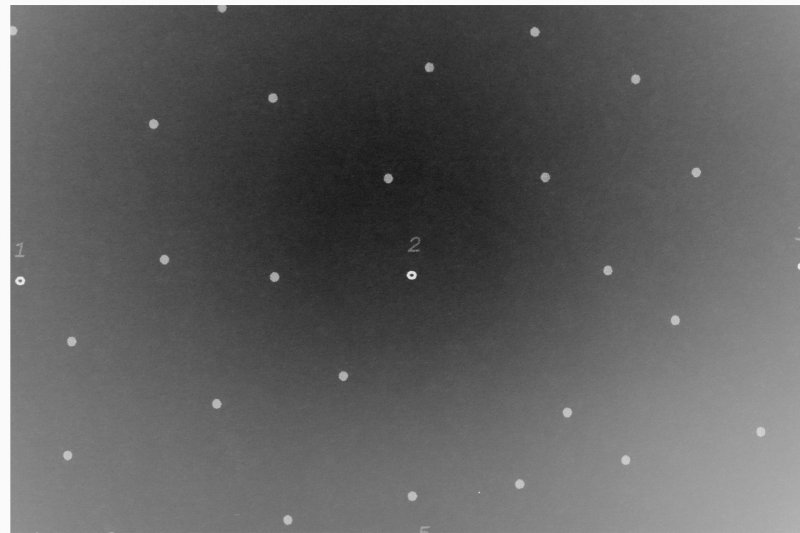
Second photo centered at point no 2. Then I continue until I have all the nine photos in the 3x3 mosaic. 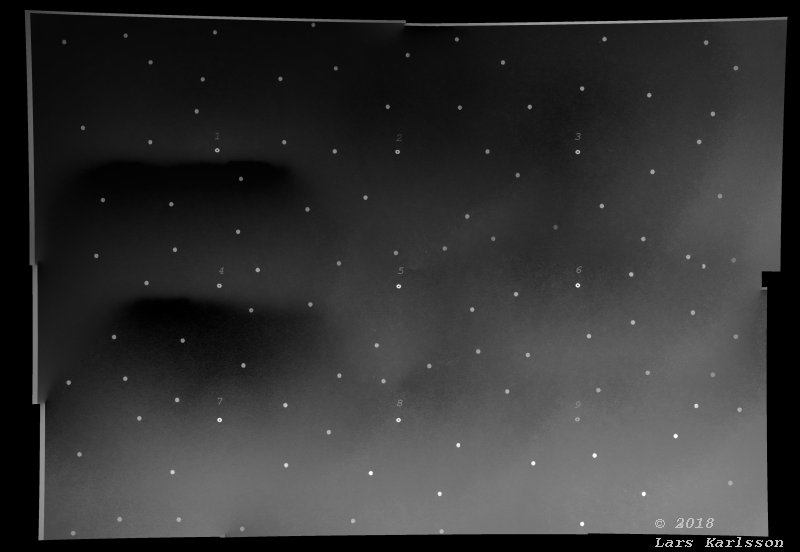
I had problems to get the Distortion correction plugin to work, instead I used the Hugin software which is free to download. It's clear that the optics had a barrel distortion before it was corrected. Now when I have done this I can from Hugin get the distortion parameters. 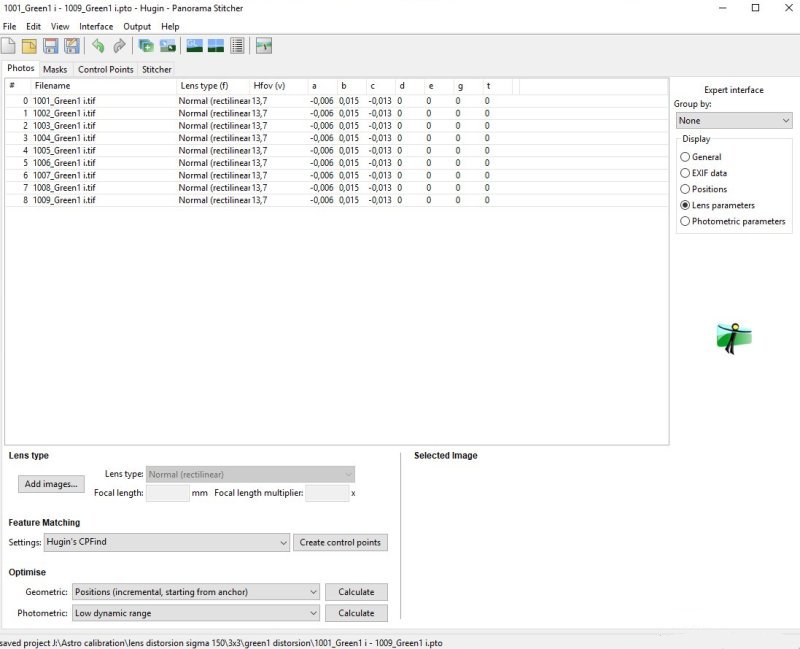
If I interpreted the parameters correct it's maybe like this:
If I'm correct the Distortion correction plugin to ImageJ only have two parameters, K1 and K2, corresponding to the r2 and r4 term. After reading at the Wikipedia page from the link (see page 1) I now know the distortion are most from quadratic distortion, degree 2 and 4.
Note: Diagonal pattern:This was very time consuming to do, I later found an alternative way to do it.
If I adapt this to a more astronomical view. I get this test pattern based on above ideas to use with Hugin software. 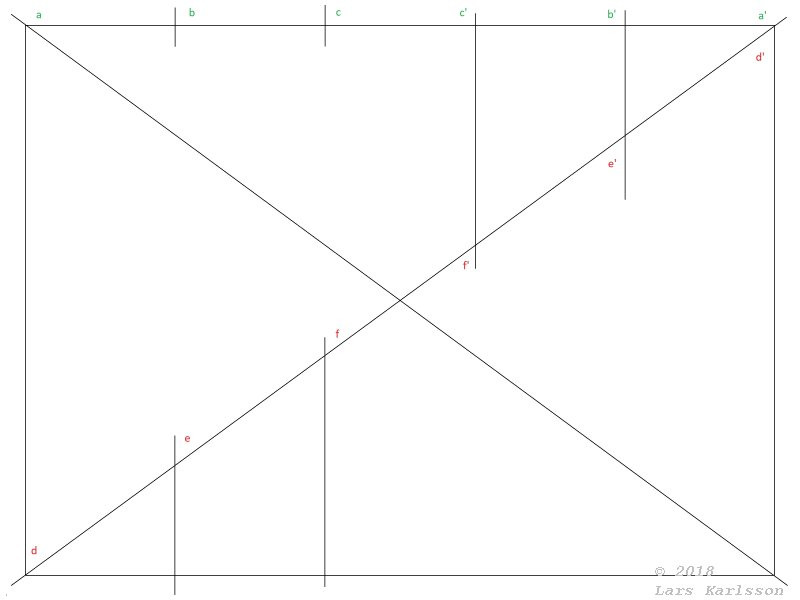
The diagonal test pattern I have self made. Each line should start and end at a to a', b to b' and so on. 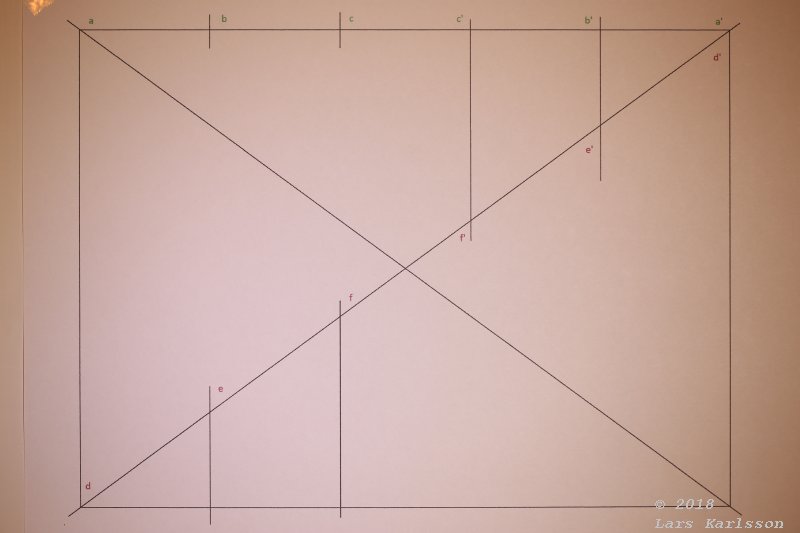
One big advance, I only need one test image. But there are no lines in the sky, maybe a faraway rectangular building could be used in real calibration later. 
Something went wrong, the correction parameters are too big and do over corrections. 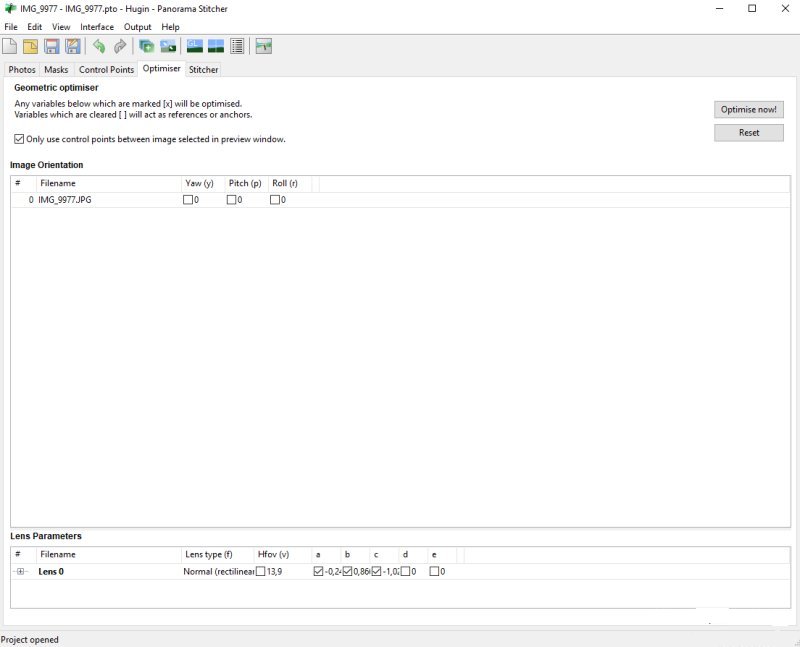
From Hugin I get the values of the parameters, I also got a warning that they were to big. Comparing the results:To get it more visual I have put the parameters in a table.
At the moment I'm not sure why I got this different results. All images are from raw format and then converted to 16 bit TIFF format which Hugin can work with. Now I have a lot of things to think about. At least I got my lens distortion parameters, now I need them for infinity distance. There is one thing more. These corrections include that the optical distortion center is at center of the sensor. If it not the case a more correct equation shall be more like this:
This was simplified, see the Wikipedia link at page no 1 for the details. If distortion is not rotation symmetric, maybe because of bad aligned optics then this equation doesn't work in this simple form. Download test patterns (zip file):Here are my test patterns if you find it interesting, you download them at your own risk. But it's just two jpg files:
|
||||||||||||||||||||||||||||
|