Astrofriend's homepage

www.astrofriend.eu
Share: Twitter Reddit Facebook Gmail Gmail Email
Search Astrofriend's homepage:

Valid CSS!

All pages shall now have been validated

Info Cookies (Kakor) / GDPR

Navigation

Advertisement /
Annons:

Twitter @AstrofriendLars

Follow Astrofriend

Tutorial News

Advertisement /
Annons:

Advertisement / Annons:

3D CAD drawing:
Temperature sensor holder


Contents:

  1. Making of the CAD drawing
  2. 3D-printing the holder

Note:
I take no responsibility or liability for what are written here, you use the information at your own risk!


2, 3D-printing the holder:

Info:

This small device was easy to draw and shouldn't cause much trouble.


Slicing the drawing:

3D CAD: Making a temperature sensor holder

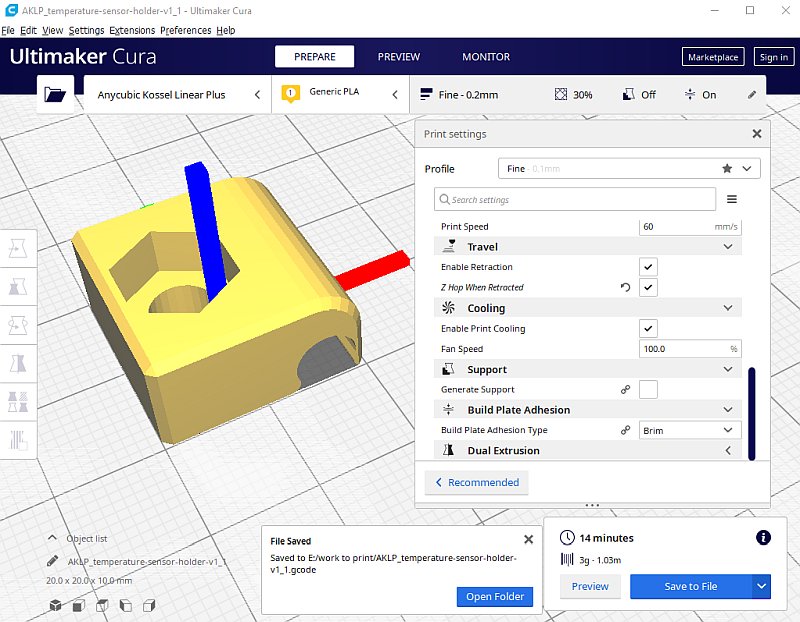
I have this orientation of it and hope to not have to add support to it, the hole to the sensor is critical. It's only a 14 minutes printing work.


3D-printing:

3D CAD: Making a temperature sensor holder

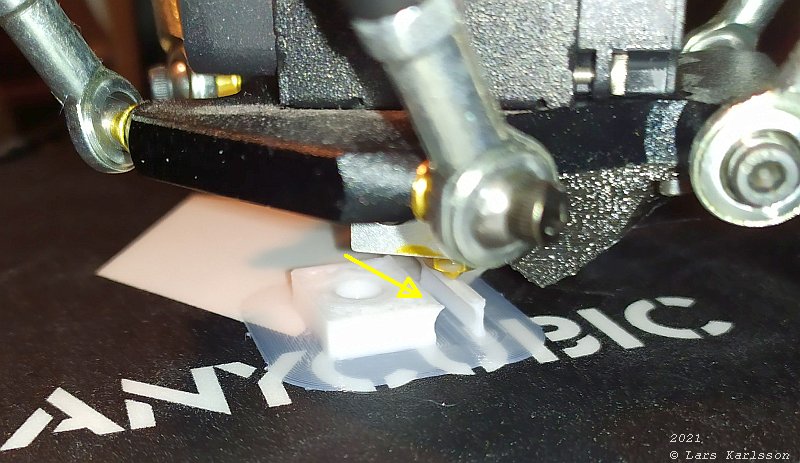
When the printer comes to the sensor hole, can it print the roof of the hole ? Yes it did.


3D CAD: Making a temperature sensor holder

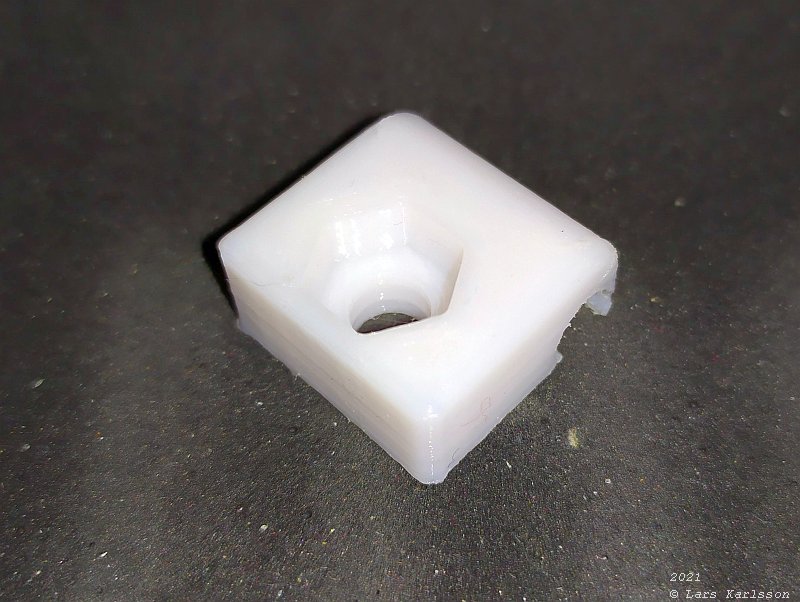
After 3D-printer has finished the printing, I clean all edges with a knife from plastic overhang.


3D CAD: Making a temperature sensor holder

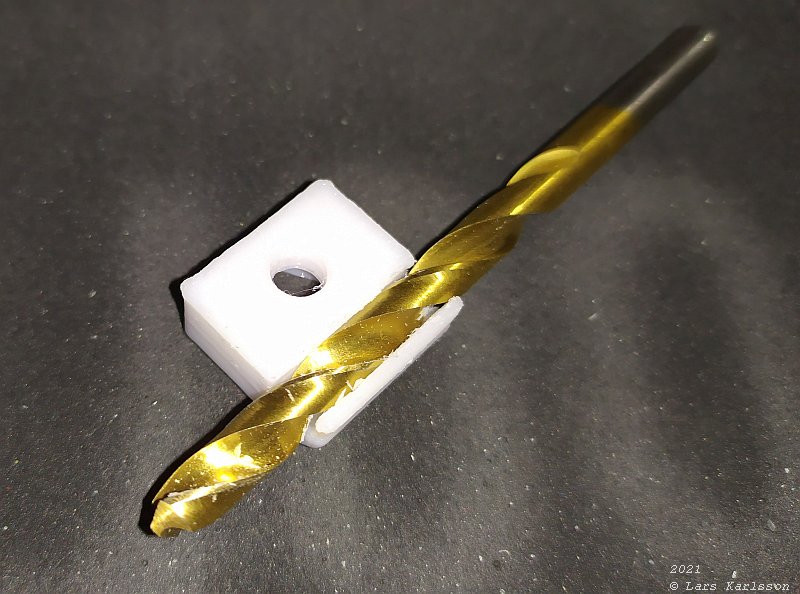
I use a 6 mm drill to get the holes clean.


3D CAD: Making a temperature sensor holder

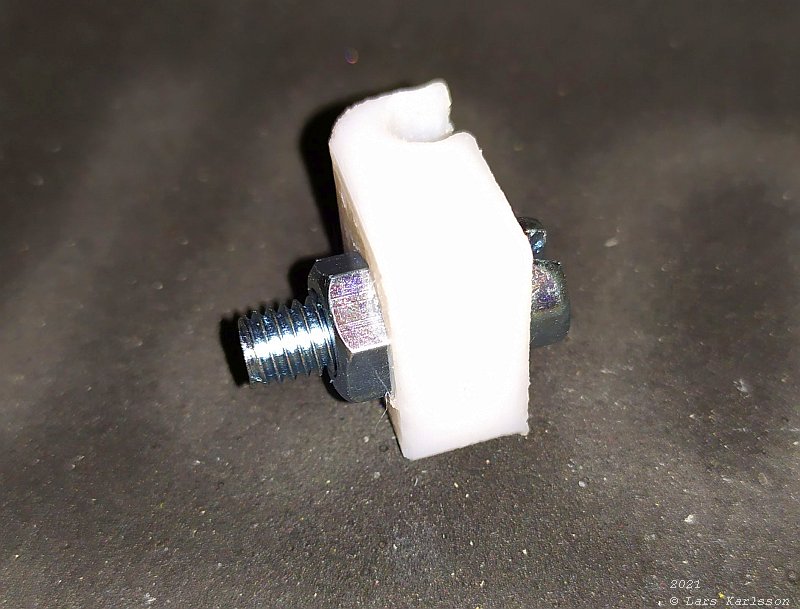
I press in the nut in its pocket with a long M6 screw, don't use a hammer.


3D CAD: Making a temperature sensor holder

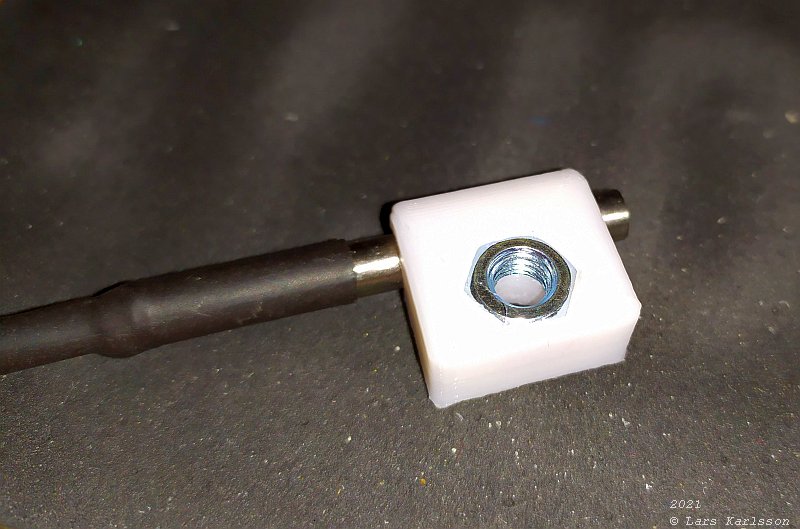
With the M6 nut and temperature sensor installed, so much better compare to use a stripe.


3D CAD: Making a temperature sensor holder

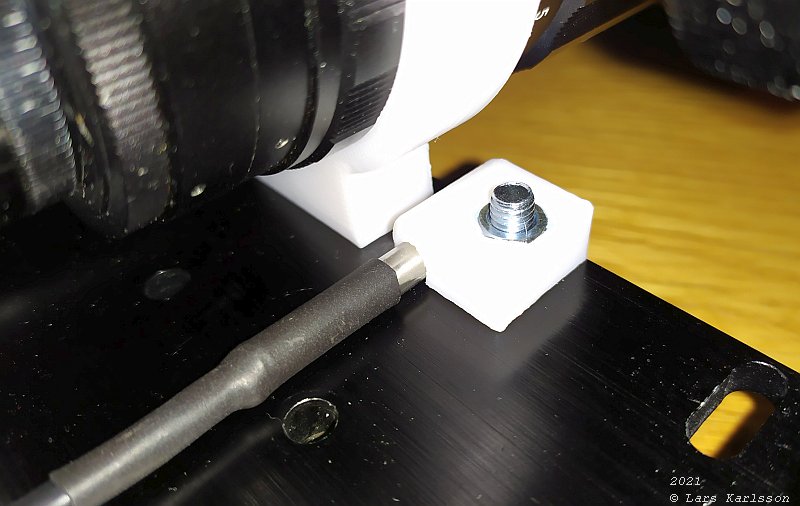
Mounted on the dovetail.


3D CAD: Making a temperature sensor holder

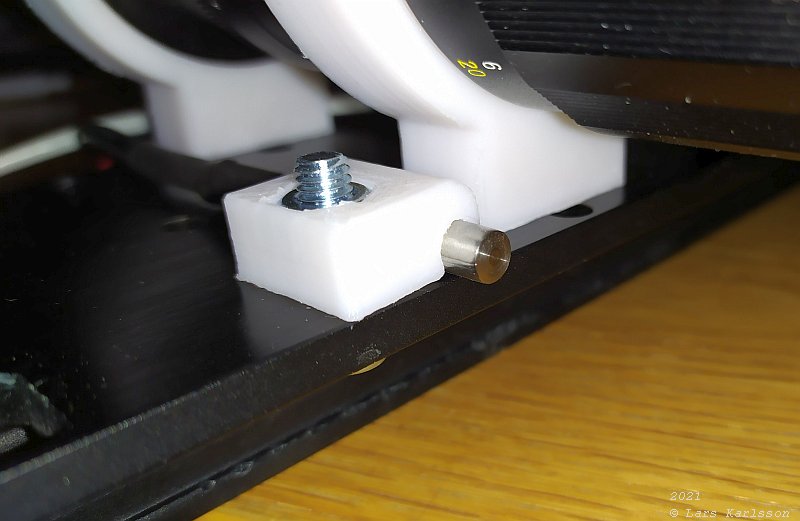
The sensor protrude 0.5 mm out from its holder and make good contact with the metal of the dovetail.

Go Back to content

Go Back

Advertisement / Annons: