|
Advertisement / Annons: |
3D CAD drawing:
|
Contents:
Note: |
1, making of the CAD drawing:Introduction:To most advanced motor focuser there is a temperature sensor. It send signal to the motor driver to automatic adjust the focus when the temperature changes. The focal length of the telescope / lens changes when the lens / mirror change temperature, and also the tube change its length. Both of these must be compensated for. The temperature sensor: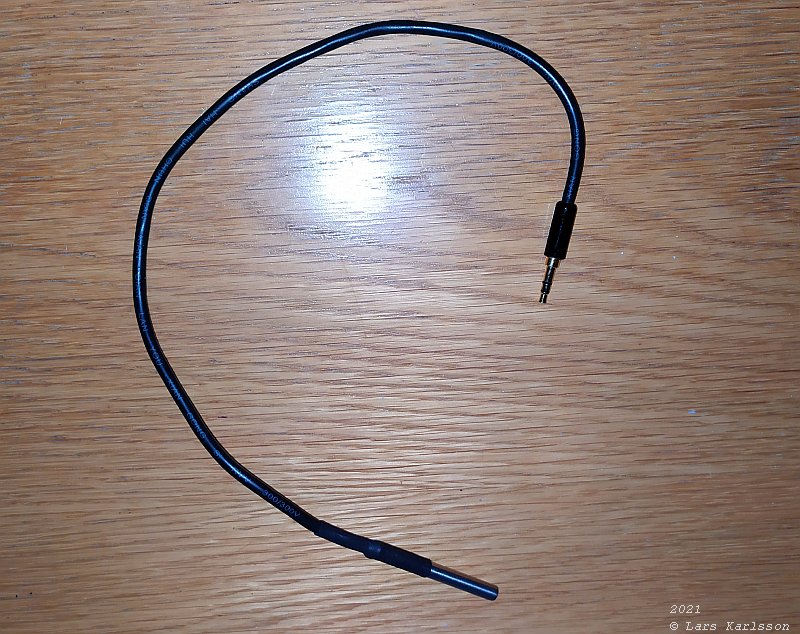
This is the temperature sensor that was included in the kit I bought, the USB-Focus. The sensor is inside the stainless metal tube at the tip, bottom. 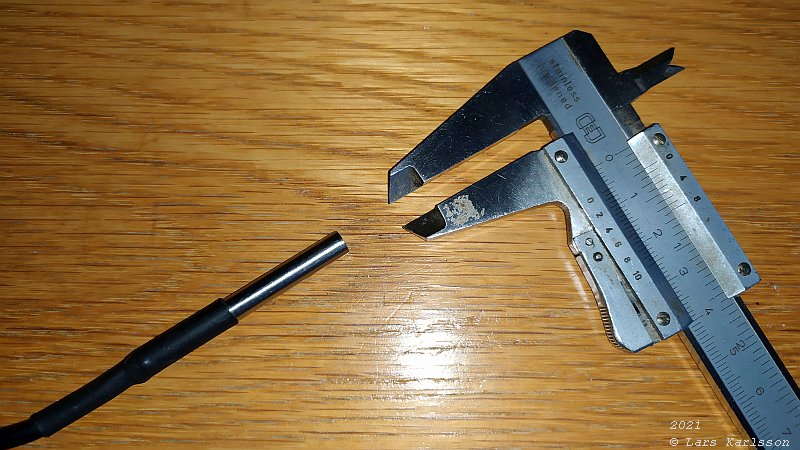
The cylinder has a diameter of 6 mm and the length is 29 mm. Making the drawing: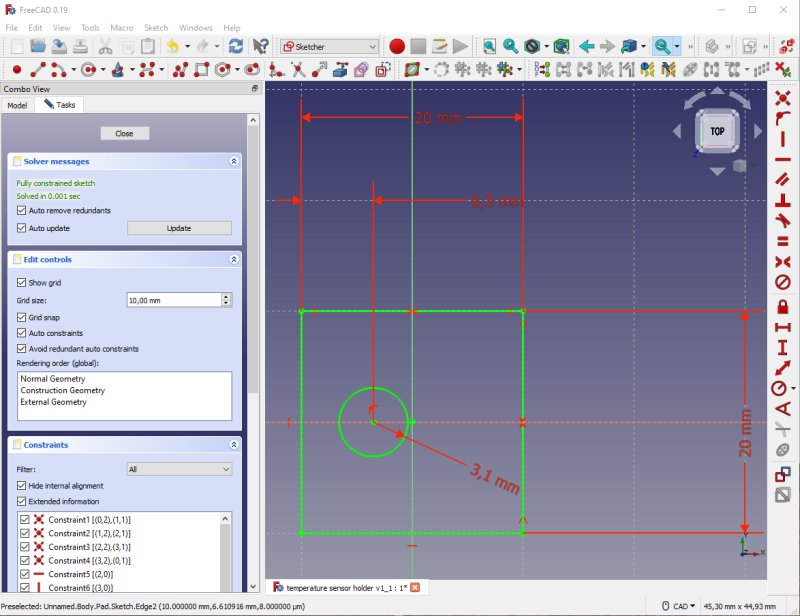
I start with the base of it, make it 20 mm by 20 mm. Make a hole for the M6 screw. It had been a bit difficult to attached it to the lens focuser direct. Instead I mount it on the dovetail and I will use the 6 mm elongated holes it has. Not perfect because I would use a heater at the front of the lens to keep the dew away. This heater is not regulated and then the temperature will only be offset relative the dovetail's temperature. 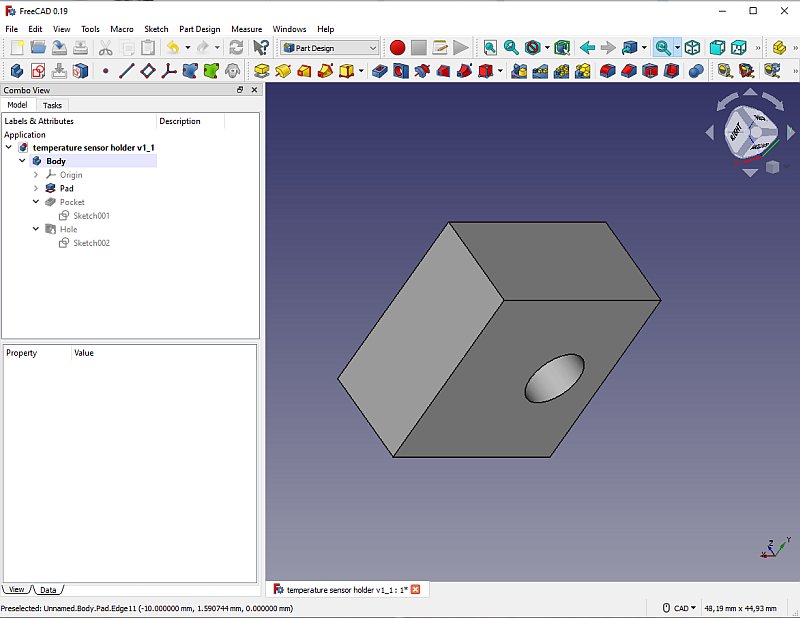
I padded it to be 10 mm thick, then it's thick enough to have a pocket for a M6 nut. 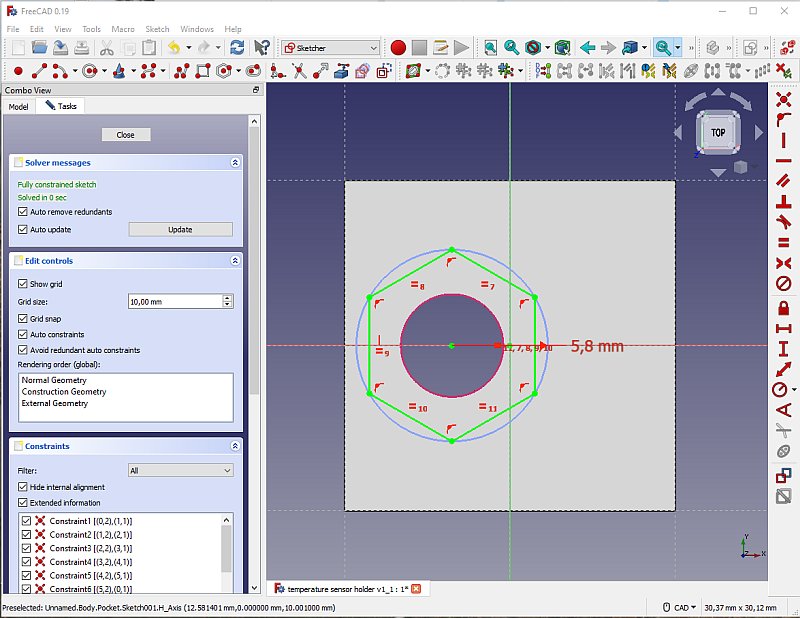
Set the diameter for the pocket to 11.6 mm. It's oversized by 0.3 mm to compensate for the nut does have rounded edges, the 3D-printer doesn't make the inside diameter of holes perfect either. 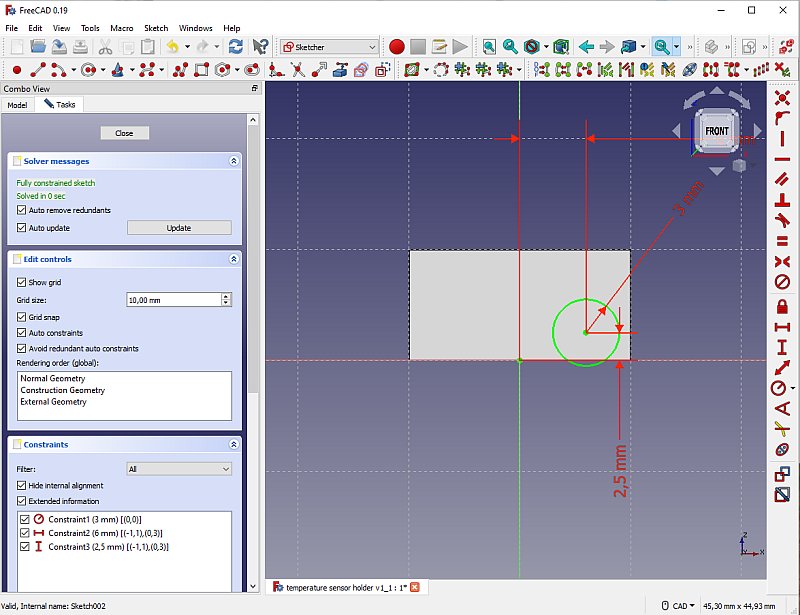
Making another hole to the temperature sensor. I set this diameter to 6mm. It's open at the bottom to let the sensor came in direct contact with the dovetale's metal. 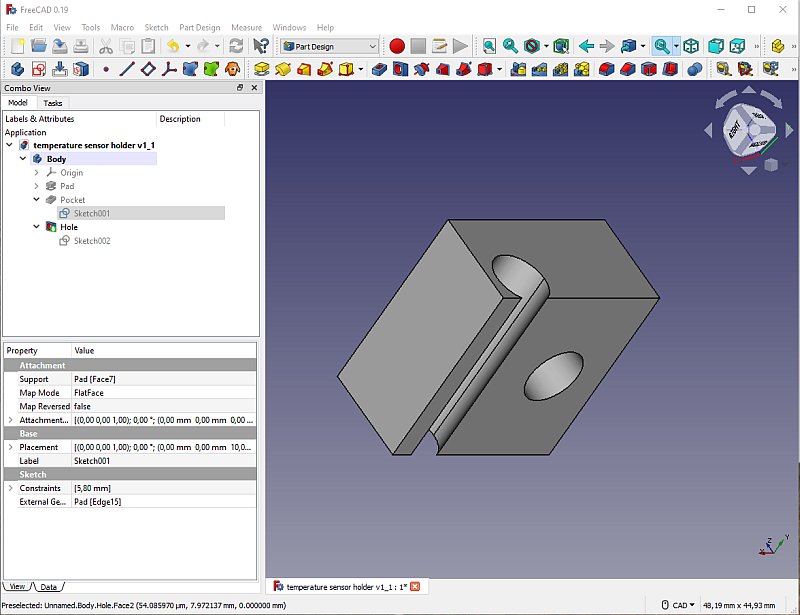
A 3D view of the holder. I tried to make it as small as possible, there are a lot of other devices that need to have space on the dovetail. 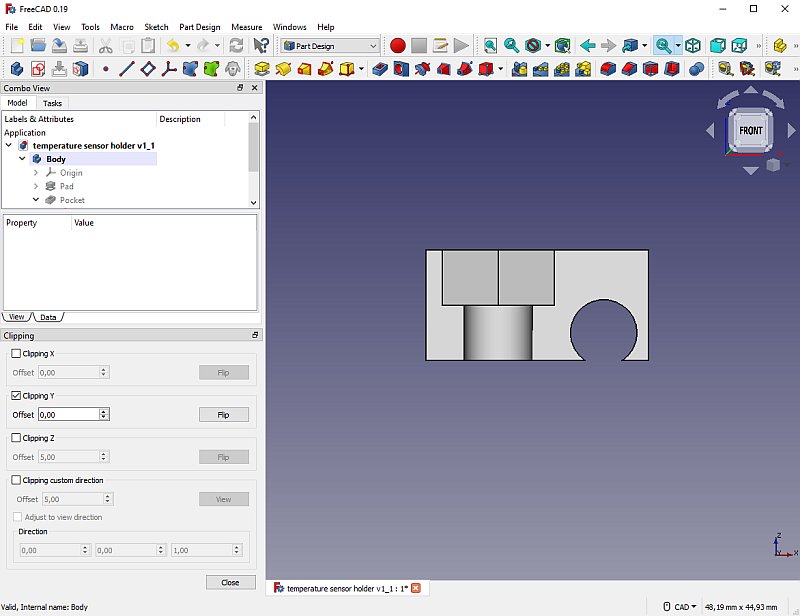
A good idea is to check with a "X-ray" (the Clipping tool) vision if there are enough of material around the holes. This one look good. 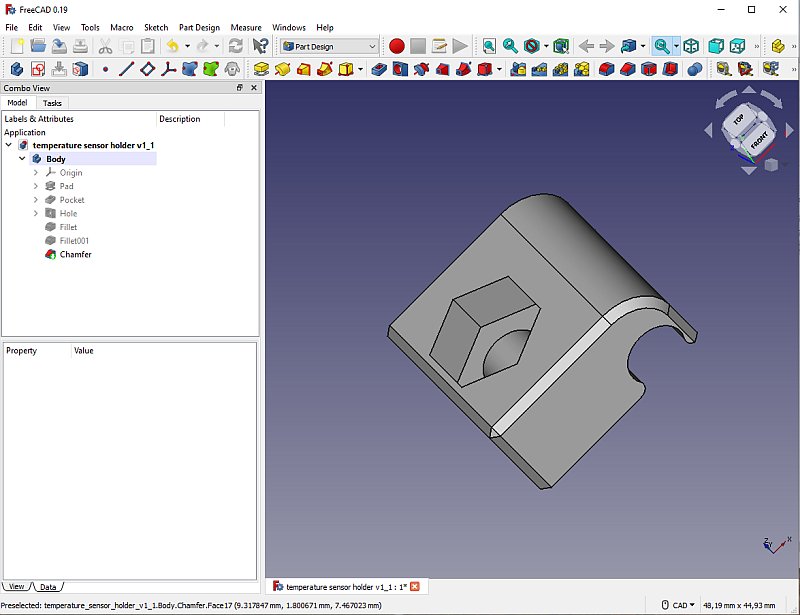
Some last touch on the design and it's ready to be send to the 3D-printer. |
|
|