|
Advertisement / Annons: |
3D CAD drawing:
|
Contents:
Note: |
1, CAD compass mount:Introduction:One thing I left from my father is an old compass. He used it on his mahogany cruiser Monalisa during the 1960s. But I miss the mount to it. Silva boat compass: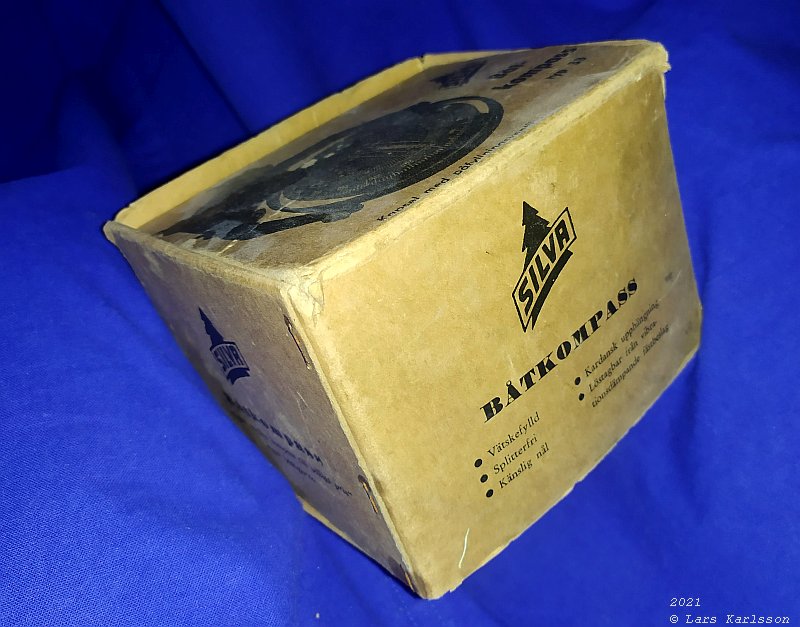
I still have the box to the compass. I think my father bought it 1965. It's a Swedish Silva no 33. 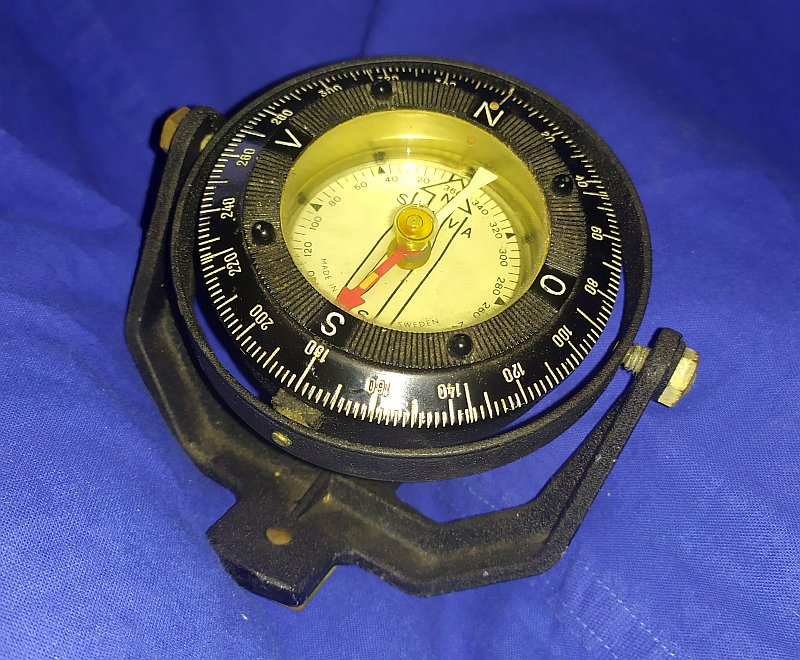
The compass is very nice looking and I want to have it in the book shelf as a memory of the boat and my father. 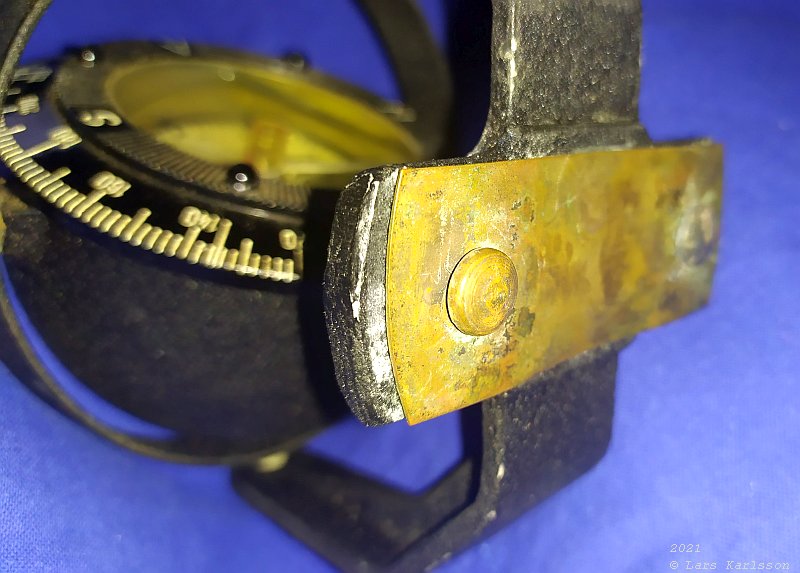
What I missing is the foot or the mount. That mount was still mounted in the boat when it was sold 1973. Over thirty years I have thought over how to make a mount to the compass, maybe it's time do it now when I have a 3D-printer. The boat was a Victor Israelsson designed mahogany cruiser, built 1914 maybe. I have done some investigating about the boat and you can read about it here: mahogany cruiser Monalisa. Making of drawing to the compass mount: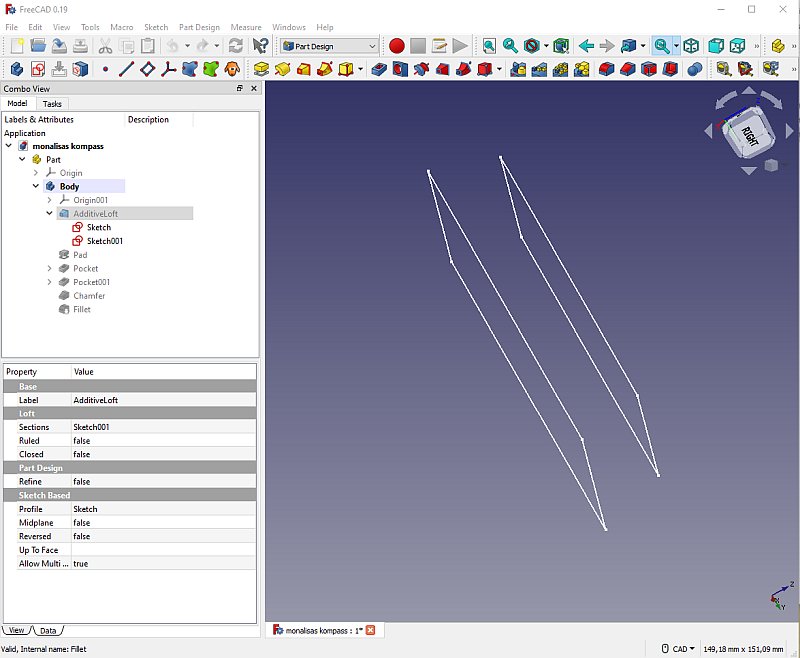
I started with to rectangles of different sizes, separated 20 mm along the Z-axis. Using the additive loft tool: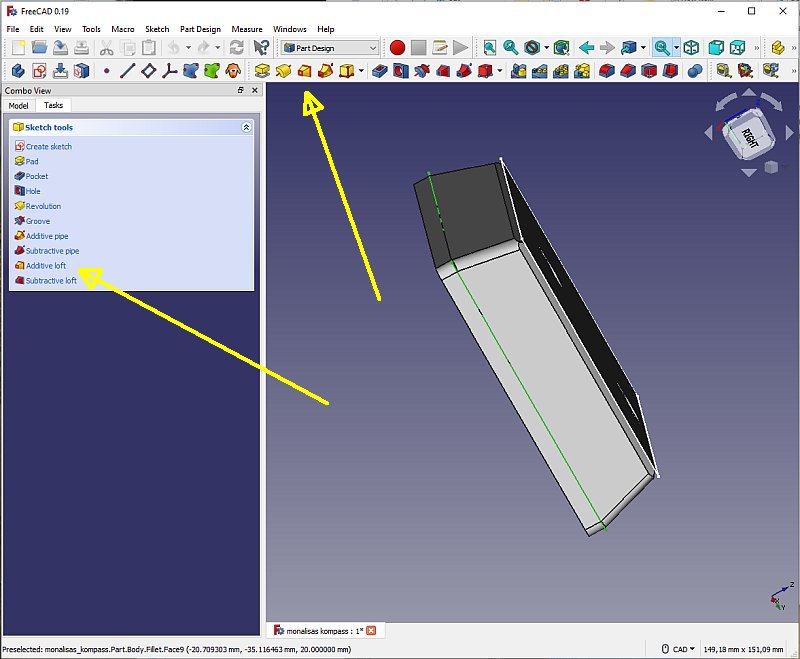
To do this box with tilted walls I use a new tool, the Additive loft. It fills the area between the two rectangles. At the bottom I padded a 5 mm base with straight walls. 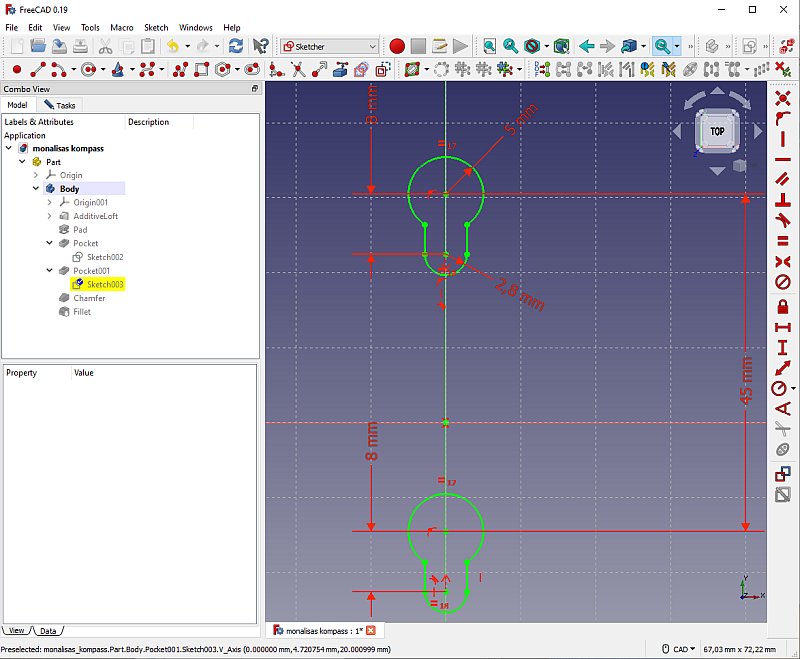
Making these two elongated holes to hold the compass. Use the Pocket tool with set to Through all. 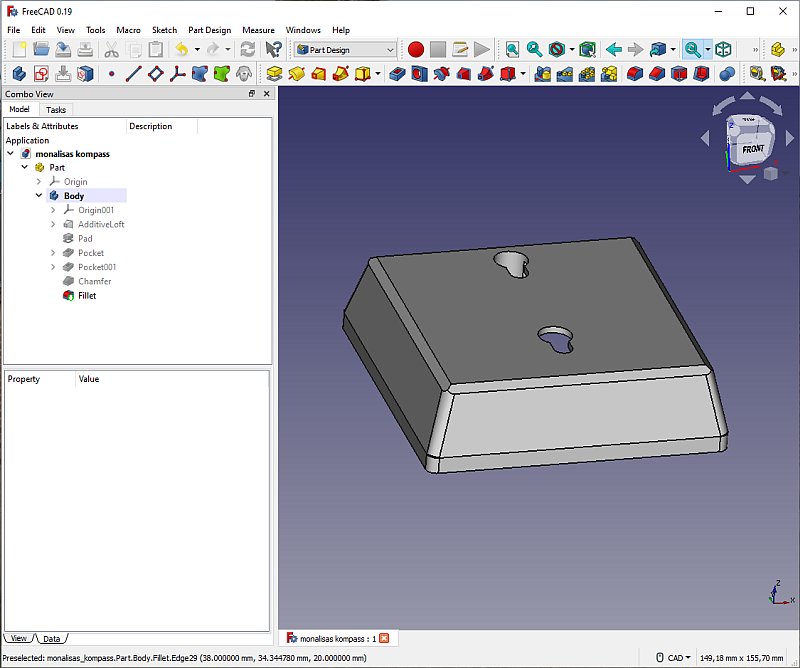
I also tried to apply some text to the side wall of the foot, but it is in wrong angle to let it be made. From the backside I have made a 23 mm deep pocket. 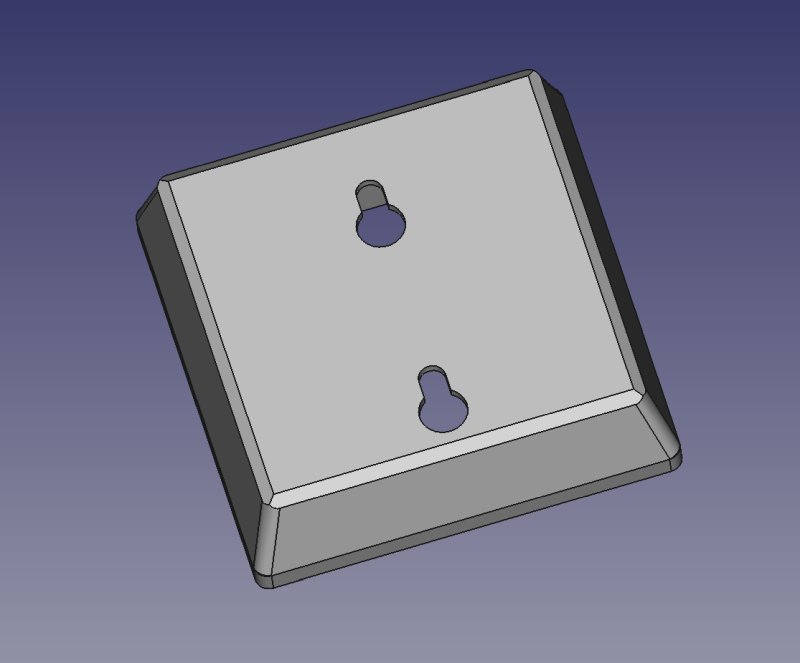
Cura slicer set to 1.5 mm thick walls, 30% infill and a brim. Takes 4+ hours. 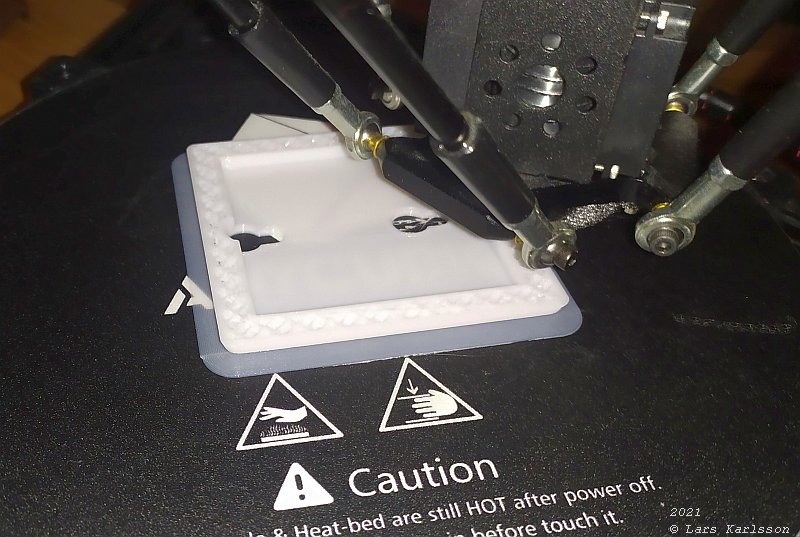
I 3D-print it up side down to not to have add support. 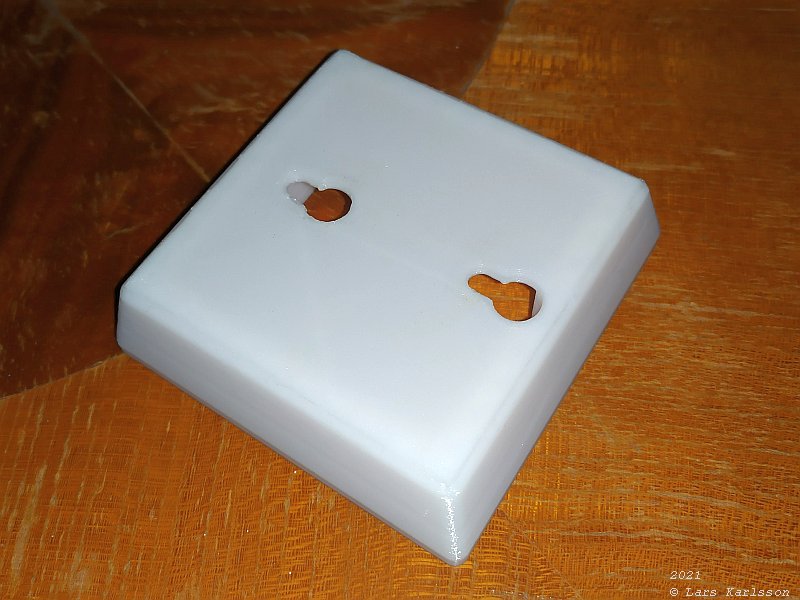
Out from the 3D-printer. All holes are there, surface is smooth. 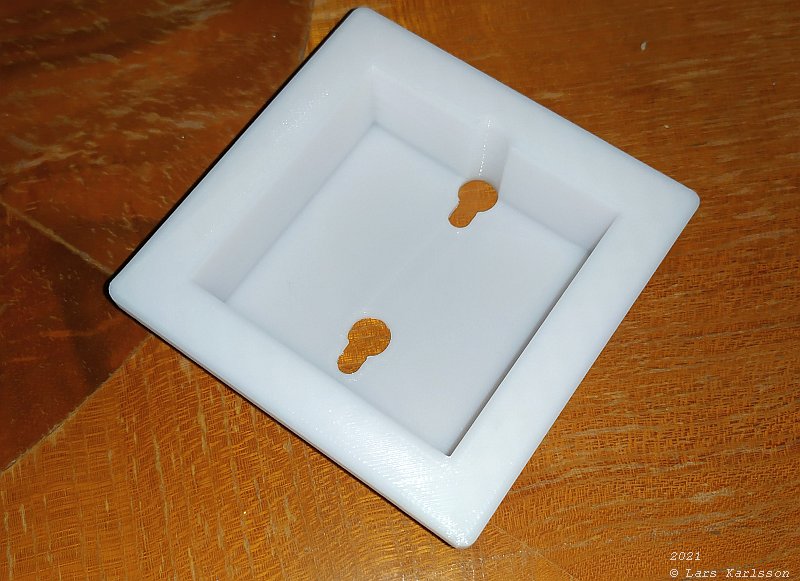
The pocket seen from the backside, it's 23 mm deep and the total height is 25 mm, leave 2 mm thickness to the top platform. 
Insert the compass in the mounting holes and slide it in locked position. It fitted directly, no adjustment had to be done. 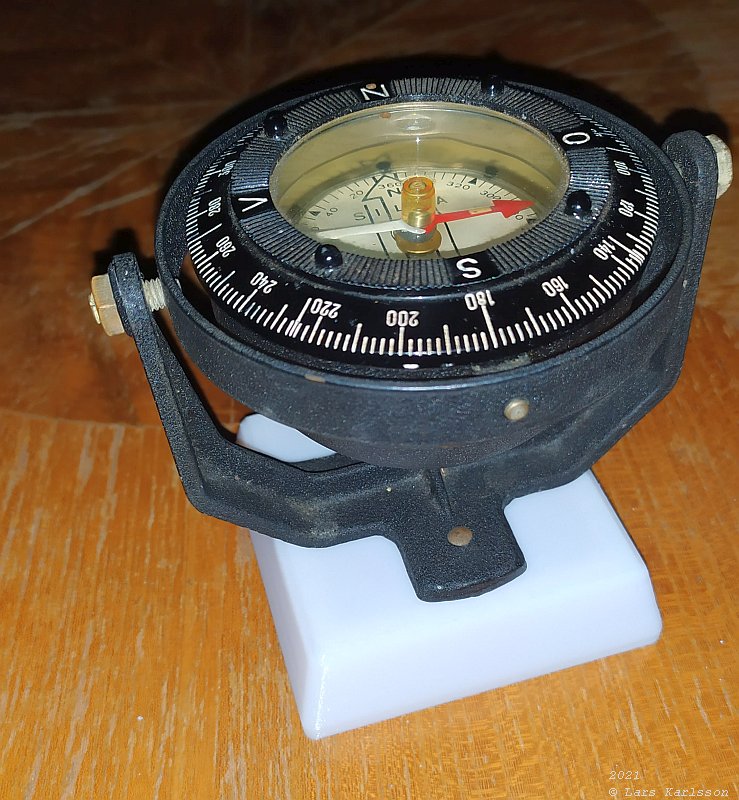
The compass installed on the mount. At last, it just took 30 years to do it. |
|
| Go Back |