|
Advertisement / Annons: |
Chrysler Crossfire
|
|
3, Installation of new radio and adapter cables:
Note: From Crossfire forum I got help and ideas how to do it: Crossfire forum. Please note: This is in an early stage, maybe not correct ! 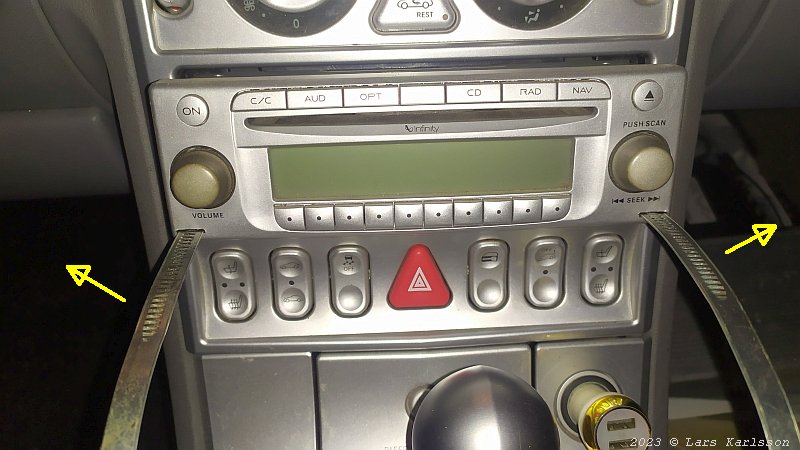
First I must get out the old radio from the console, not so easy. There are small slits where to push in small thin steel fingers. My tools didn't fit and I don't know what's behind and how the lock mechanism works. 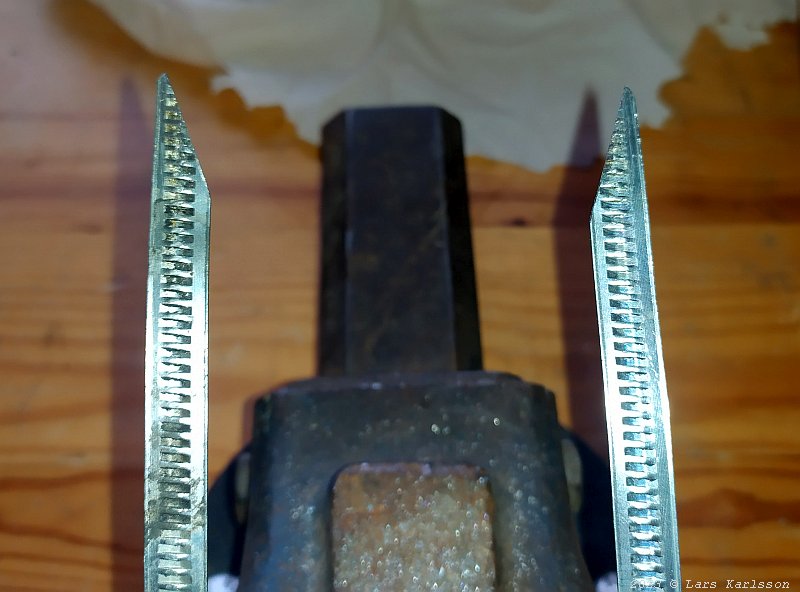
I made these tools from a steel band I had, shape the tip like this. Better of course if you can the original tools. 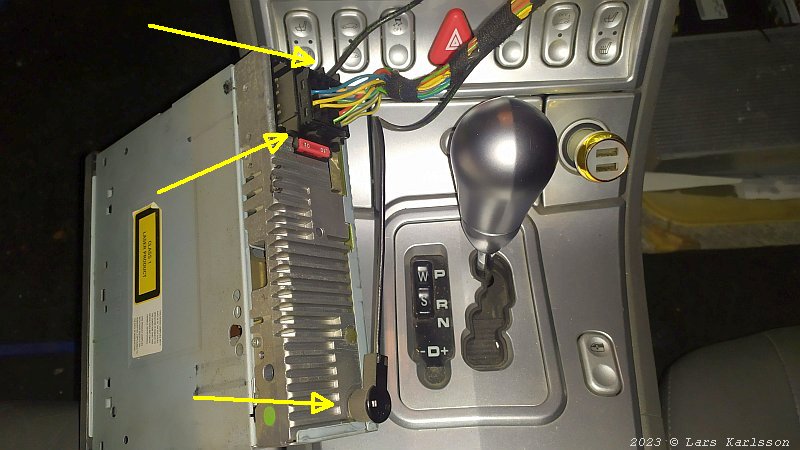
When the radio is out from the console there are three cables to disconnect: 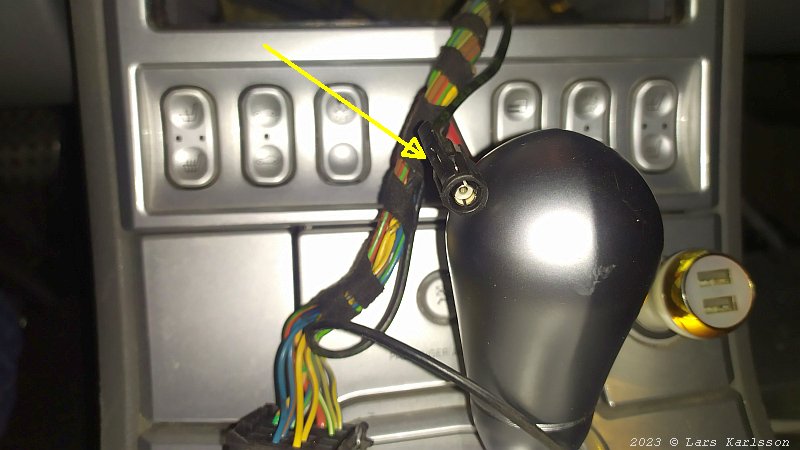
The GPS antenna contact removed. Not so common option with a GPS isntalled in that time. 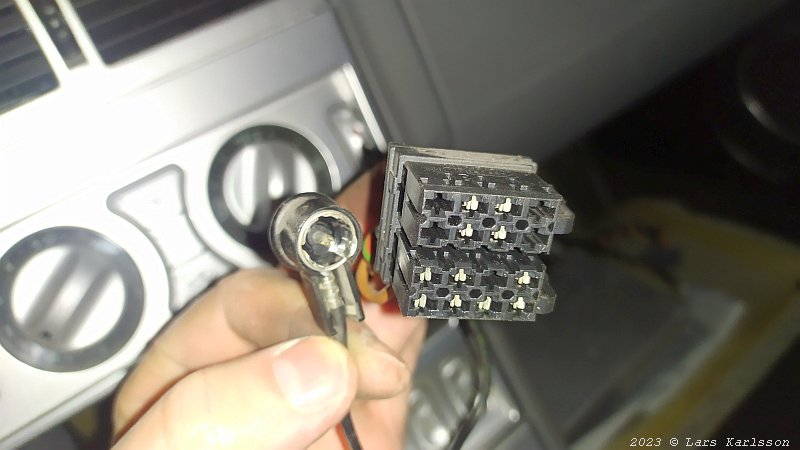
The radio antenna contact and the Power and Speaker contacts. 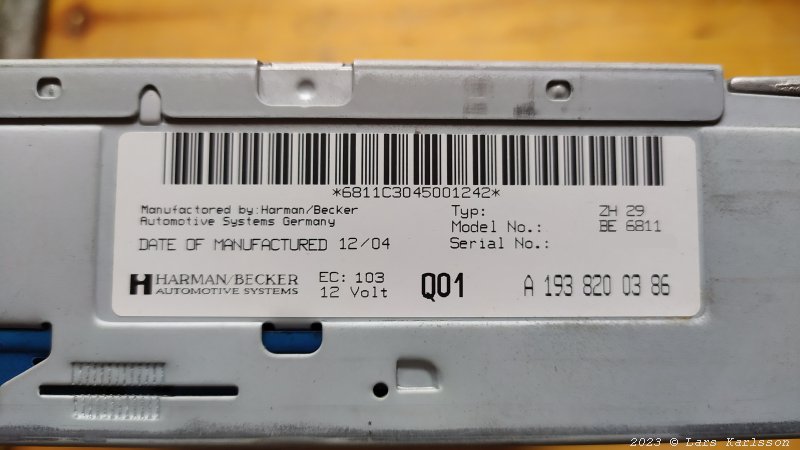
Now I can see what radio this is, a Harman Becker EC:3, type ZH 29, made in Germany. Maybe collectable, I have the CDs for the GPS to it too. 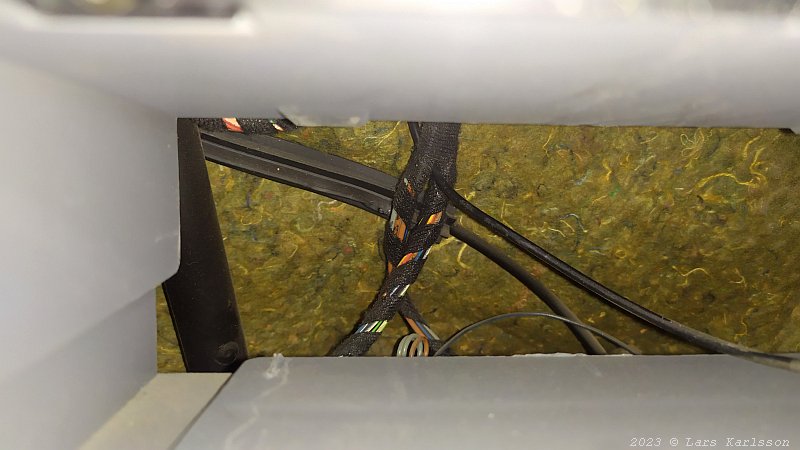
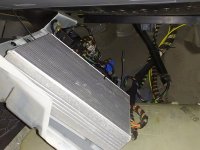
A view through the console to what's behind. 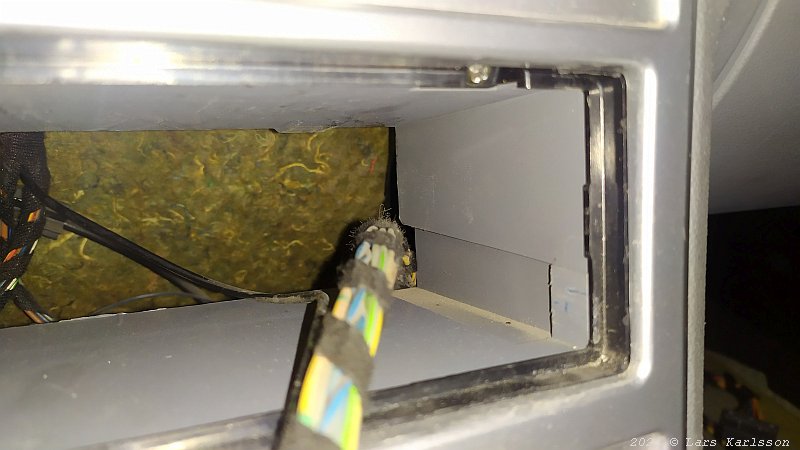
This is the cable that comes from the power booster down at the floor. It's here I must lay my new adapter cable extension, very narrow space. 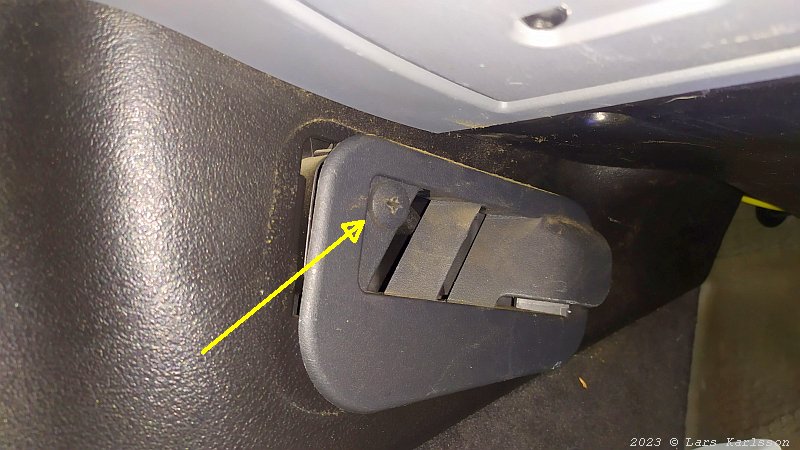
Floor at passenger side. I don't want to tear down the car completely to install the new adapter cable. I loose the air outlet, it's not and ordinary screw. A 1/4 twist is enough to loosen it, be careful, it's made of plastic- 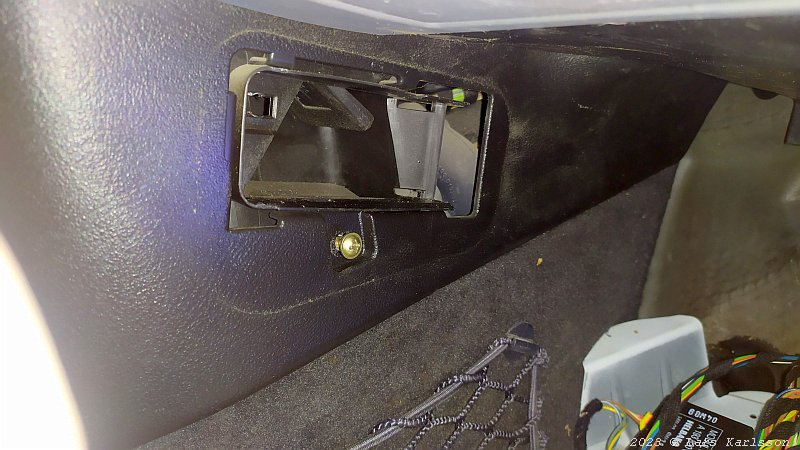
Behind is another screw to unscrew. 
Insert something behind the cower to open it up. Now I can place the cable here, be careful to now squeez it. 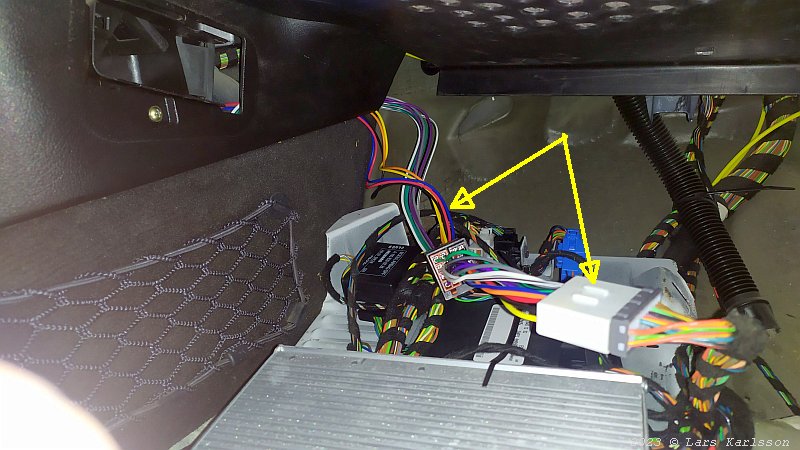
The new cable in place and connect to the 18 pin adapter cable. And that cable is connected to the cars original 18 pin speaker cable. 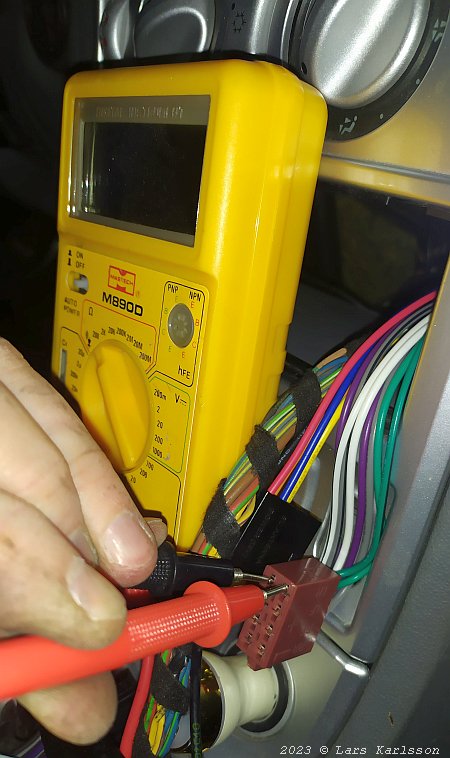
Before I connect the car battery again I carefully check that all speaker wires are in correct place. 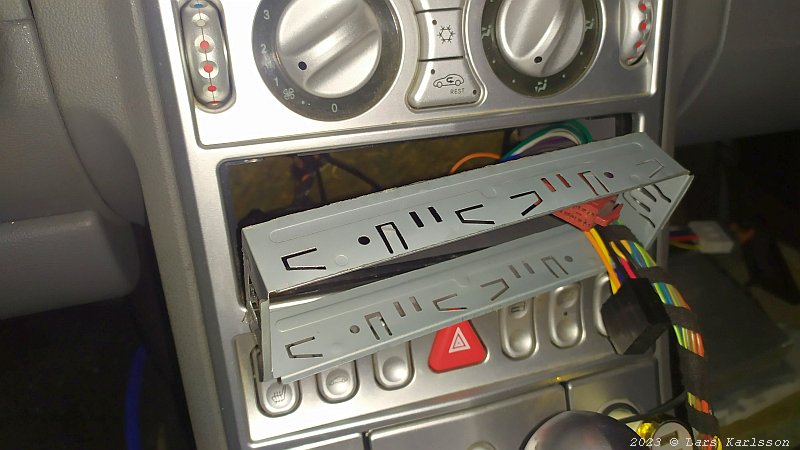
Install the adapter console, very weak. Maybe I can 3D-print a better one later. 
With the new radio which has another mechanism to lock the radio in place followed two tools. I set a mark on the how deep they should be inserted. 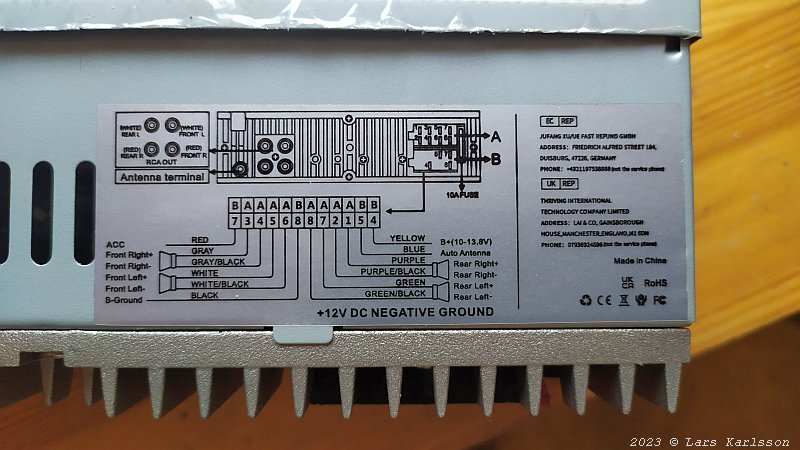
Data of the new radio. This radio is very simple and cheap, but I think it's wise to start with this one. Strange, here they call the speaker terminal for A and the power terminal for B. A mistake, or ? 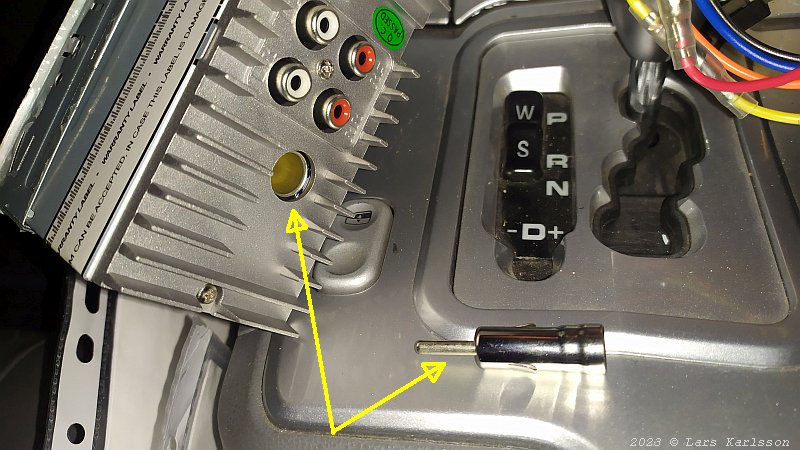
The car's antenna cable didn't fit the radio, but included was this adapter. 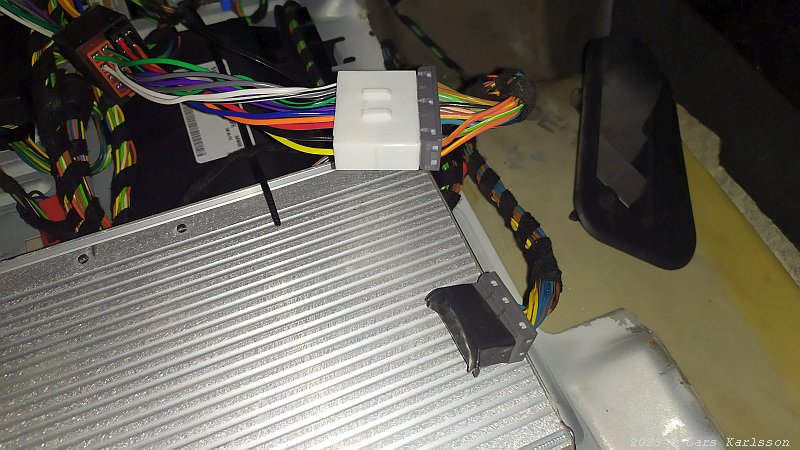
The old power booster will not be used anymore, I seal the cable connector with a tape to not get dirt into it. 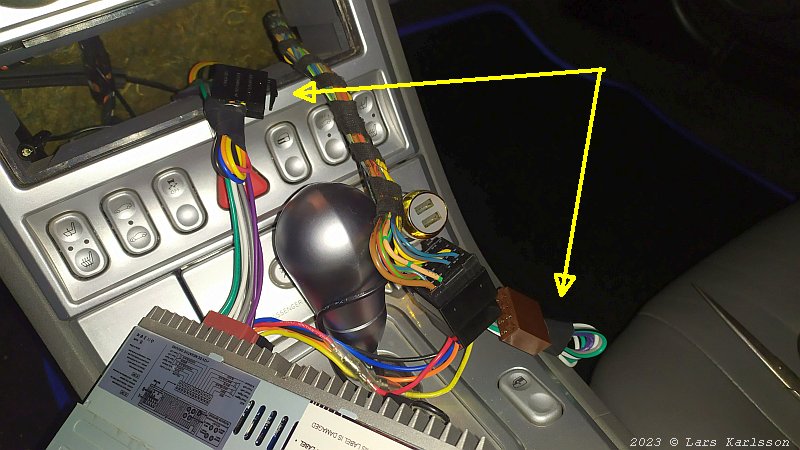
The new left and the old right cables that will not be used anymore. They can't be connect to anything now because they don't follow any standard wiring. 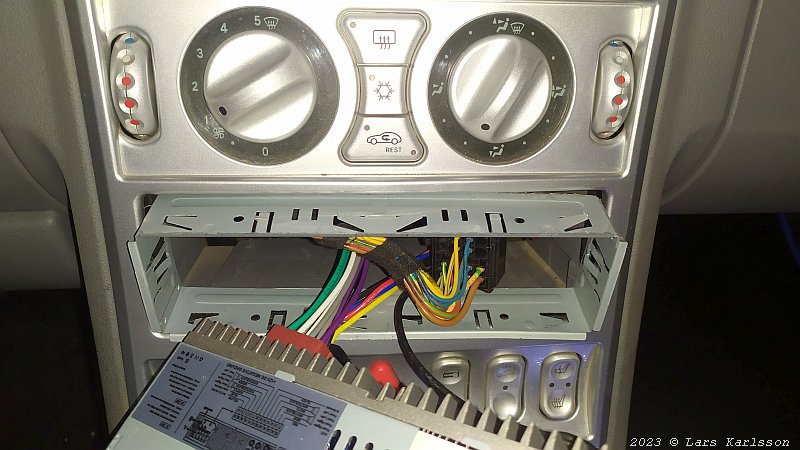
First power on, and yes it worked directly. I also measure the standby current it take: Standby current. 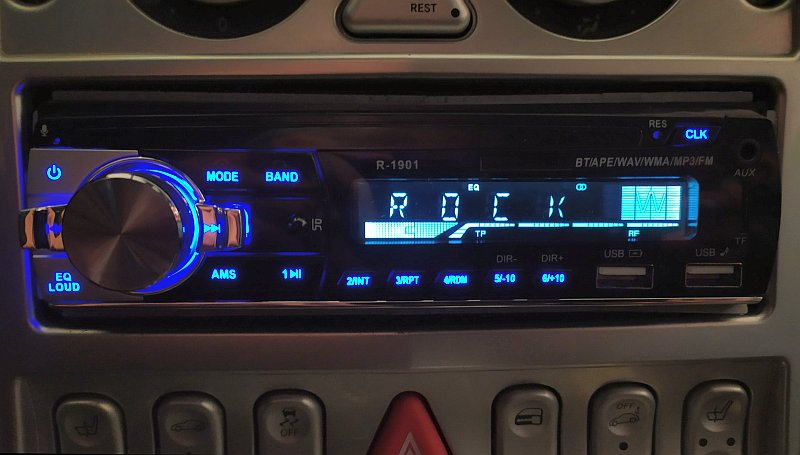
Radio inserted in the cassette, the precision isn't very good. Later I try to design a frame that I can 3D-print. The sound quality isn't bad, much better than I expected as long I don't play to loud. Now I can play: USB mp3, SD mp3, connect to the telephone by Bluetooth and play Spotify or mp3 files on the phone. Now I must have enough of choices how to play my music. 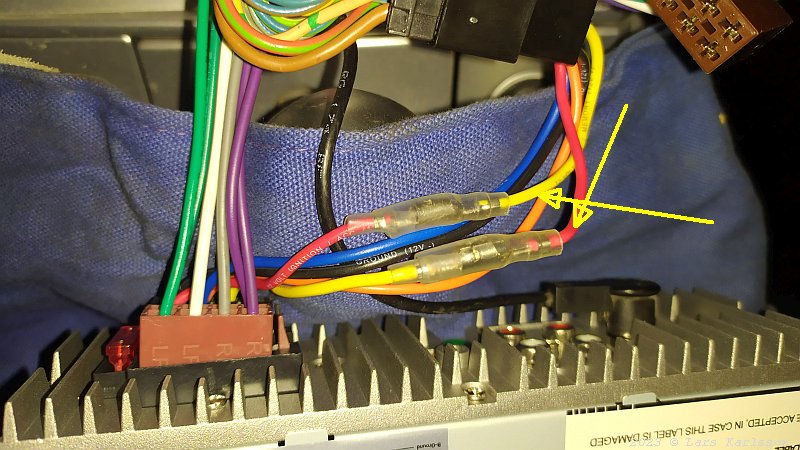
I noticed that my setup of radio stations disappear when I tuned of the ignition. Check the label on the radio once more, I see that this radio has the red and yellow wire crossed. I have now use of the adapter cable I bought, it's already prepared to change this, very easy. Be careful, when stretching the cable it's easy for the A and B connector to slide out, look at the brown socket to the left. 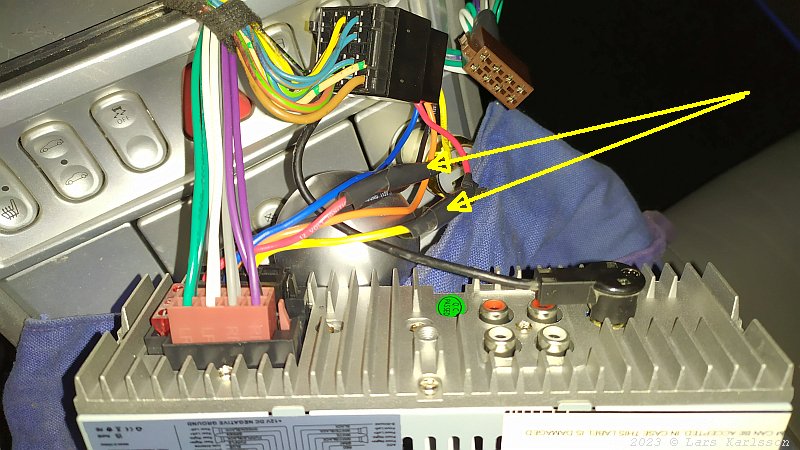
Safety is important. I noticed that the plastic insulation around the connector could sleeve off. I put an extra electric tape around it to not have any short cuts.
|
|