|
Advertisement / Annons: |
3D CAD drawing:
|
Contents:
Note: |
1, Shim for Canon EOS bayonet:Introduction:I noticed when testing my Pentax medium format lens with an adapter to my Canon EOS 6D camera that I got elongates stars in one corner. It looks like the camera sensor is tilted. I examined the adapter and find the the leaf springs in the bayonet to relatively weak. The gap between the adapter and the camera house was 0.35 mm, now I try to 3D-print a shim of 0.2 mm thickness. That's the resolution of the 3D-printer. Design of a 0.2 mm shim: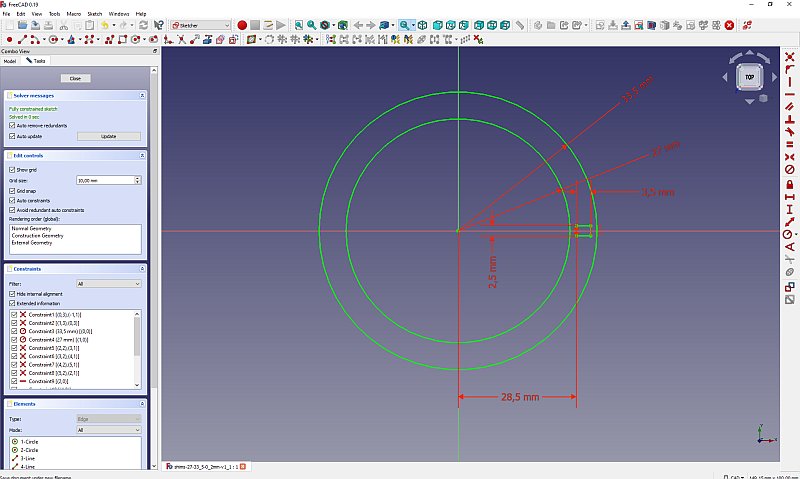
There is a need of a hole in the shim, this hole is for the bayonet lock mechanism. 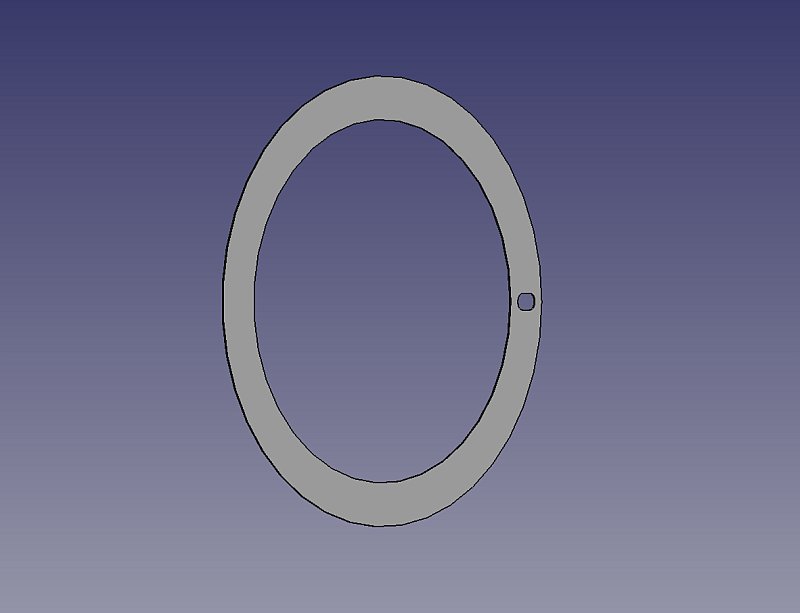
This was a quick design. Now waiting for the 3D-printer to be free. I prepair the 3D-printing and setup the slicer. It refused to slice 0.2 mm thickness, I increased it to 0.25 mm and then it accepted it. I set the layer to precision to 0.06 mm thickness. 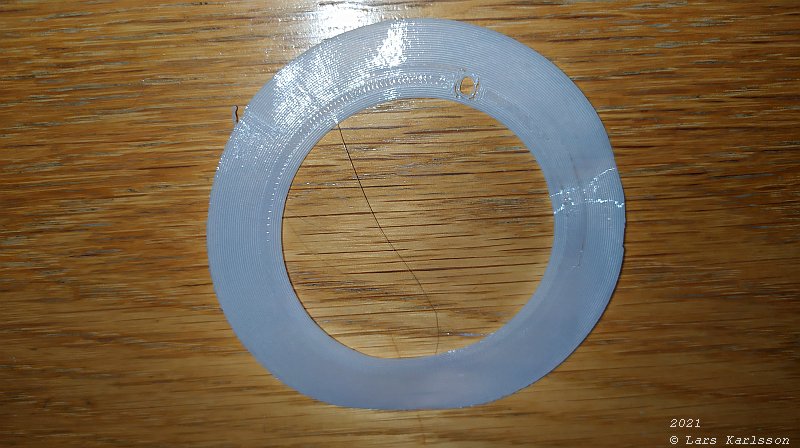
Direct out from the 3D-printer it look like this. 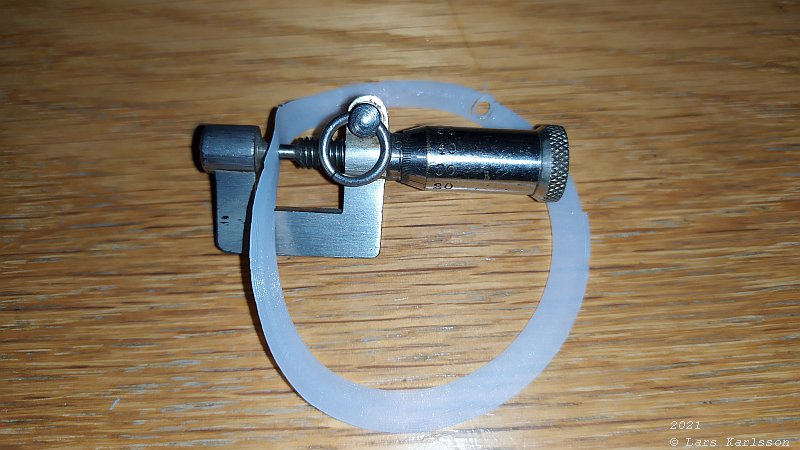
Removed the help brim and measure the thickness. I got it to 0.35 mm, too thick. 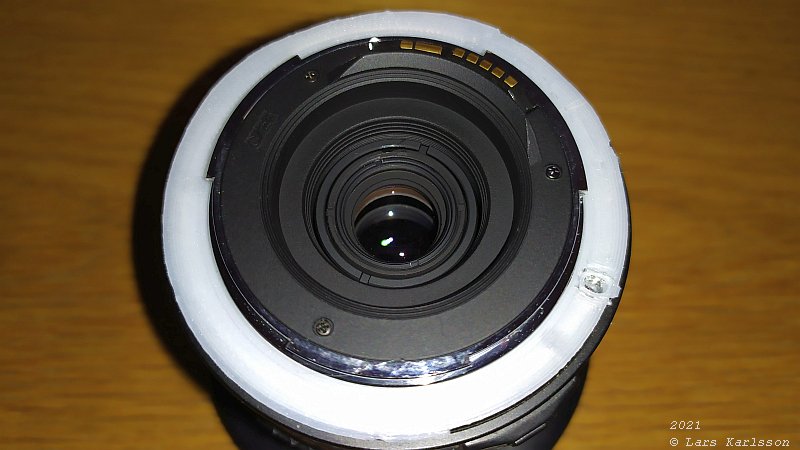
Test mounted the shim on a lens, the outer and inner diameter fits perfect. And the hole is in correct place. 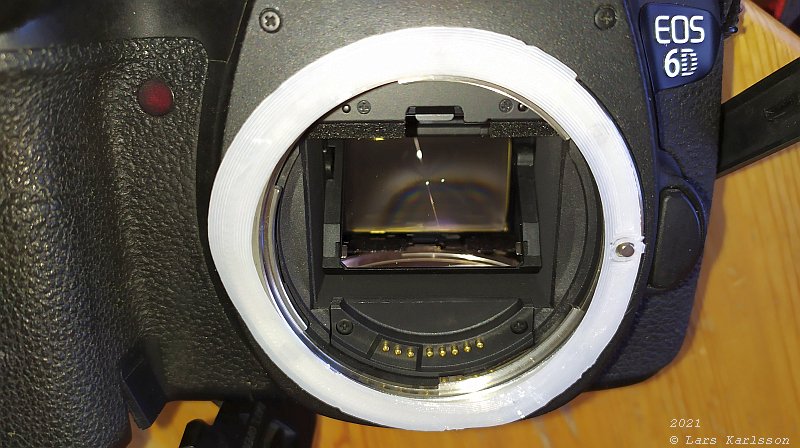
The shim mounted on the camera, the locking mechanism protrude through the hole as it should. But when I try to connect the lens to the camera with the shim between it was impossible because of the shim was too thick. I have to make a new shim with some other technique. 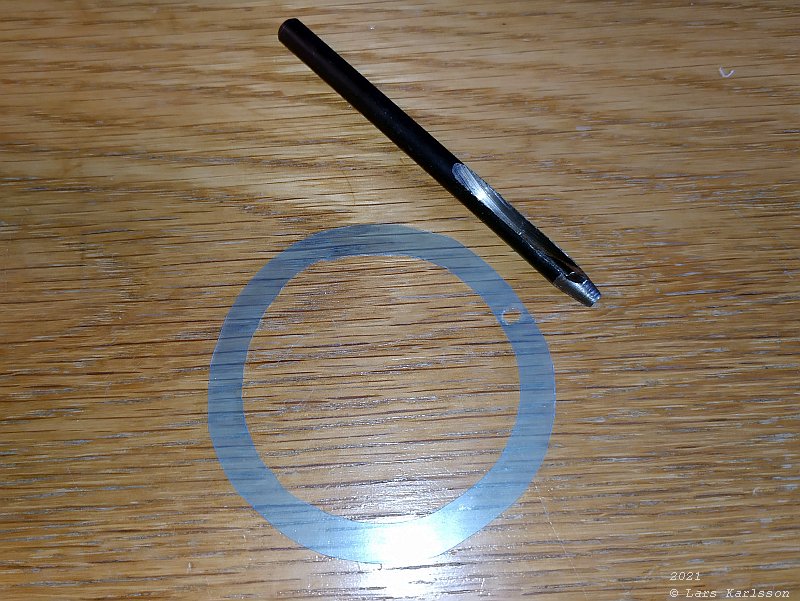
After some research in our "good to have things" boxes I found a plastic film of 0.2 mm thickness. Made a hole in it with a punch. Installed it between the camera and the adapter which was not so easy. With this shim the connection is more stable but not perfect. After a closer examine of the adapter system I also noticed the other adapter, the one between the lens and adapter also had a little play. This will not be perfect until I made my own adapter with filter box and maybe an off-axis outlet to the guide camera. Far in future. More to read about my Pentax 645 medium format lens.
|
|