|
Advertisement / Annons: |
3D CAD drawing:
|
Contents:
Note: |
2, EQ6 Pad 3D-printed:3D-printing the pad: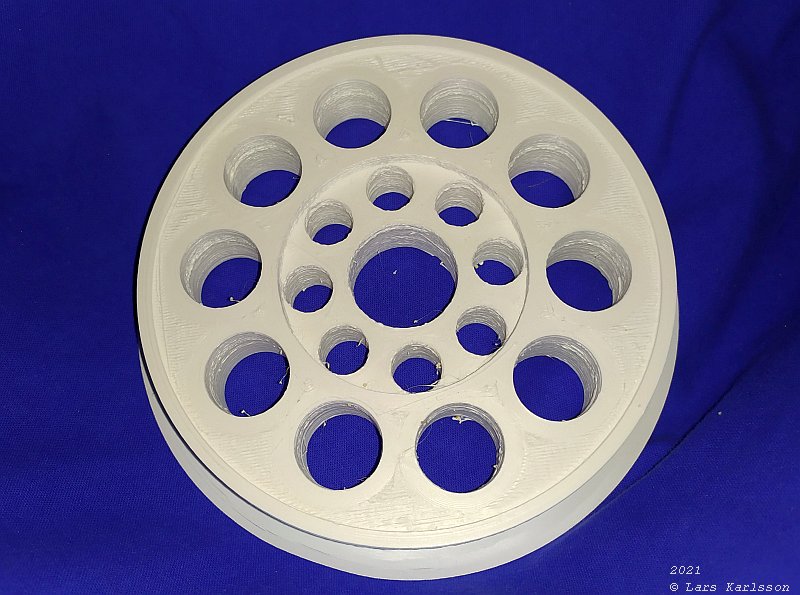
After many hours this came out from the printer. It feels rock solid so maybe it will work. Inspection of the sizes: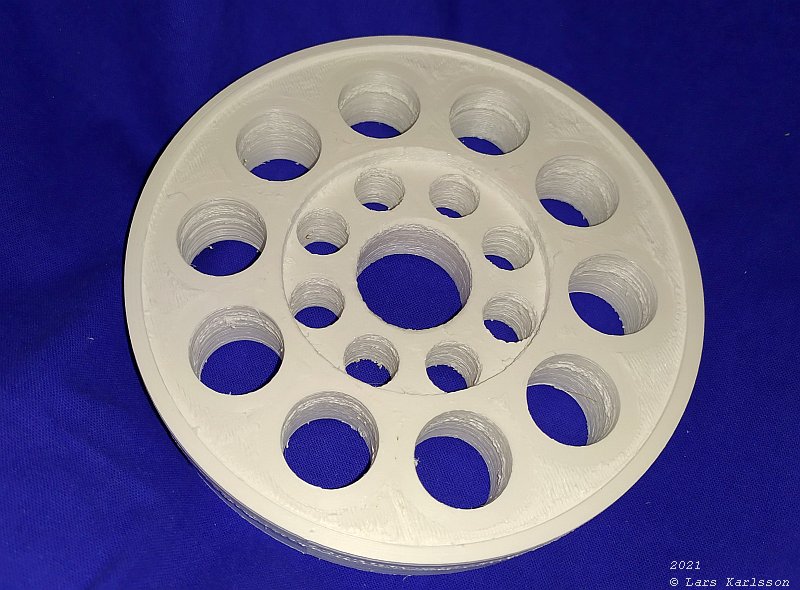
The outer rim is okay, 129 mm inside the edge. The 10x22 mm holes is only 21 mm, but it doesn't matter. The center hole for the tap at the bottom of the EQ6 mount is good if it's not differ too much. The tap has a diameter of 29.35 mm, this hole is only 28.5 mm. I set it to 29.6 in the drawing, it needs some work to fit. Surface quality: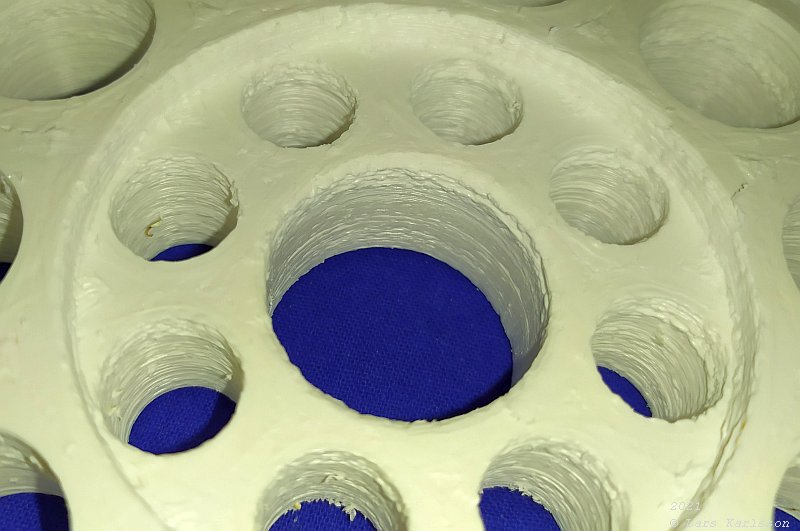
It was by mistake I bought the ABS pro filament. Maybe better temperature stability I found when I read about it. But the surface roughness is non-existent. Did I have too low nozzle temperature, or ? I had it set to 80 C degrees. I have my observatory at the summer house, can test if it fit later this week. One thing I noticed the day after i printed it, the bottom of it has warped, it's a little bit convex. 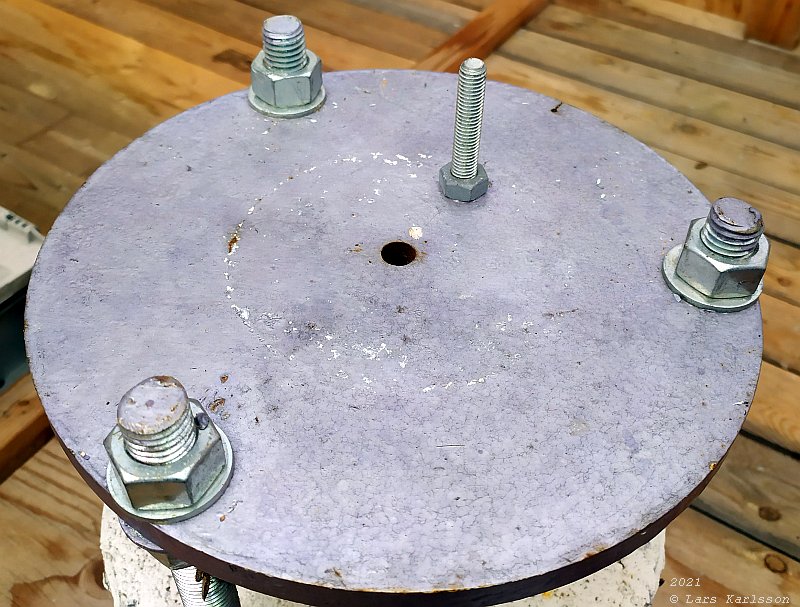
Now hen the winter is gone it's more convenient to work with the observatory. This is the steel plate on top of the pier. 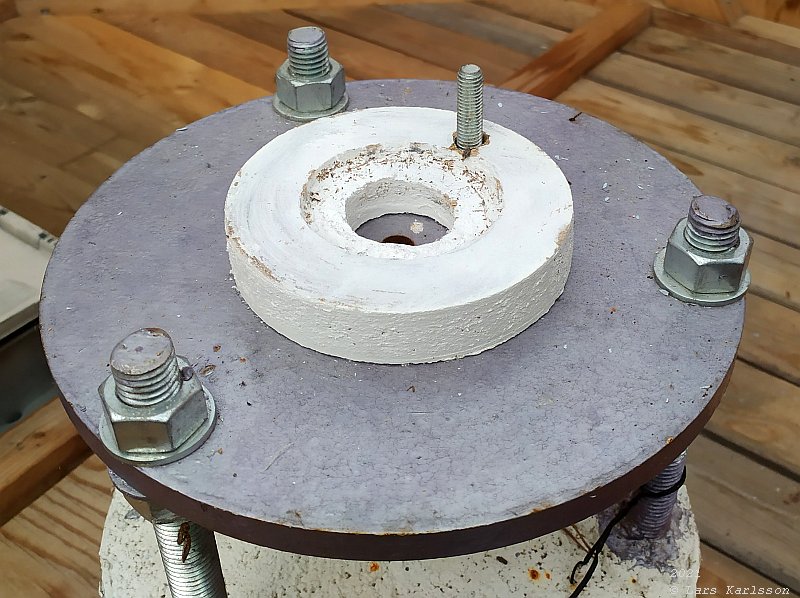
The old temporary wooden pad, worked surprisingly well. 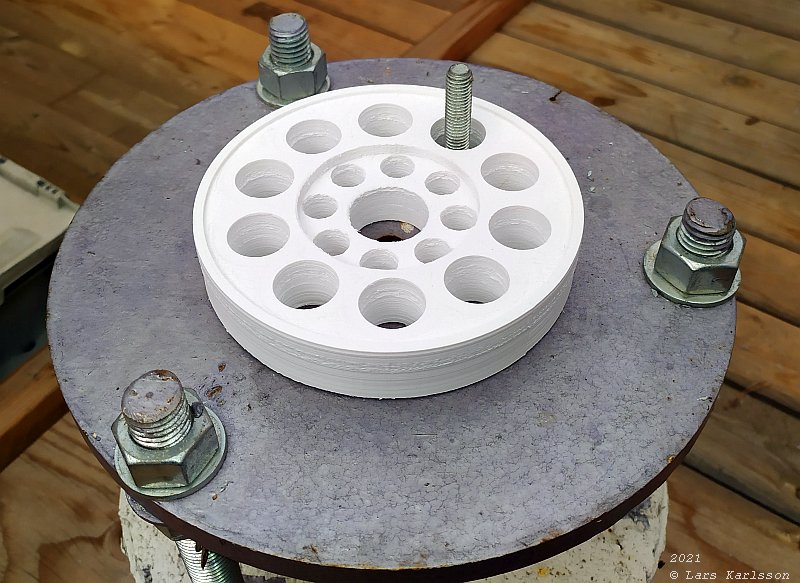
The new 3D-printed pad in place, fit perfect and the guide pin for the azimuthal adjustment of the mount fit the hole perfect. One problem, the bottom of the warped a bit and is convex. Lathe bottom or print a new one ? Well, I don't have a lathe machine. 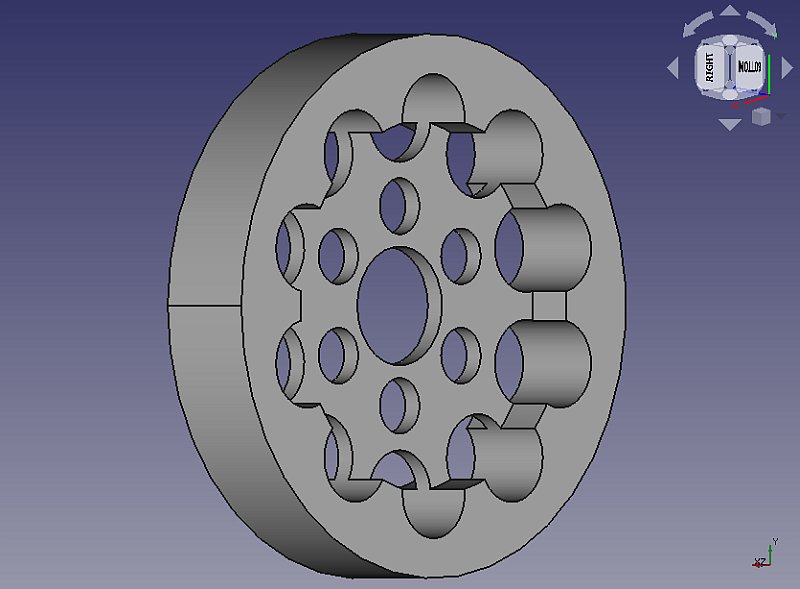
After the first test I realized that I must change the design. The old design warped and made the bottom convex. With the new design there is no material in the center. It support the mount only at the rim. I also changed some dimensions to take account for the material makes the hole a bit smaller. 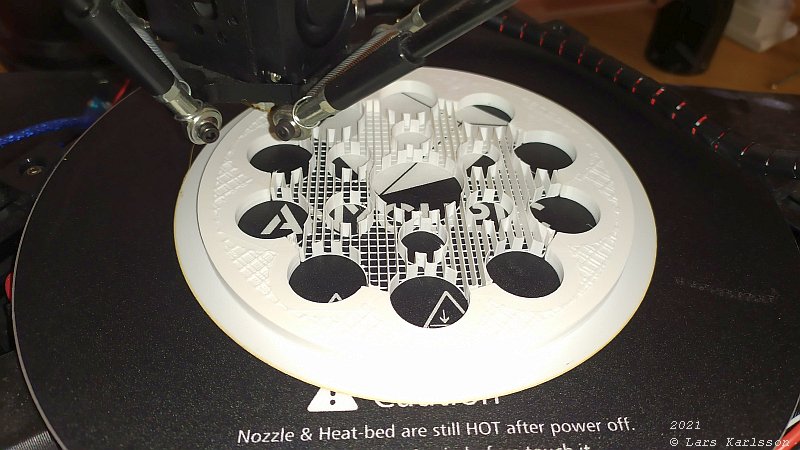
When 3D-printing a design that has pocket at the bottom side or a roof support must be added. It can't be printed in air. The support is the central area at the photo above. When finished you remove it. If the tilted edge has an angle of 55 degrees or more it can normally be printed with out support which is to prefer. With a support it takes longer time to print and the surfaces are not as smooth as without support construction. 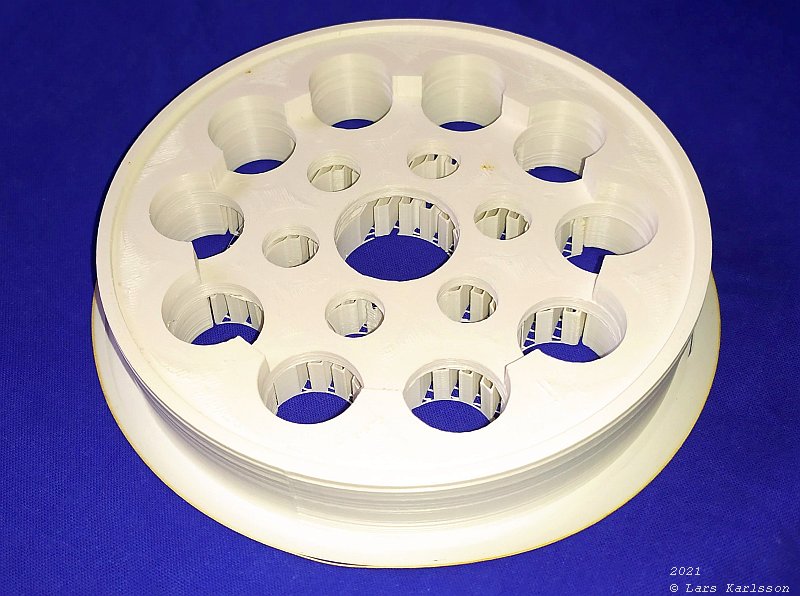
Next day it was finished, everything in place. This is the upper side where the mount rest on. 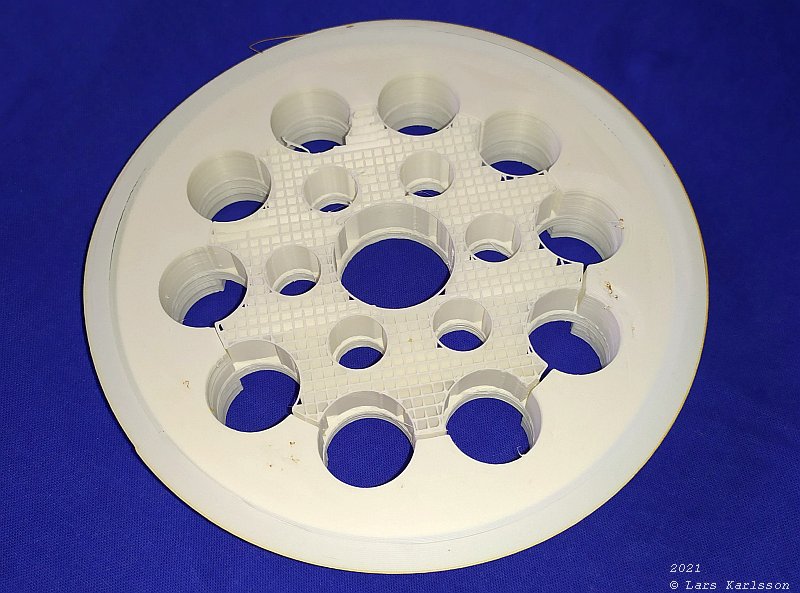
The bottom side with the support in center. 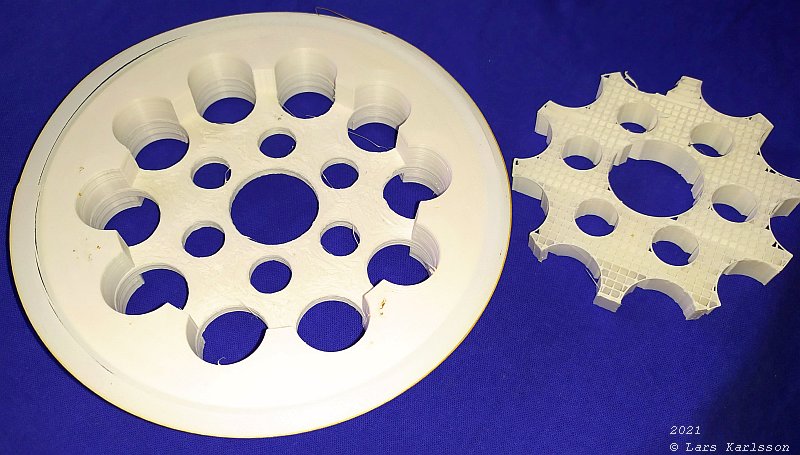
This time the support was very easy to remove, almost fall out of it self. 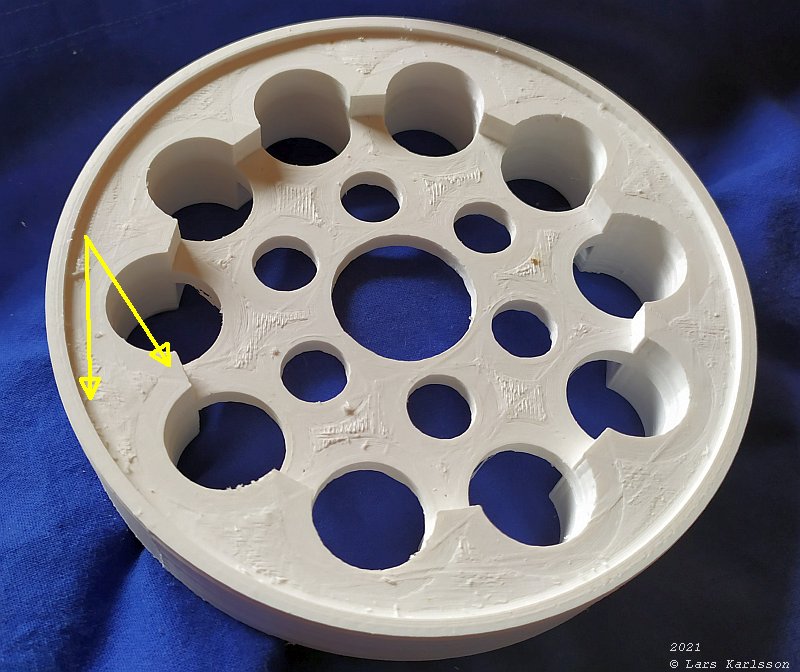
The mount will rest only on the outer rim, the inner part is of no importance more than center the pad around the center bolt. 
The bottom side with the support removed. The central part is about 5 mm thick. 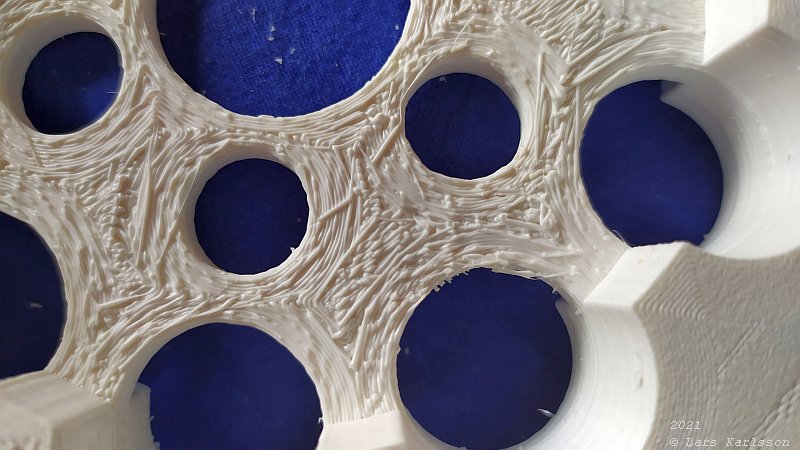
The bottom center part that rest on the printed support got a very rough surface. It's 3D-printed up in the air on top of the support. The support walls are separated 2 mm, see above. 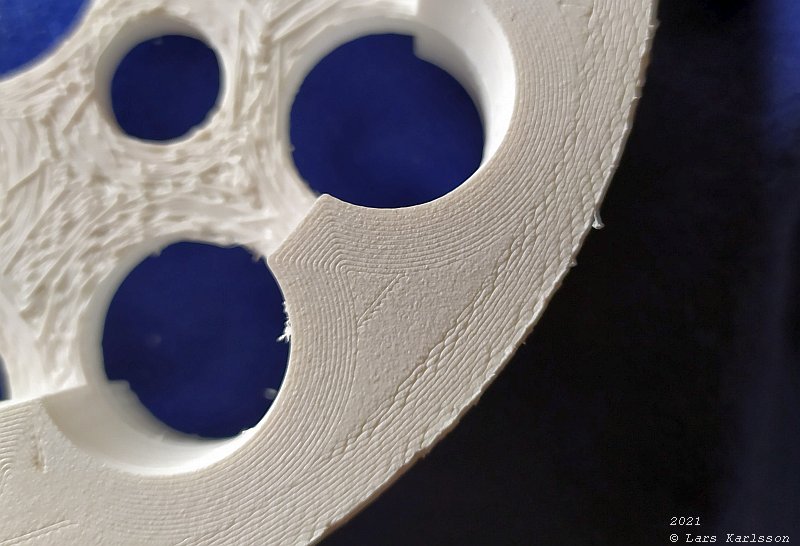
This is how the surface looks like where it rest on the printer bed. The filament is the ABS pro, I tried to increase the nozzle temperature to 245 degree Celsius, but got unstable temperature. I have now learned how to optimize the P.I.D. parameters which I will come back to later. 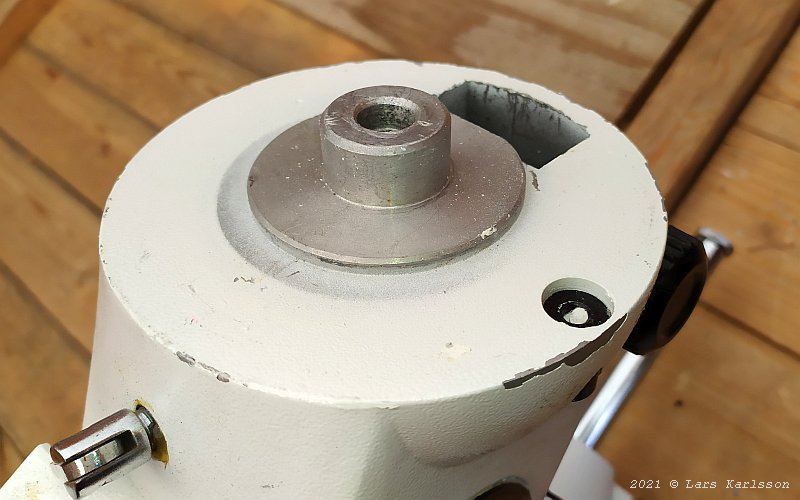
The bottom of the EQ6 mount where the pad shall rest on. 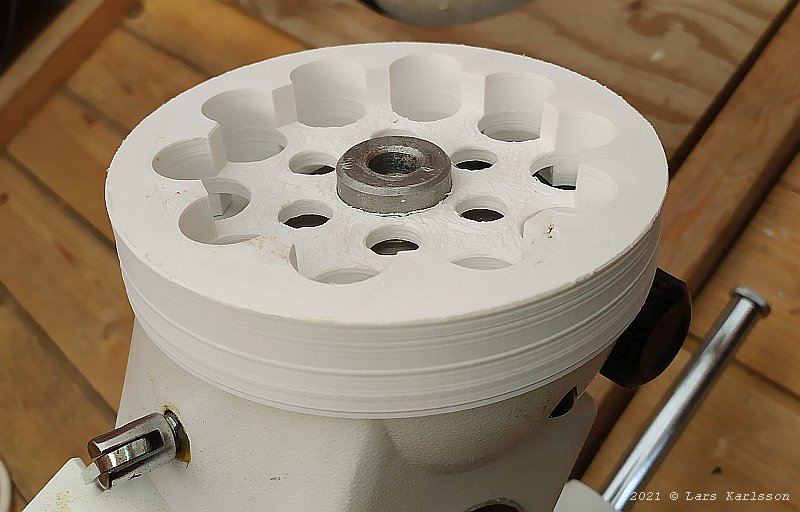
Pad mounted in place, fits perfect. 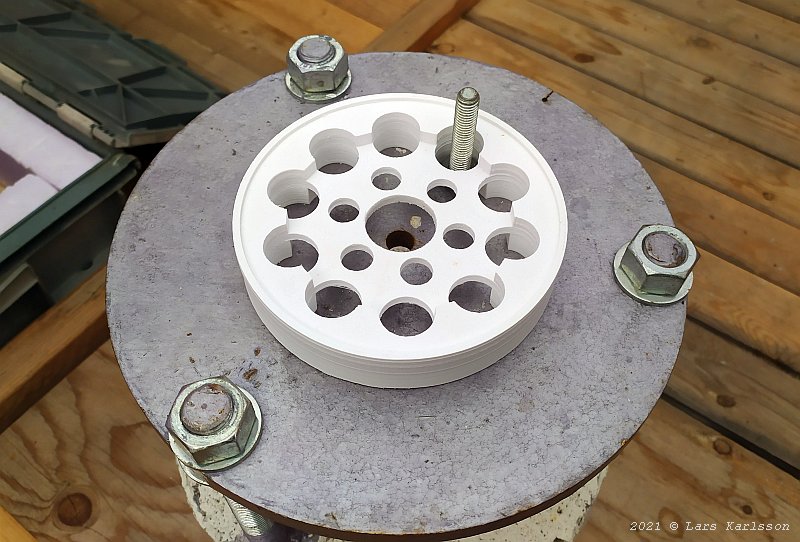
The pad mounted on the pier, looks good too. 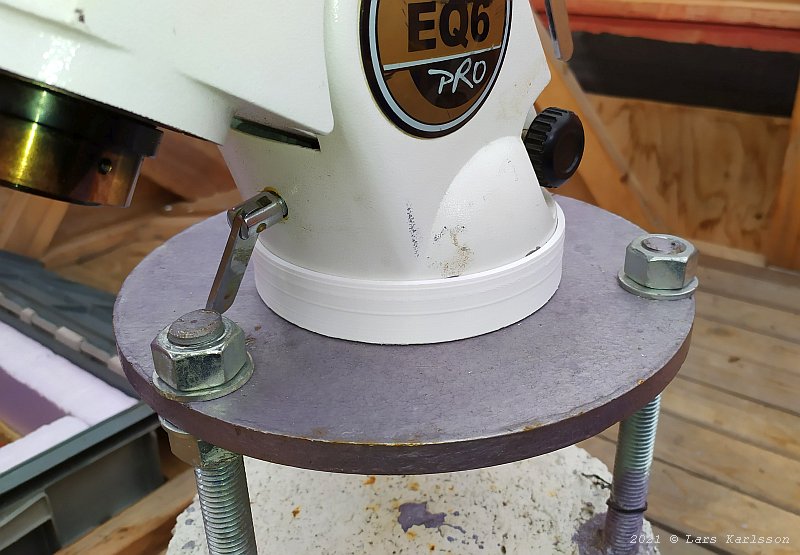
EQ6 mount mounted on the pier with the pad between, better if the three bolts on the pier had been rotated 60 degrees. 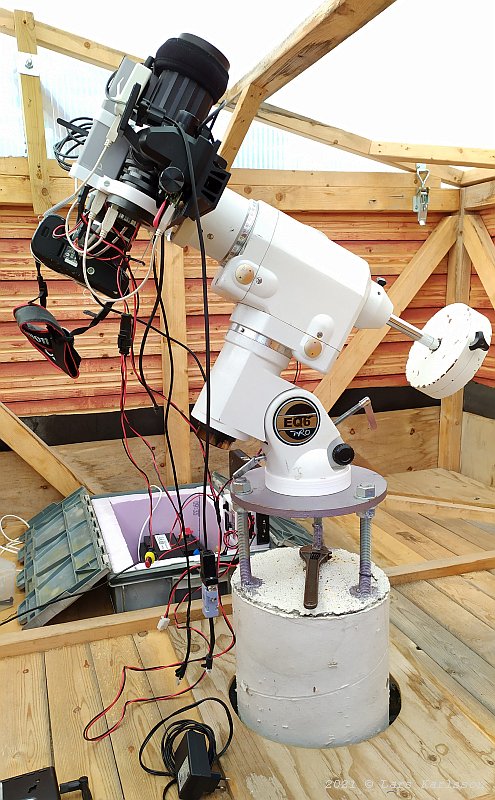
It feels rock stable, but I also don't have very high load on the pier. |
|
|