|
Advertisement / Annons: |
Tutorial:
|
Content:
Note: |
6, Align rggb files: |
Different align cases:Here are some cases when to use different align methods.
One point align:
Multi point align: When difficult cases, it could be crowded star field with wide angle optics or big movements because of dithering. Then do a one point pre align with method 1 first. Do it with only whole pixels steps. Then do another align with method 2. In complicated cases you normally use a combination of the above.
|
Loading the image stack: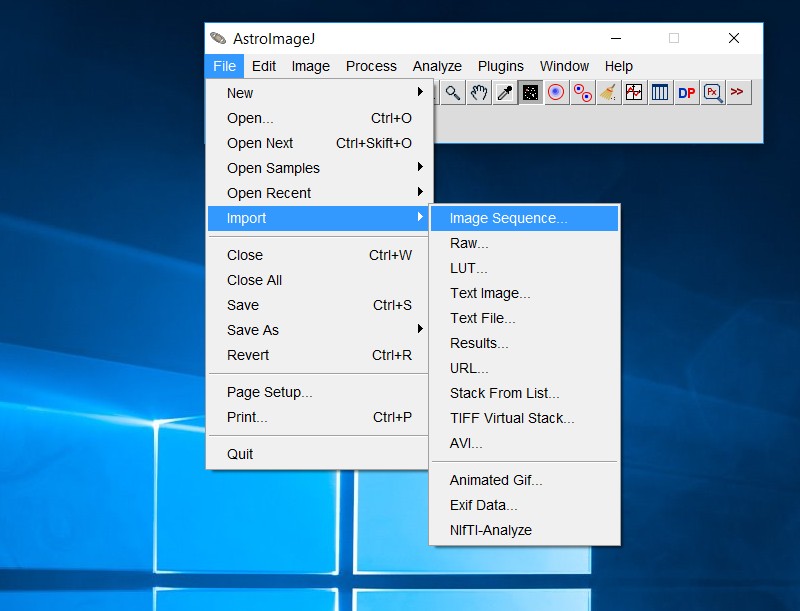
First you have to open your earlier converted and demosaiced images. You shall open them as a virtual stack, it means that you have them on the hard drive when working with them to save RAM memory. Use the File>Import>Image Sequence command. 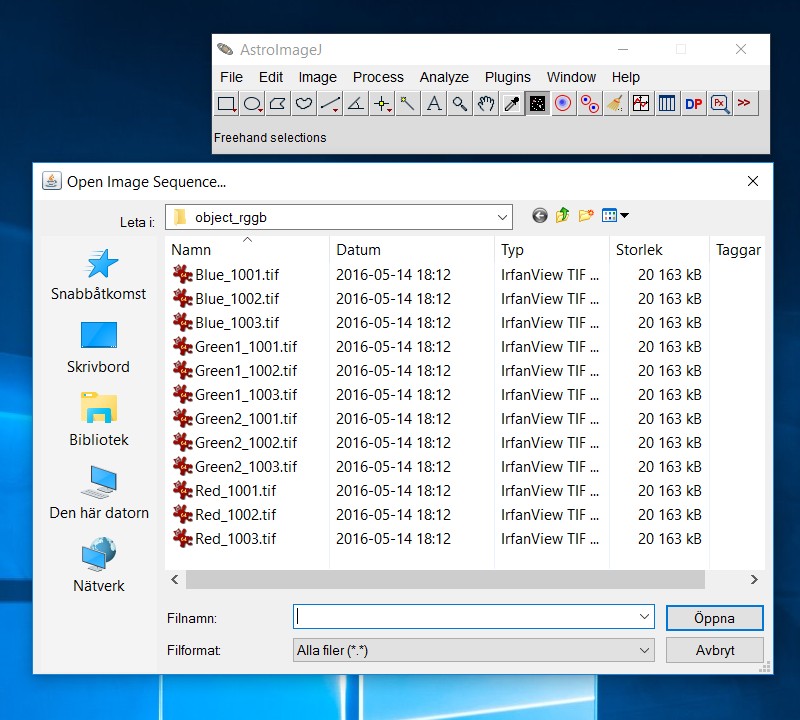
Choose your directory where you have your images, click on the first file and open.
Note: 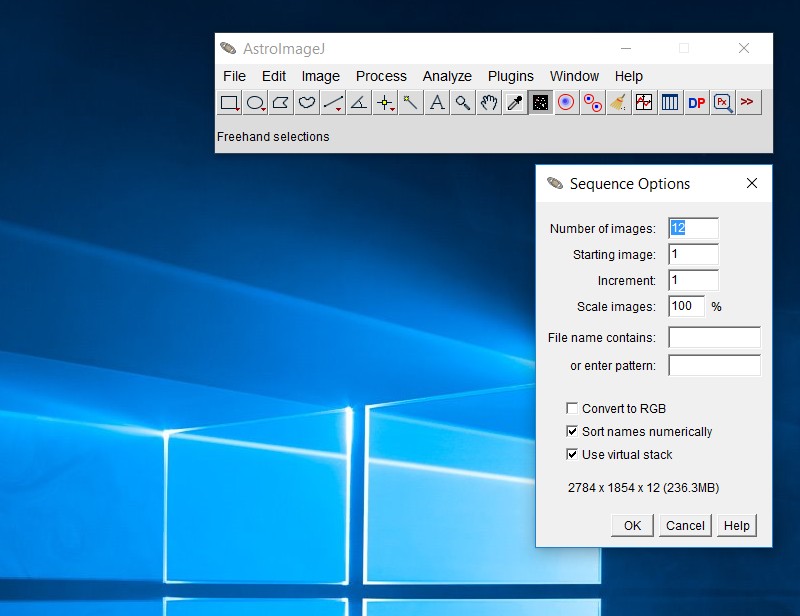
Sequence options: Enable "Use virtual stack". 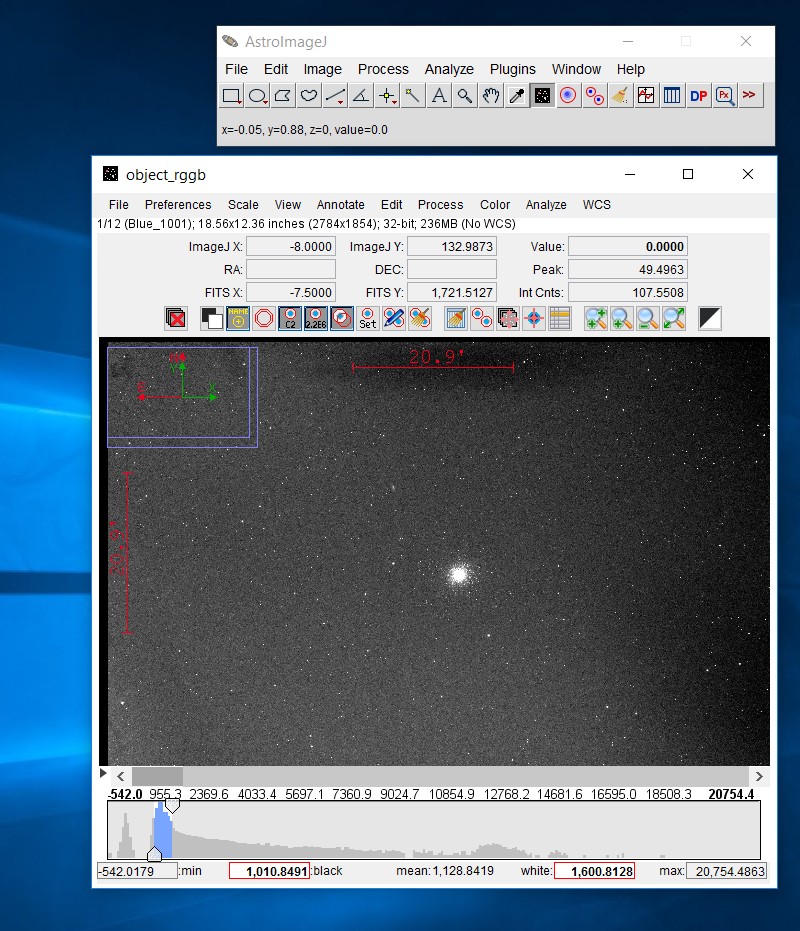
Now it's open, scroll through with the scrollbar (left above the histogram). If any image is of bad quality, through it away from virtual stack with Image>Stack>Delete Slice.
Note:
|
One point, Comet and big movement, method 1:Here I will give an example how to do one point align on a comet core. But it could also be used as a pre align if the automatic Image Stabilizer function fails, it could be because of big movement from dithering or very crowded field of stars with wide angle optics. 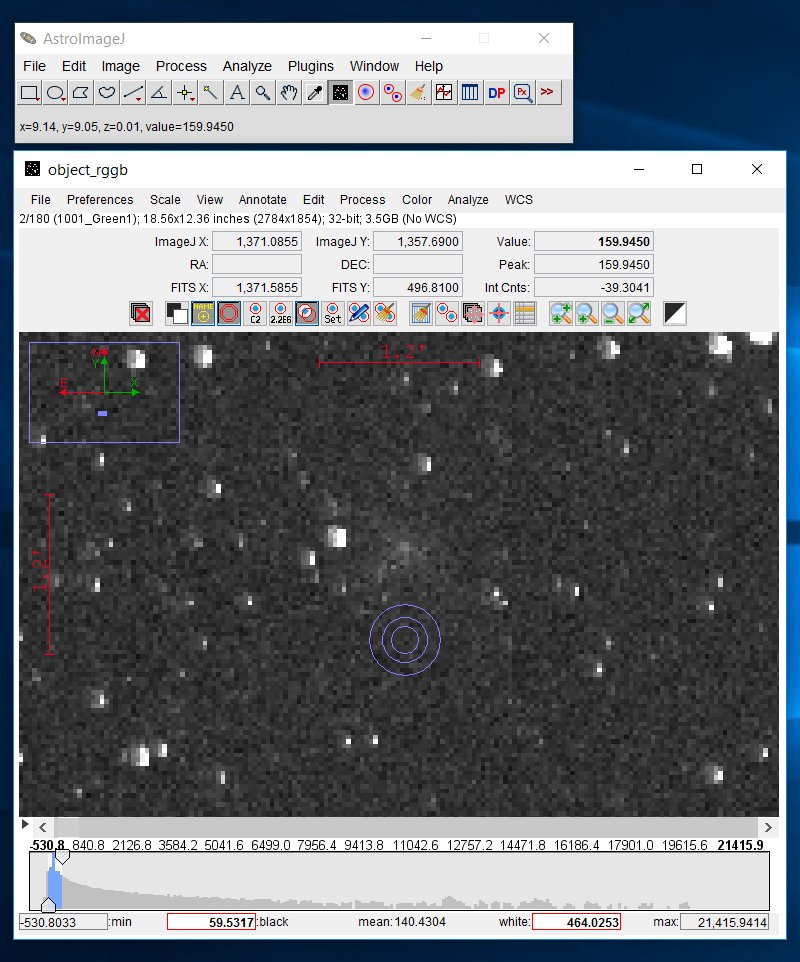
Here is the comet to be aligned, green cannel and just above the marker. Note the size of the three blue rings, this is the aperture, it shall be adjusted to fit your object, at the same time small enough to not get any disturbing stars inside. Inside the outer and middle ring no trace of your object shall be visible, but in this case it's not a small star, it's a big comet, concentrate on the bright core of it. Diffuse comets maybe will not work. A comet is normally much weaker in red and blue channel. In this case it was on the limit to work. If it fails, try to use the program Fitswork instead, that program can calculate where the comet should be on every image with time data from the first and last image. 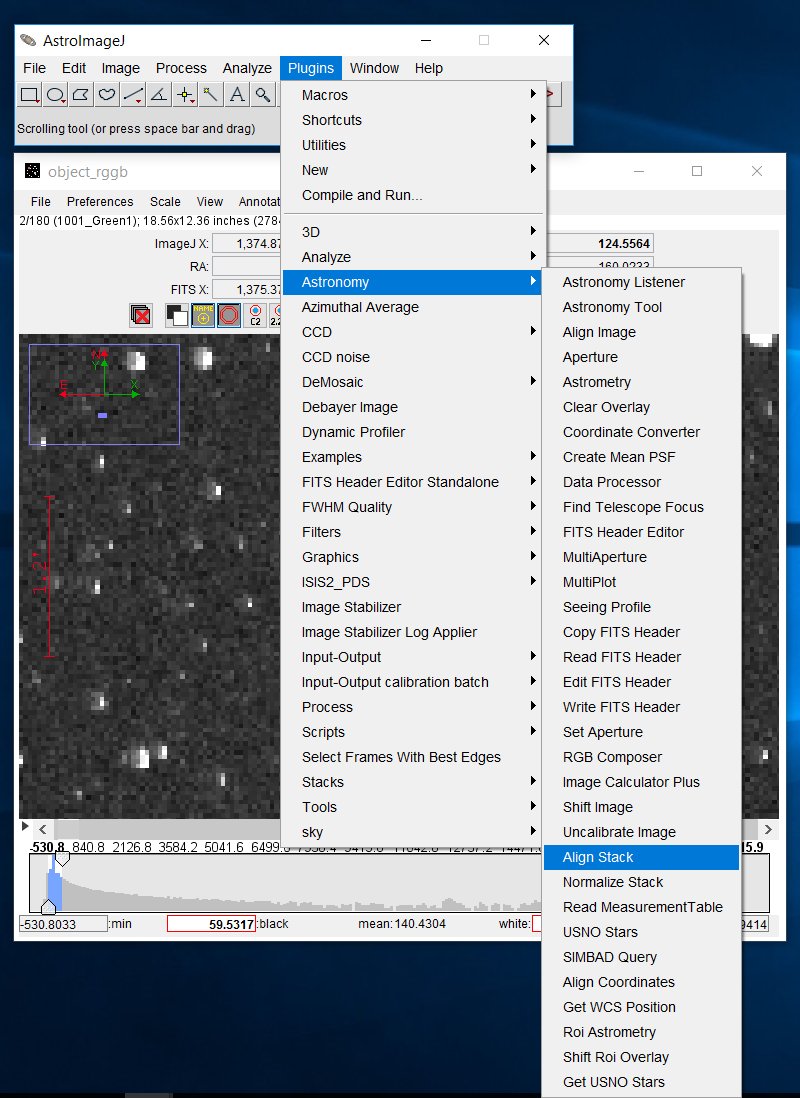
Choose the Align Stack function. 
If it's not already correct slice setting set it to what you have. In this case 45 images with four color each, that's 180. Aperture settings, this will depends of your objects size, sharpness and more. If you are doing a pre align before Image Stabilizer you should set the "Align only to whole pixels. 
With this function you can have more then one reference point. You set as many you want by left clicking. Erase them by click once again on the aperture. 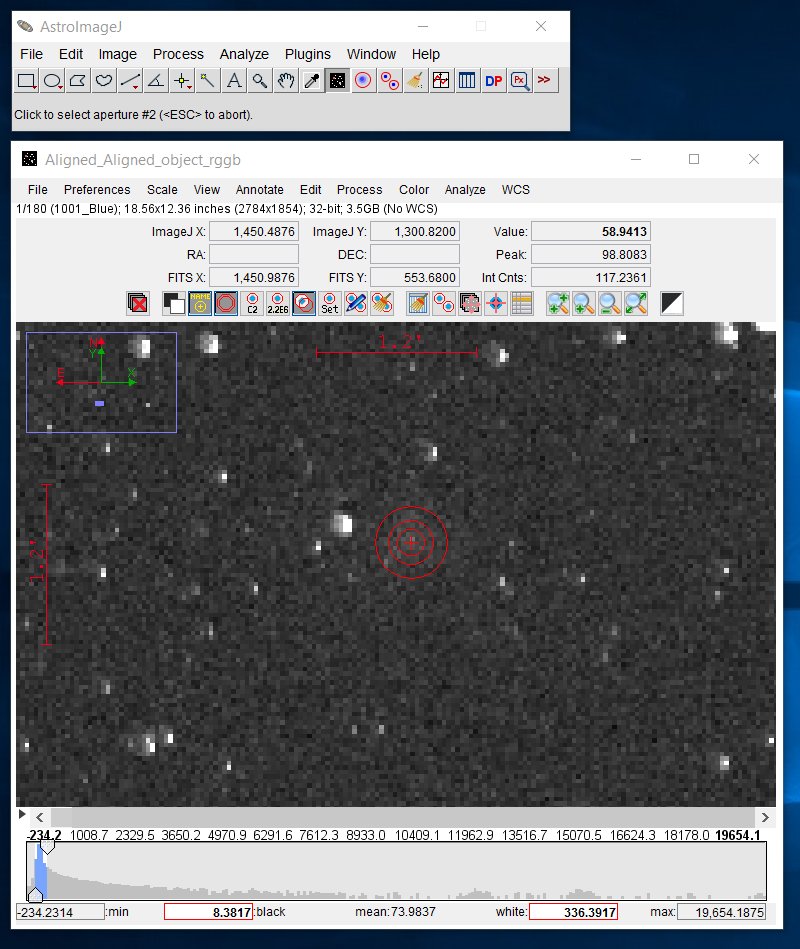
Now, just left click on the center of the comet core, AIJ will calculate the exact center of it. Press Enter when you find it ok. This take you to the second image, mark your ref point once again. Now it proceed by automatic to next image until you are finished. After you have finished the align process you must open them as you did earlier, but now from the library Aligned where they are stored by default. Scroll through them to see that they all has been aligned correctly.
|
Multi point align procedure, method 2:Here is the method you normally use to align images in AIJ. The plugin I use here has the name Image Stabilizer and are already built-in in AIJ. 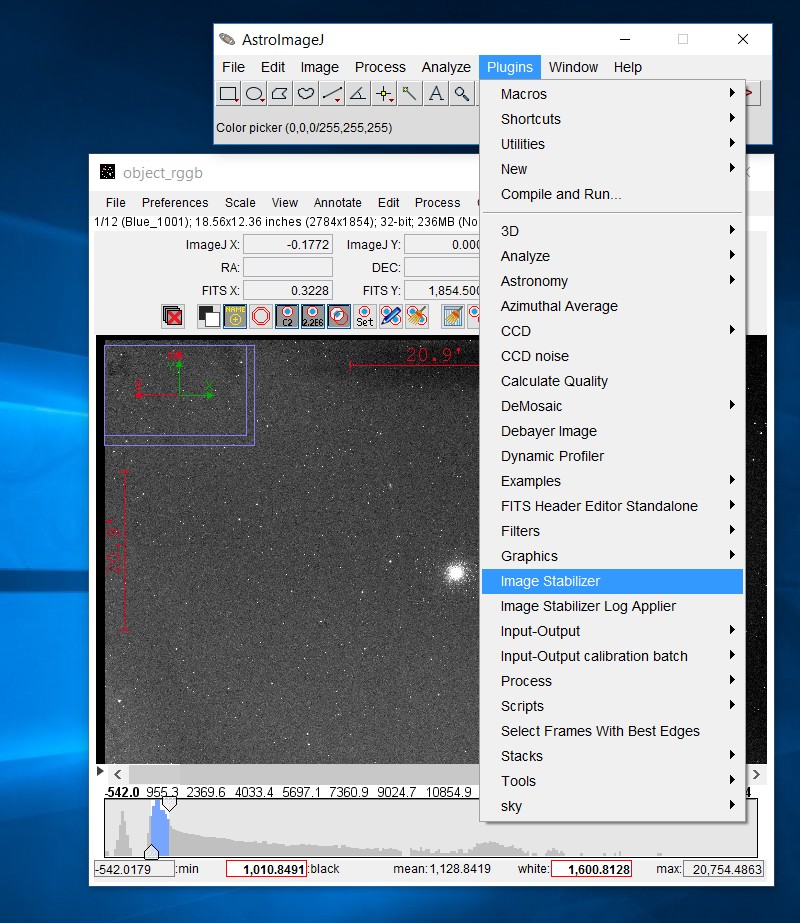
If you already has the stack of images open it's time to align, select Plugins>Image Stabilizer. 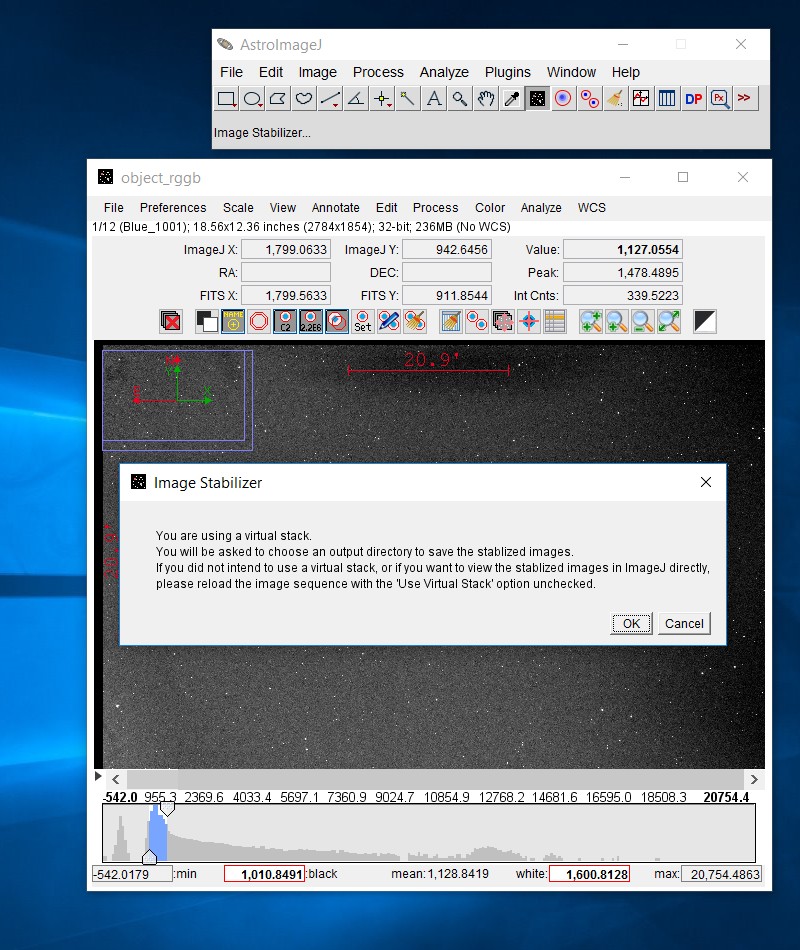
A warning will come up, but it's ok, use Virtual Stack, click on OK. 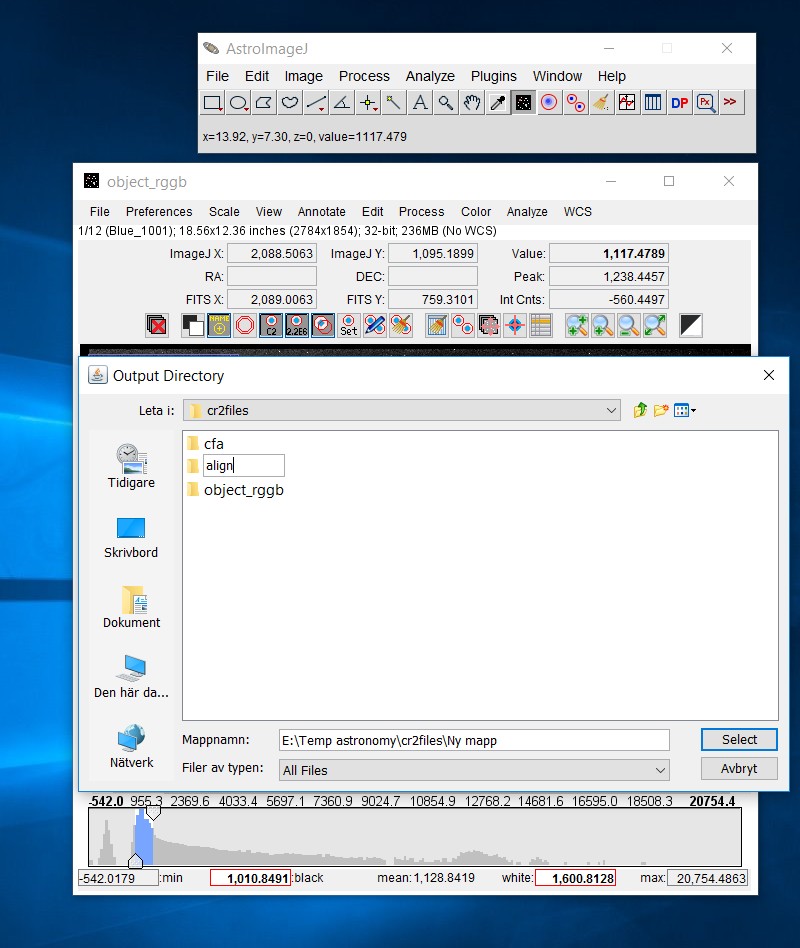
You will be asked where to store the aligned images. Created a new directory, I normally use the name "align" or "align2". 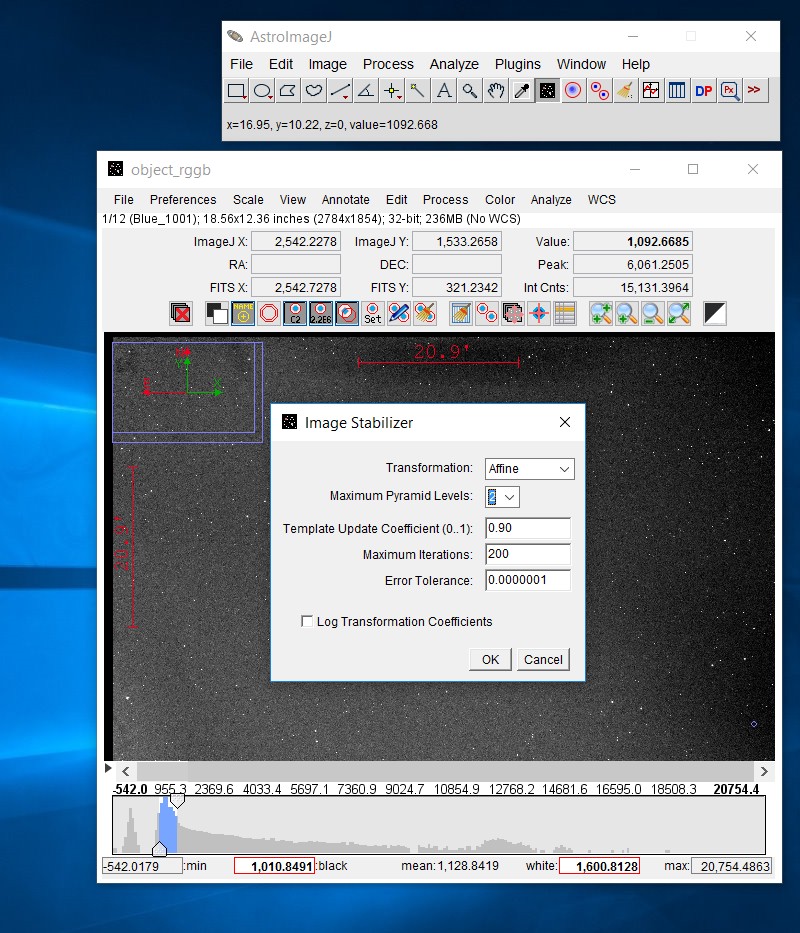
Default setup transformation method is Translate, but use the Affine method instead! It will do the more advanced align: shift, rotation and scale. You can set the pyramid levels from 1 to 4, my idea was with the level 4 I could handling more displacement between the images. But normally it crash when the displacement are to big if I have higher level pyramids, and if it's to low it align but not correct. Here you can read more about the idea with pyramid levels align: 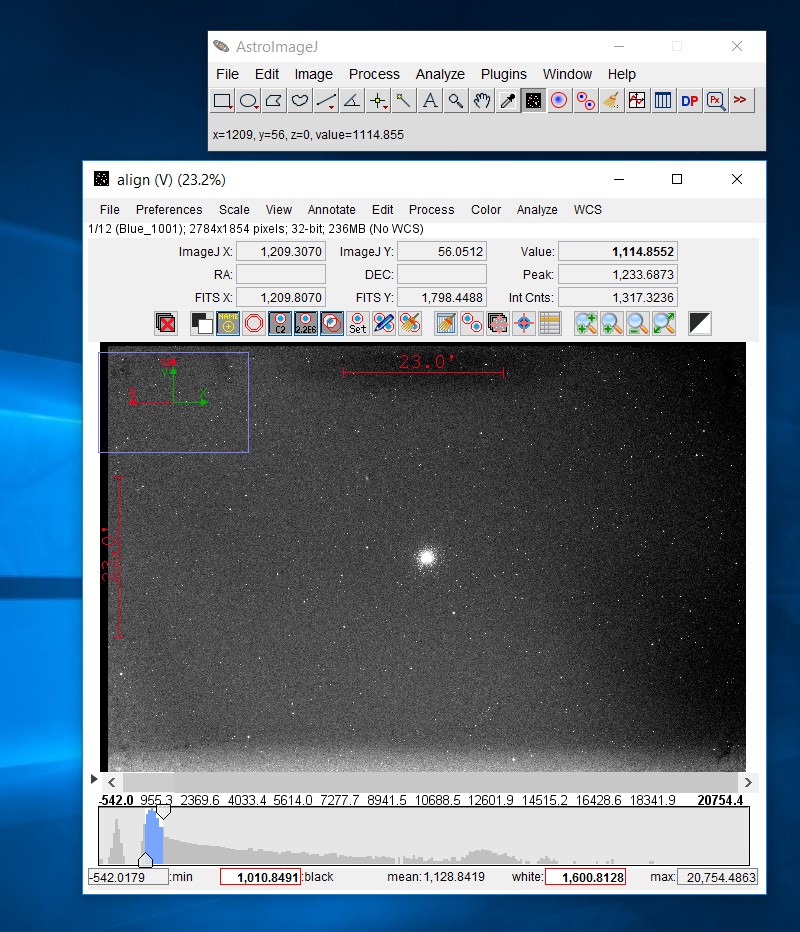
The align process will take a couple of minutes, you can follow how far it has come on the status line. When working with Virtual Stacks the changes to individual images will not be stored in RAM memory, when finished you have to open (import) the aligned images as a virtual stack. If you now scroll through them you will see that all of them have been aligned if the process was successful. It works for me even if the dithering method have been used when taking the images. 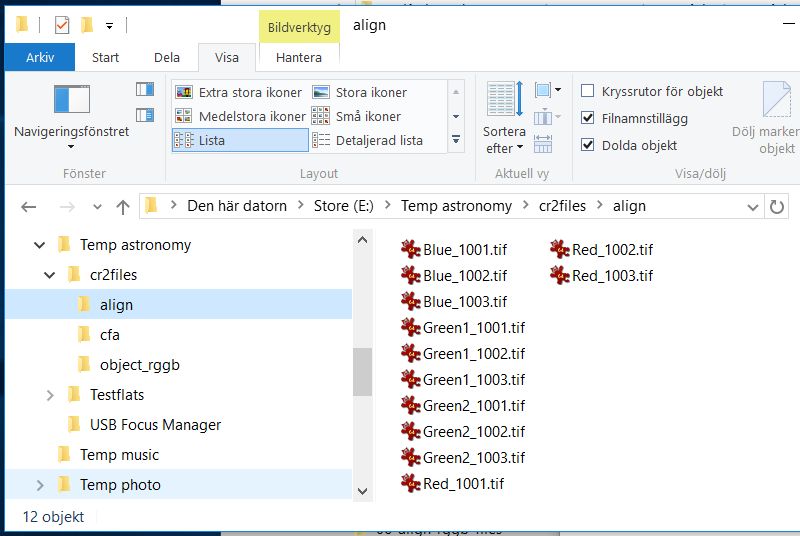
The aligned files in the directory align.
|
|