|
Advertisement / Annons: |
3D Printing:
|
Contents:
Note: |
7, Adjusting the print bed:Now it's almost time to do a calibration of the 3D printer. Only some check of the printer platform to do first, it must be in correct position and stable. Heating bed and printer platform: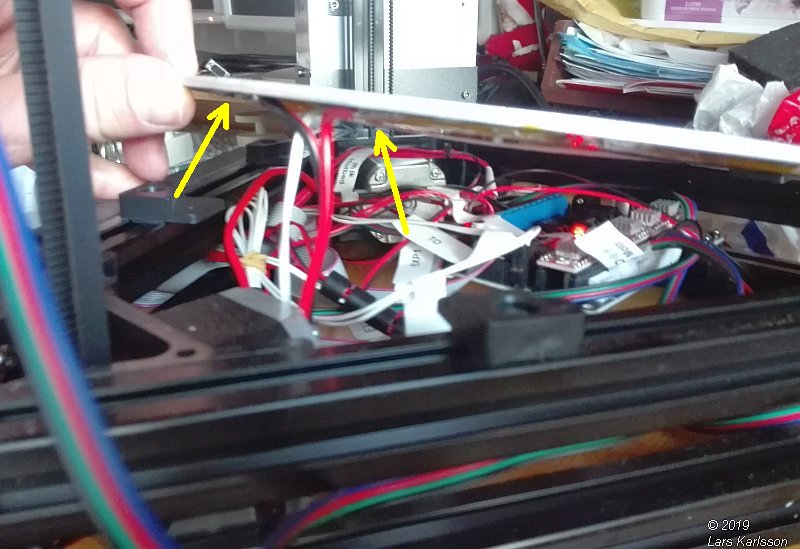
Check that the cables to the heating bed is not squeezed against the frame, it can cause a shortcut ! You have to rotate the printer platform until the cables come to a position where there is space for them. I placed mine just at the side of the stepper motor 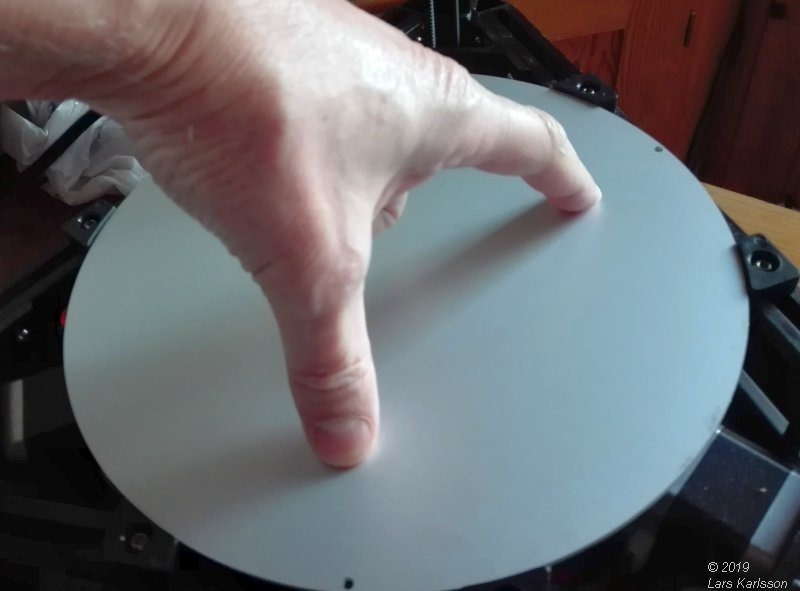
Push the plate downwards, important it's at the bottom, test that it don't wiggle. It must sit flat and in center, check that there are no cables squeezed between the platform and its holders. 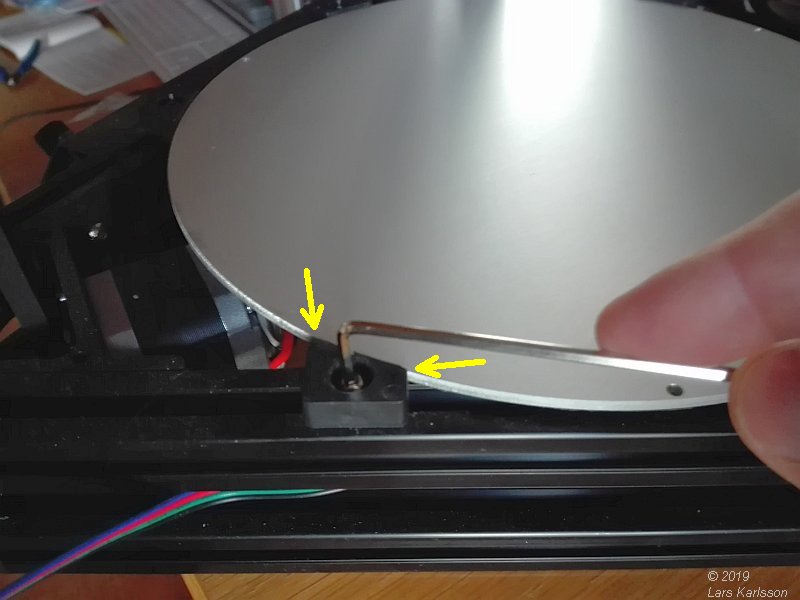
Adjust the holders to grip the platform secure and hold it stable, check once again that the platform is placed in center of the frame. It's very important for the precision that this platform is stable. 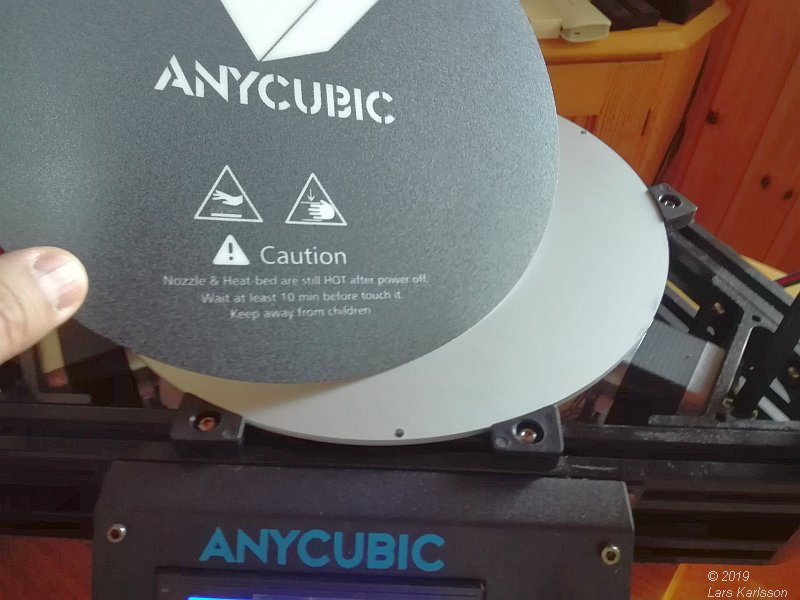
On top of the aluminum platform this plastic cover shall be mounted. 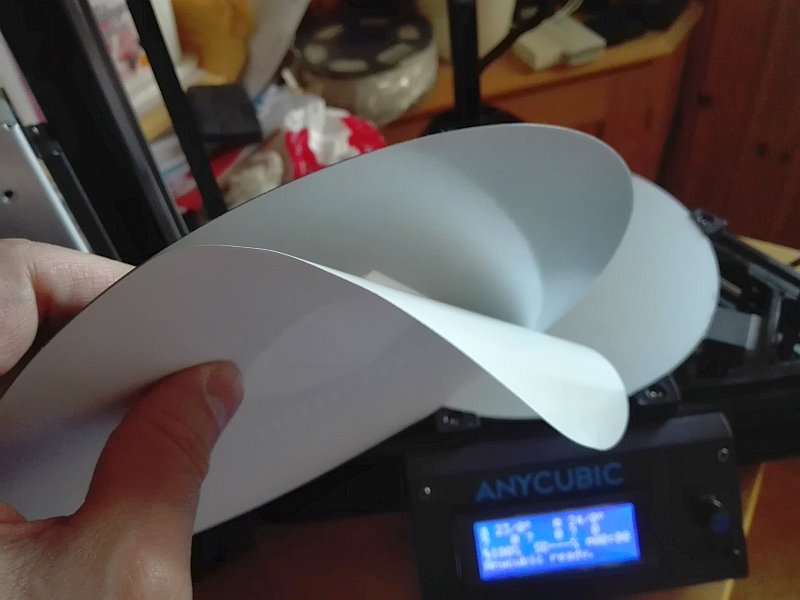
Clean the aluminum surface, loosen the protection film on the backside. 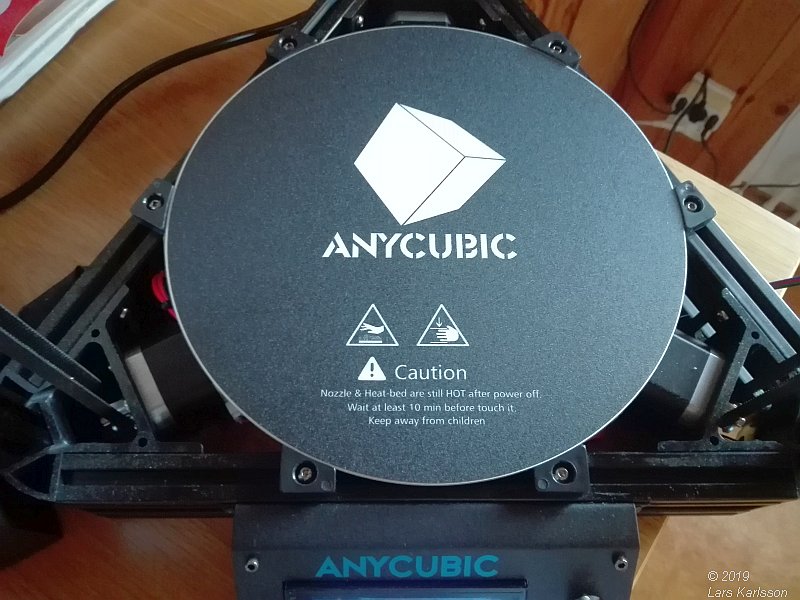
Mount it in center and be careful to not get any bubbles below the plastic film. 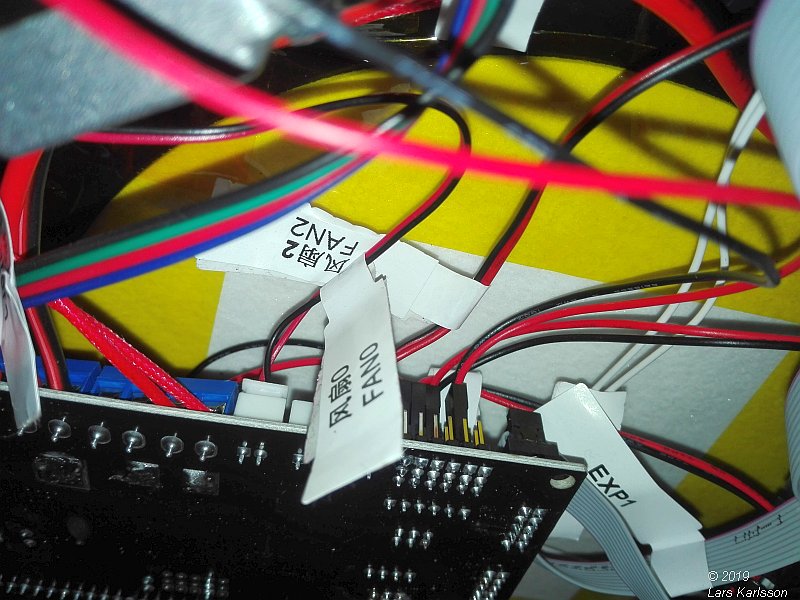
Check that no cables is close to the heating bed from below, look from downside of the 3D printer. 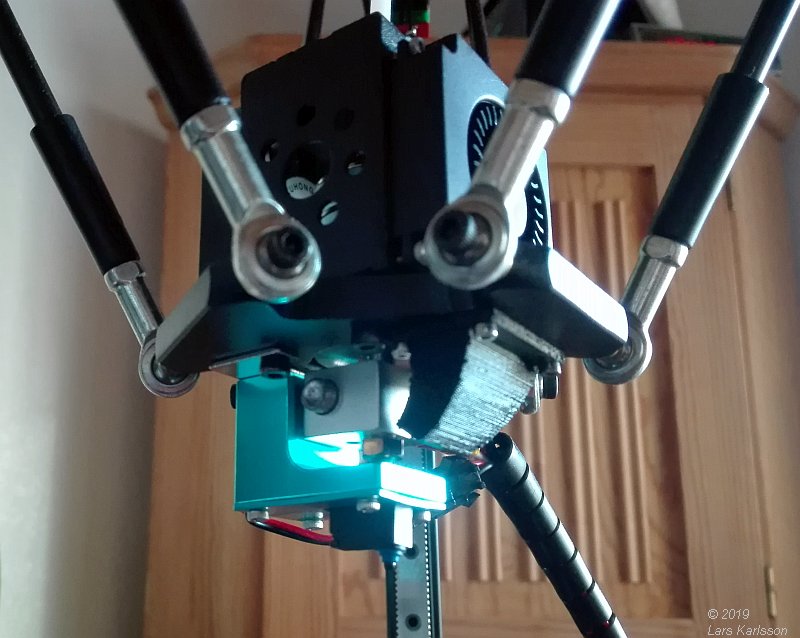
Mount the calibration unit with its magnetic holder, note: it must be in this direction ! |
Power up: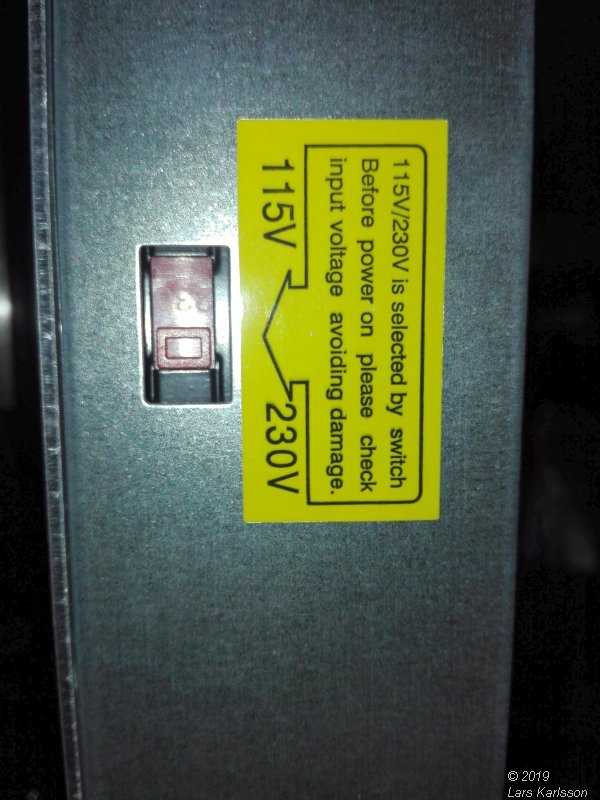
Before powering it up the power supply, check carefully that it's setup to correct voltage, in Sweden we have 230 volt 50 Hz. 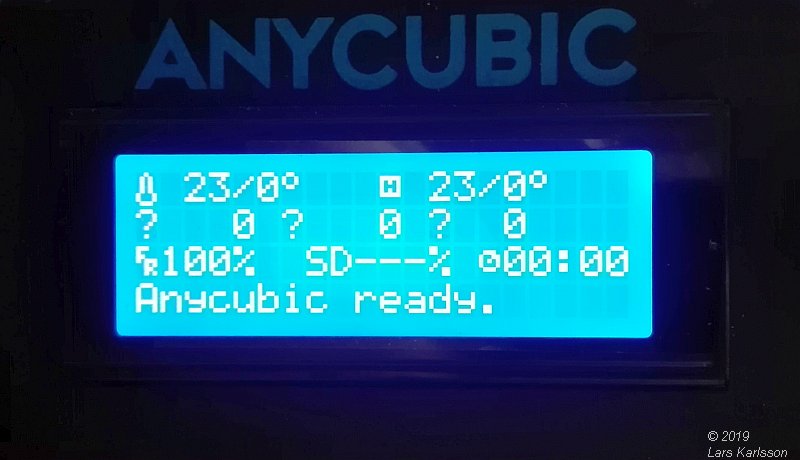
Switch the power on, yes it light up ! The following is obsolete, follow no 13 Setup / Calibrate Marlin 2.0.0 !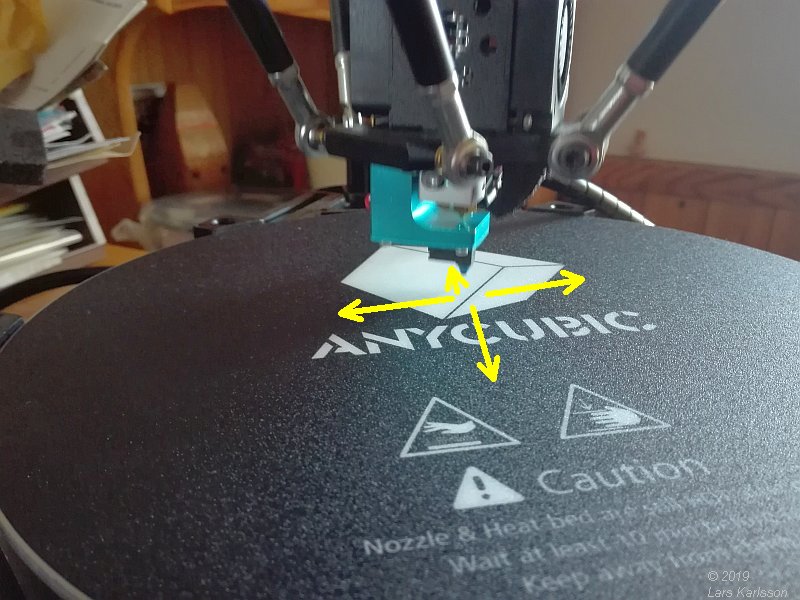
Starting the calibration and the print head start moving to 69 calibration points and measure the Z-axis distance to the platform. Look in your manual how to do this calibration. 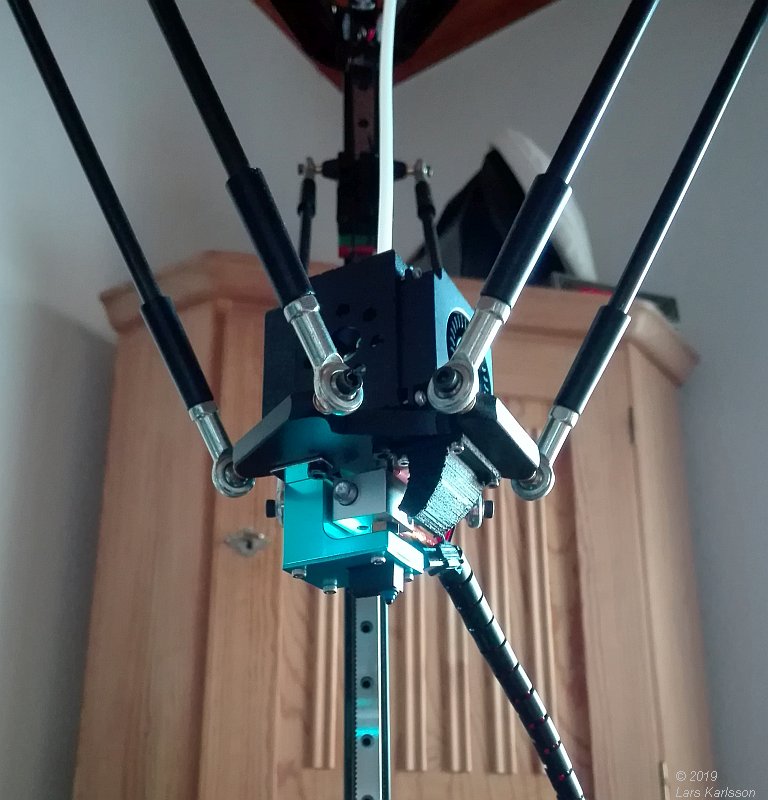
When finished it parks the printer head. Now I do another calibration and fine adjust the offset. That is the Z-axis difference from the calibration, it is the distance from the nozzle and the calibration unit's tip. 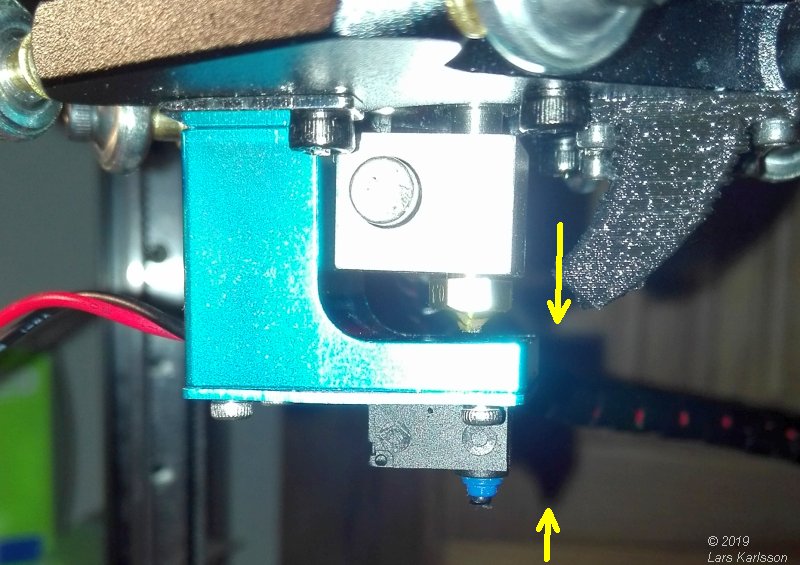
If I understood it correct this is the offset they write about in the manual, I found it to be about 18 mm. Don't set it too short, it will then smash down in the platform, you will fine adjust it later with a test print.
|
|