|
Advertisement / Annons: |
3D Printing:
|
Contents:
Note: |
1, Introduction, unpacking and assembling sliders:Introduction:Who hasn't read about this fantastic 3D technology, you can print everything, space shuttles, houses and I don't know what. Until now I didn't have a 3D printer but I have seen there are some adapters that can be 3D printed, that's interesting and also the reason why I bought this 3D printer. I chose a Kossel Plus linear slider 3D printer of Delta construction, not the ordinary XYZ configuration. Many reason for that, the printer head is smaller and lighter, it can then print faster. Small footprint on my desk, and I have a very compact living. More about 3D printing:
But how about the use in astronomy? Check these links of what can be done in 3D printing related to astronomy:
Unpacking: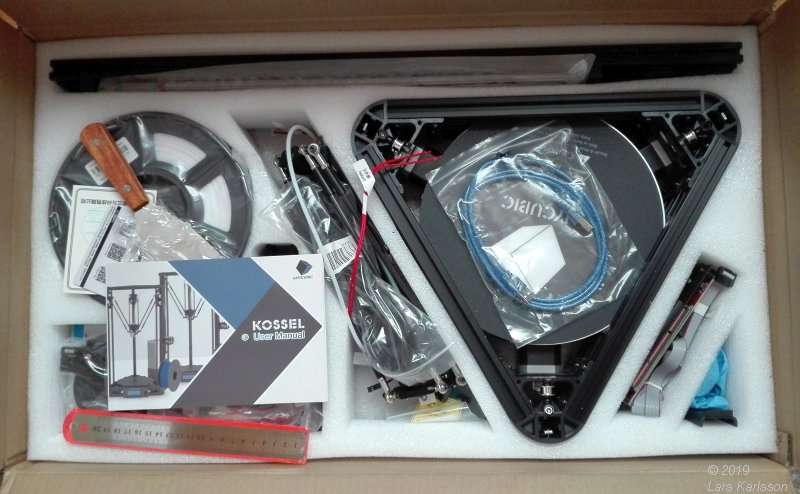
Just a few days after I ordered the 3D printer it rings on the door's bell. I got a flat brown box. I was very eager to open it and see what's inside. To my surprise it looked very good (the 3D printer didn't cost very much). It gave a look of high quality and even a manual was there. My friend once told me, a real man doesn't read manuals and I want to start assembling it at once. But maybe better to read the manual, started read it, good because now I maybe do less mistakes. Assembling sliders:I follow the manual and started assembling the sliders. 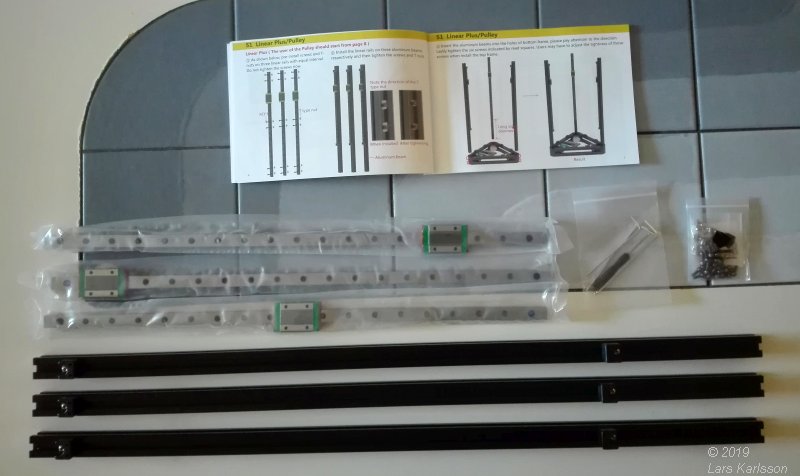
The three included slider rails are mounted on the chassis three pillars. Open the plastic cover and took them out. The surface has a thin layer of grease. 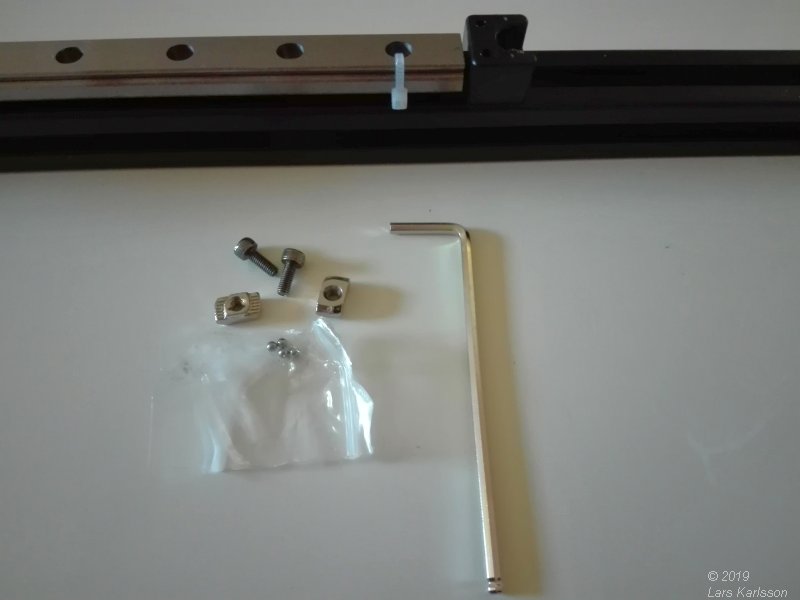
Each slider rail is mounted by six screws and a nut that twist inside the beam (the black). The slider rail has a stop at each end to protect the slider to fall out and drop all the roller balls. A hex driver is included and also some spare balls if you drop any of them. 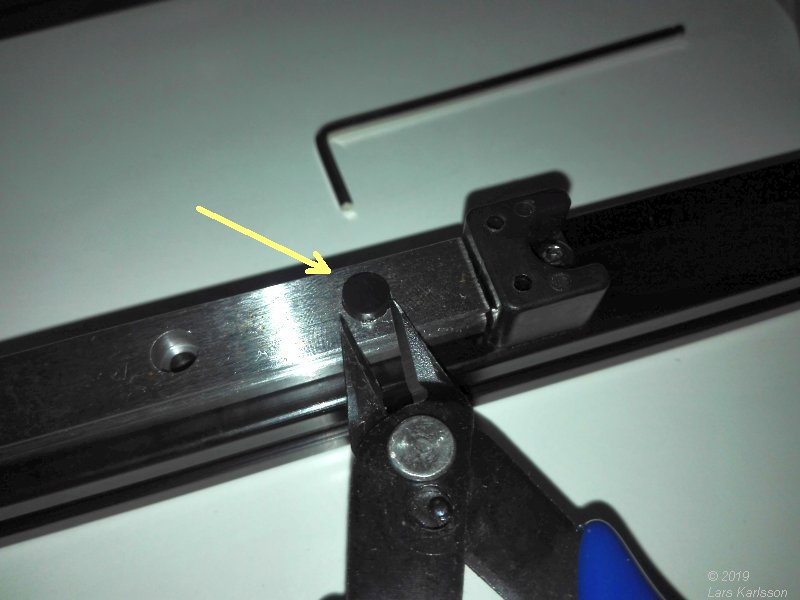
The protection stops are a stripe or a plastic knob, here I use the tool to loosen the plastic knob. 
Put the screw into the hole and put on the nut, orient the nut along the slider rail. I turn the screw only 1.5 turns, not more. This is a bit tricky, if you turn the screw more the nut can't twist inside the beam, and you don't see anything what's going on inside the beam. 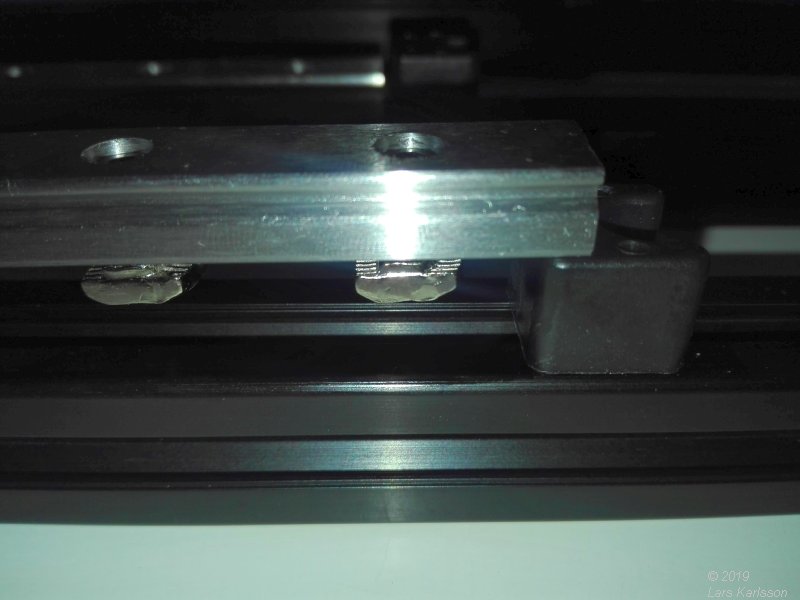
All six screws and nuts in place and I lower the slider rail and the nuts go down inside the beam. 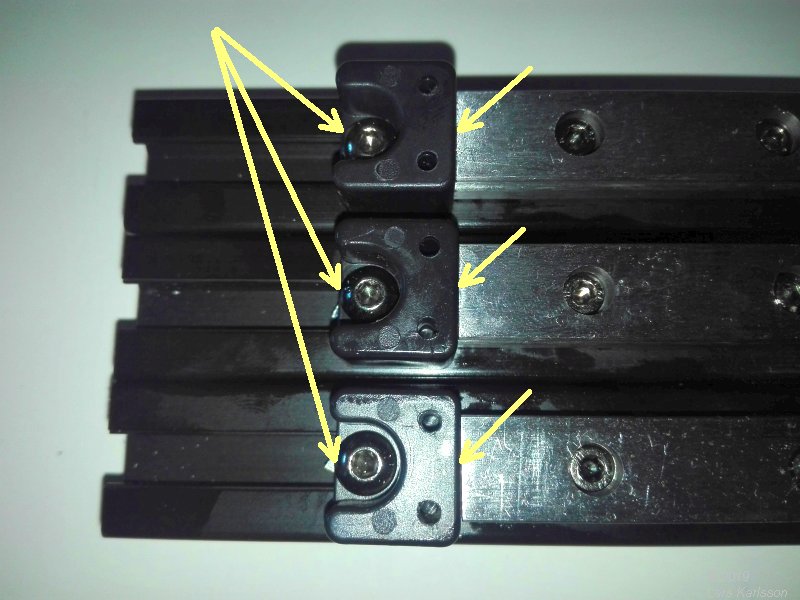
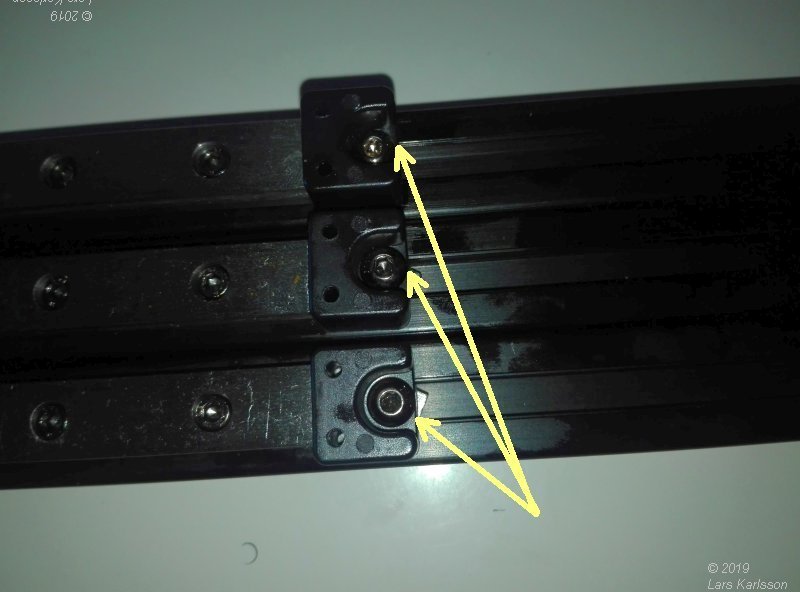
Check that the top stop is in the same position on all three beams. 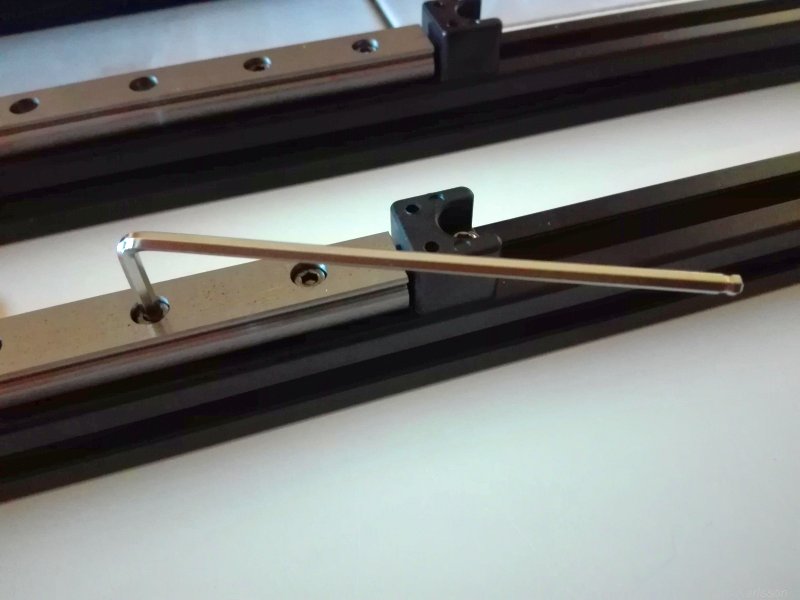
Now I turn the screws slowly to get some feeling if the nut twist and lock inside the beam. I needed to redo this once until I was sure it locked correctly. |
Adjusting the lower stop to fit against the slider rail.
|
|