Astrofriend's homepage

www.astrofriend.eu
Share: Twitter Reddit Facebook Gmail Gmail Email
Search Astrofriend's homepage:

Valid CSS!

All pages shall now have been validated

Info Cookies (Kakor) / GDPR

Navigation

Advertisement /
Annons:

Twitter @AstrofriendLars

Follow Astrofriend

Tutorial News

Advertisement /
Annons:

Advertisement / Annons:

3D Printing:
My first 3D printer, assembling and setup


Contents:

  1. Introduction, unpacking and assembling sliders
  2. Installing the pillars on the bottom frame
  3. Installing the top limit switches and the top frame
  4. Installing the timing belts
  5. Installing the display and the filament feeder motor
  6. Installing electric devices and cables
  7. Adjusting the print bed
  8. Test print and test of Z-axis offset
  9. Installing CP2102 drivers and Cura
  10. Upload new 3D printer software - Marlin
  11. Mechanical calibration
  12. Setup Marlin 1.1.19
  13. Setup/Calibrate Marlin 2.0.0
  14. Tweaks
  15. Temperature P.I.D. optimizing
  16. Calibrate horizontal expansion
  17. Wind shield
  18. Replacing the nozzle heater
  19. To be continued

Note:
I take no responsibility or liability for what are written here, you use the information at your own risk!


5, Installing the display and the filament feeder motor:

Installing the display:

3D printer, assembling and setup

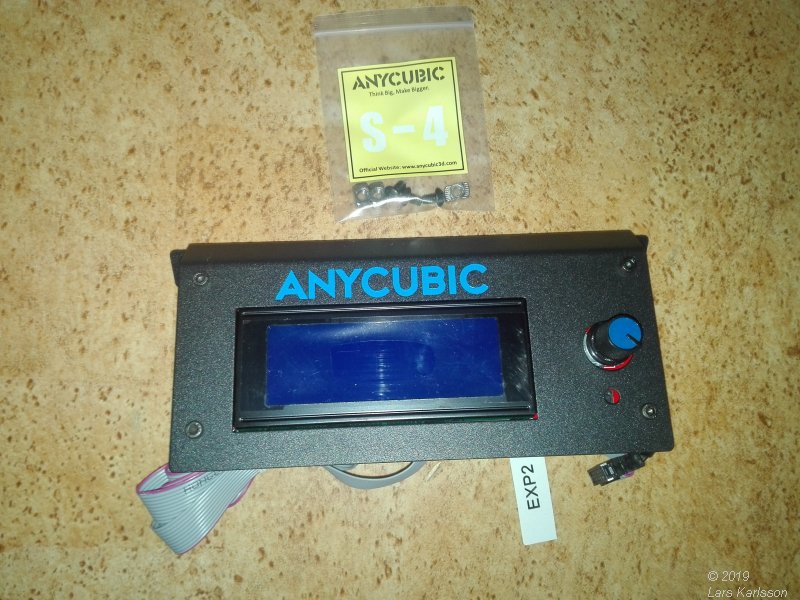
The display and control unit shall be installed at the front of the 3D printer.


3D printer, assembling and setup

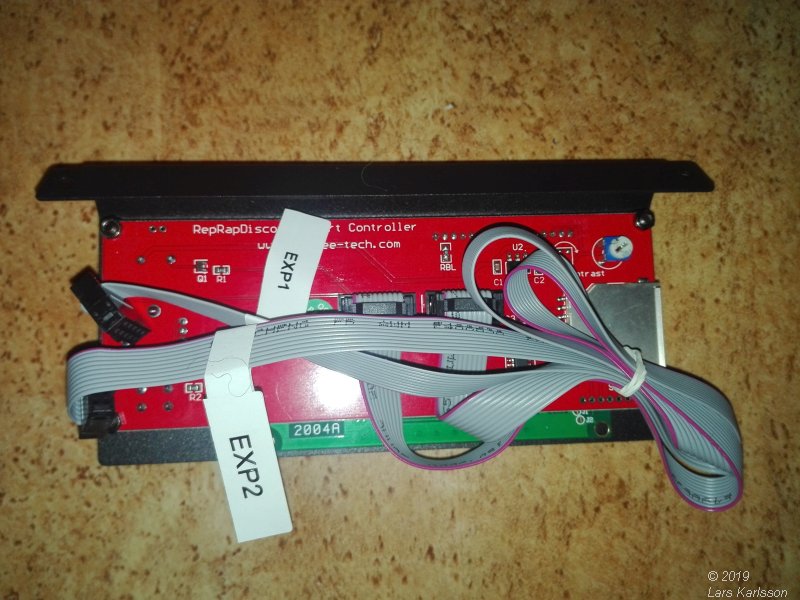
Backside of the display, don't touch the circuit board, it's sensitive to static electric discards.


3D printer, assembling and setup

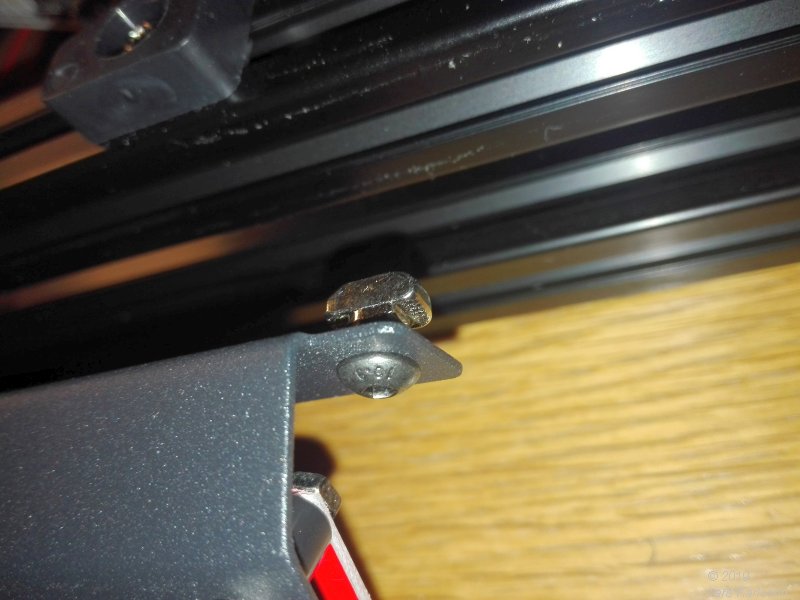
Same screws and nuts as earlier, orient the nut along the rail.


3D printer, assembling and setup

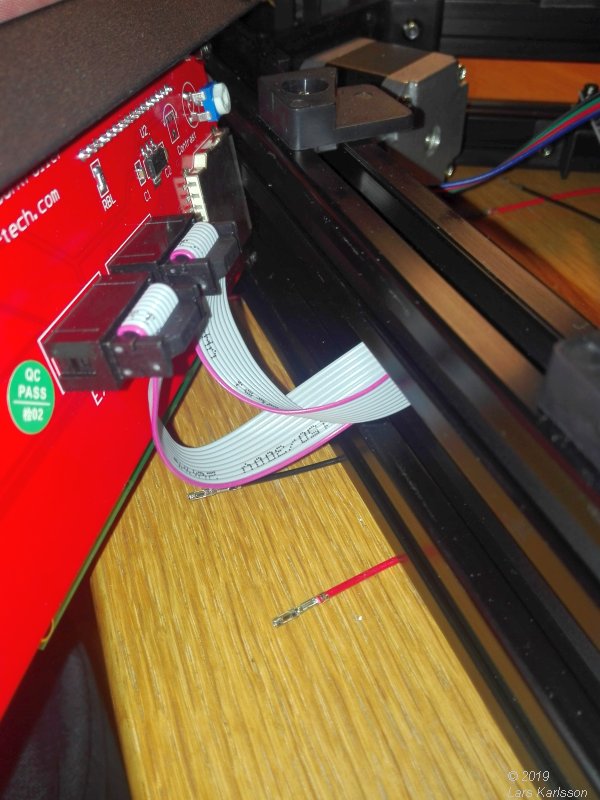
The flat band cables shall run through the bottom frame slit.


3D printer, assembling and setup

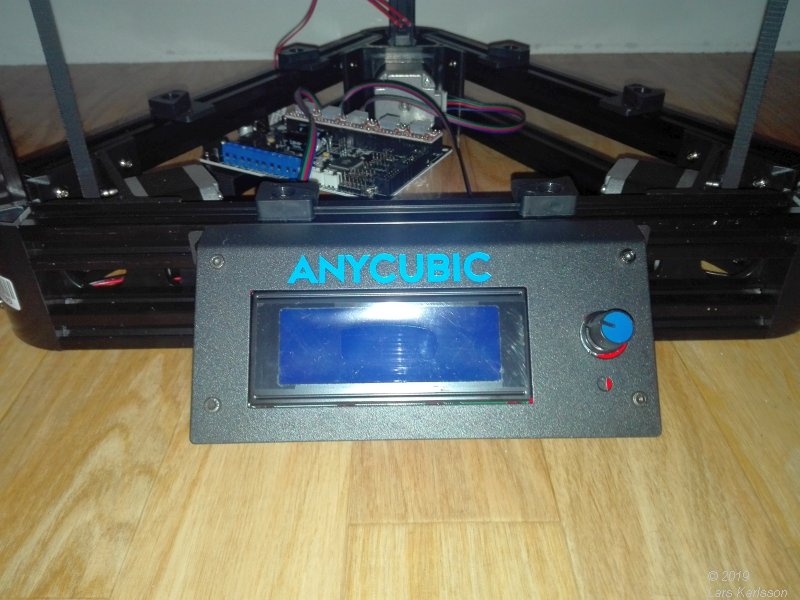
Adjust it to sit in the middle.


Installing the filament holder and the feeder motor:

3D printer, assembling and setup

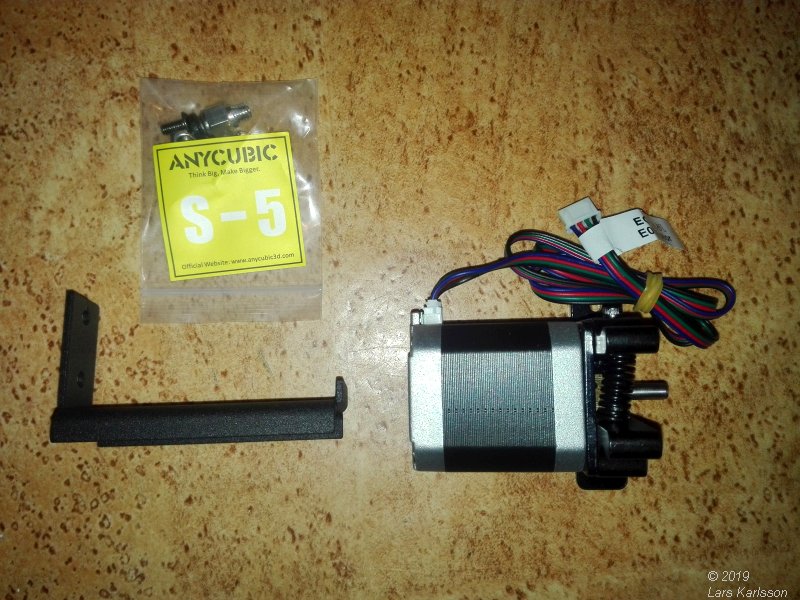
Filament holder and filament feeder motor.


Installing the filament holder:

3D printer, assembling and setup

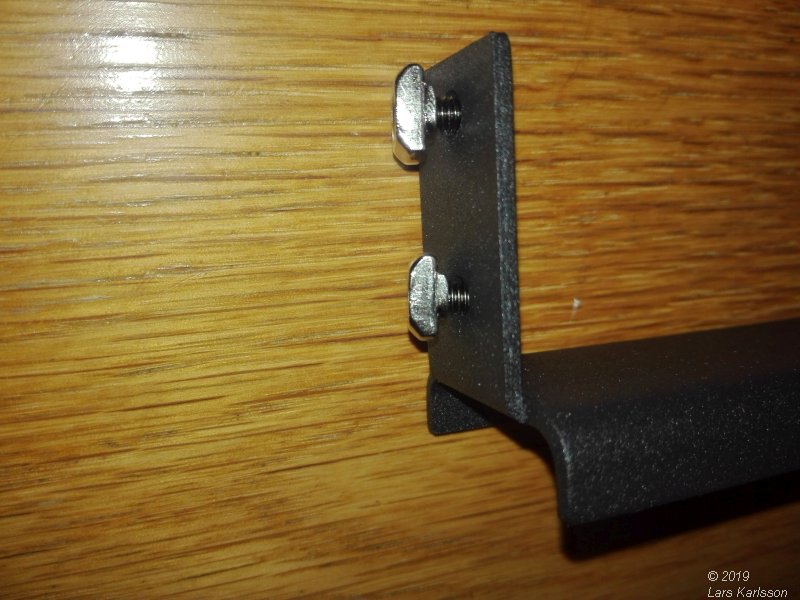
Install the screws and nuts on the filament holder.


3D printer, assembling and setup

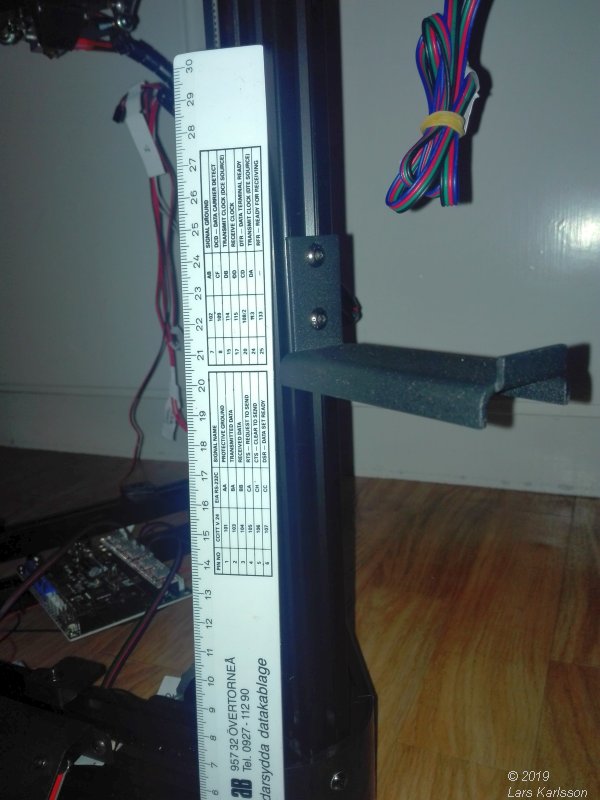
Adjust the height to 20 cm above table.


Installing the filament feeder motor:

3D printer, assembling and setup

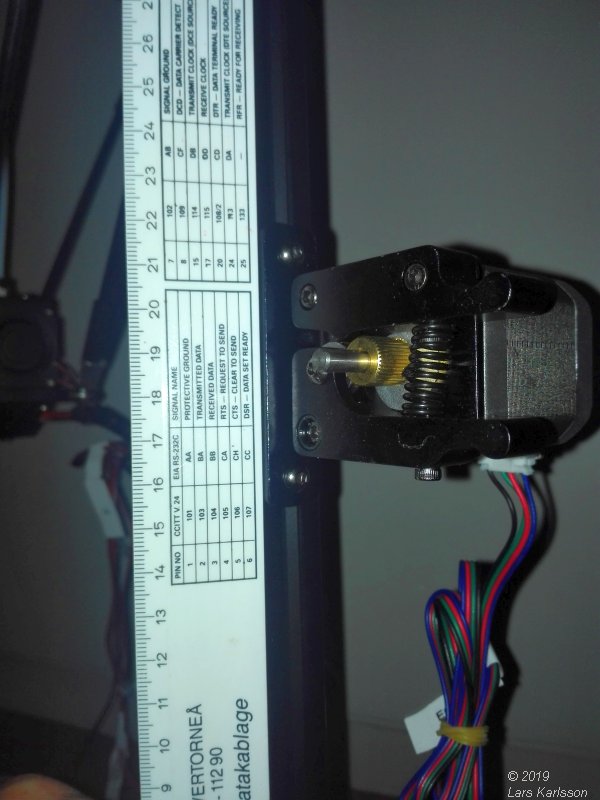
Install the bracket 36 cm above desk or 20 cm above lower part of filament holder.


Installing the feed pipe:

3D printer, assembling and setup

Feed pipe.


3D printer, assembling and setup

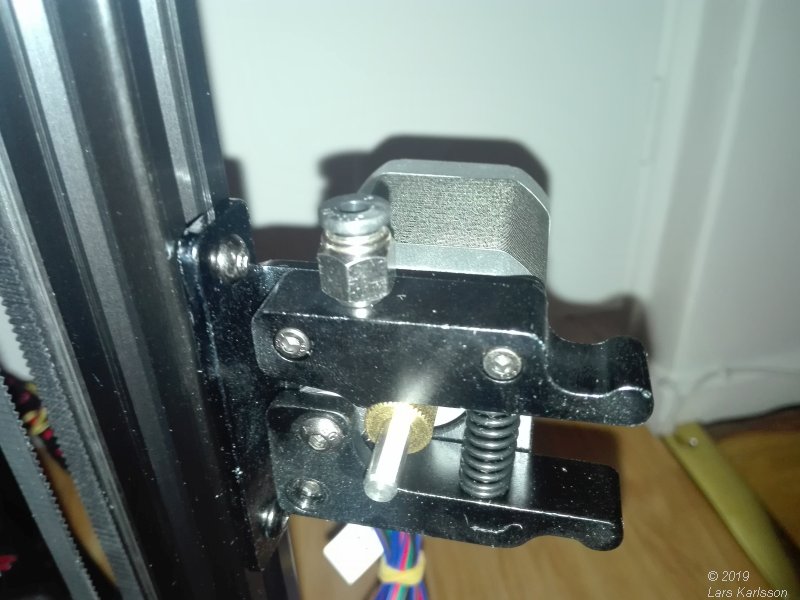
Feed pipe installed on top of the feeder motor.

Go Back to content

Go Back
To page VI, Installing electric devices and cables

Advertisement / Annons: