Astrofriend's homepage

www.astrofriend.eu
Share: Twitter Reddit Facebook Gmail Gmail Email
Search Astrofriend's homepage:

Valid CSS!

All pages shall now have been validated

Info Cookies (Kakor) / GDPR

Navigation

Advertisement /
Annons:

Twitter @AstrofriendLars

Follow Astrofriend

Tutorial News

Advertisement /
Annons:

Advertisement / Annons:

3D Printing:
My first 3D printer, assembling and setup


Contents:

  1. Introduction, unpacking and assembling sliders
  2. Installing the pillars on the bottom frame
  3. Installing the top limit switches and the top frame
  4. Installing the timing belts
  5. Installing the display and the filament feeder motor
  6. Installing electric devices and cables
  7. Adjusting the print bed
  8. Test print and test of Z-axis offset
  9. Installing CP2102 drivers and Cura
  10. Upload new 3D printer software - Marlin
  11. Mechanical calibration
  12. Setup Marlin 1.1.19
  13. Setup/Calibrate Marlin 2.0.0
  14. Tweaks
  15. Temperature P.I.D. optimizing
  16. Calibrate horizontal expansion
  17. Wind shield
  18. Replacing the nozzle heater
  19. To be continued

Note:
I take no responsibility or liability for what are written here, you use the information at your own risk!


3, Installing the top limit switches and the top frame:

Mounting the top limit switches and the top frame:

3D printer, assembling and setup

Now it's time to move to the upper part. Top limit switches and top frame. 
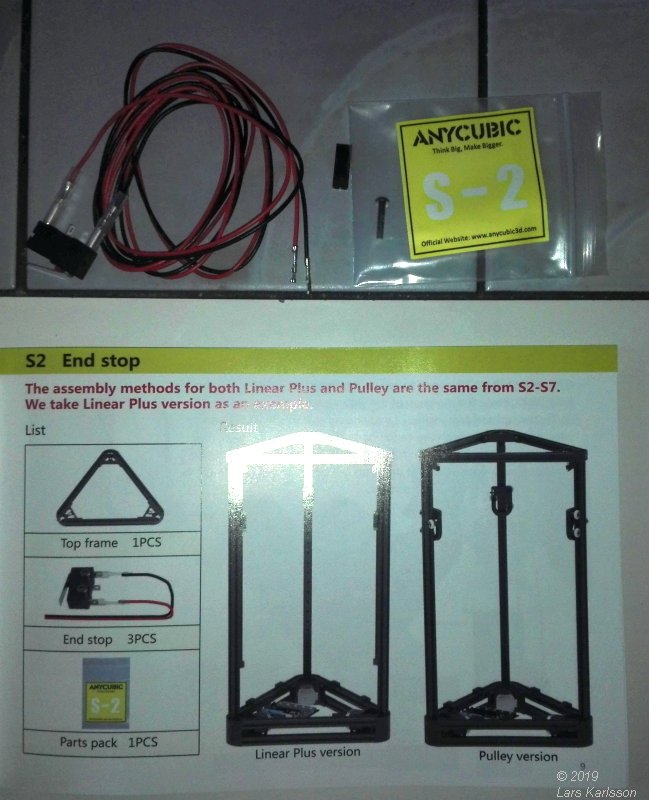
The plastic bag has a number that indentify it, very convinient.


3D printer, assembling and setup

The 
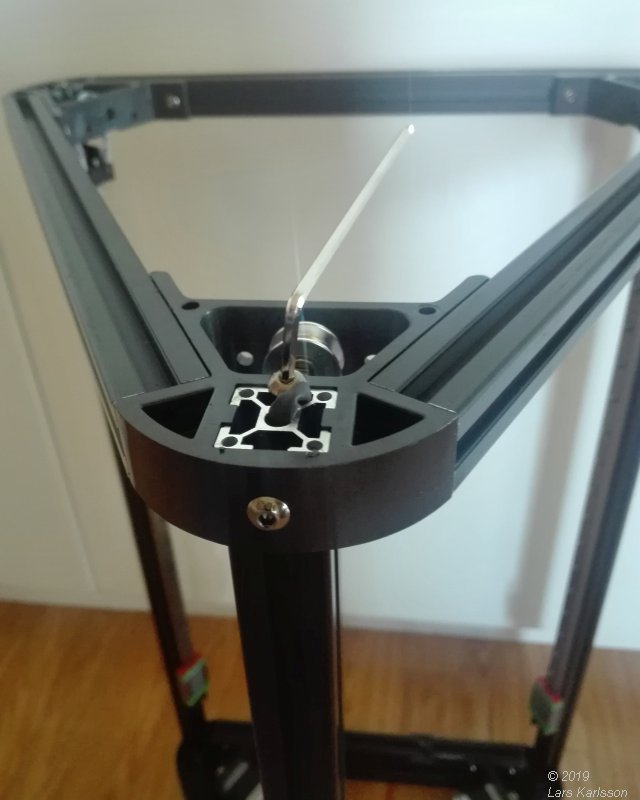
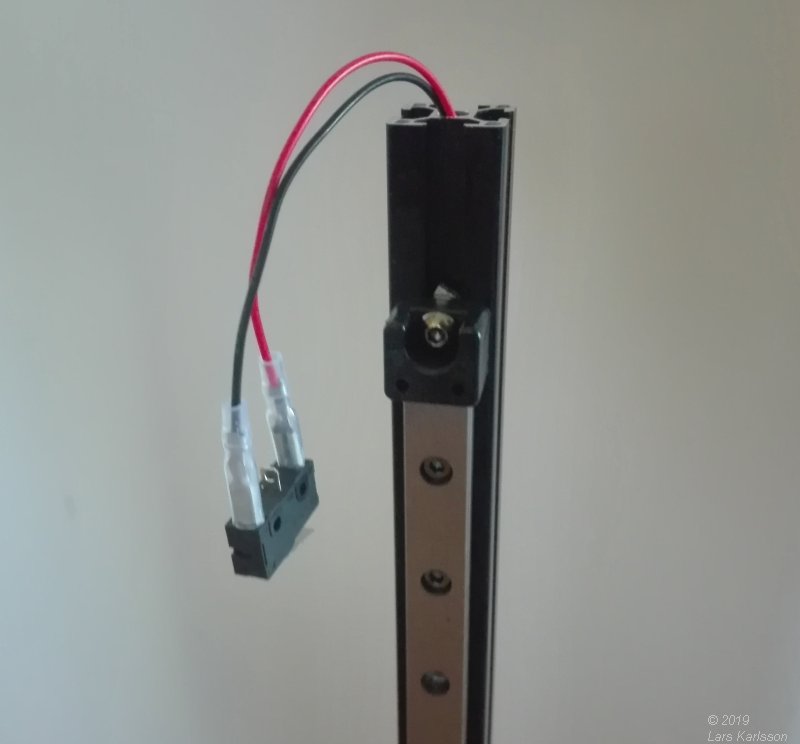
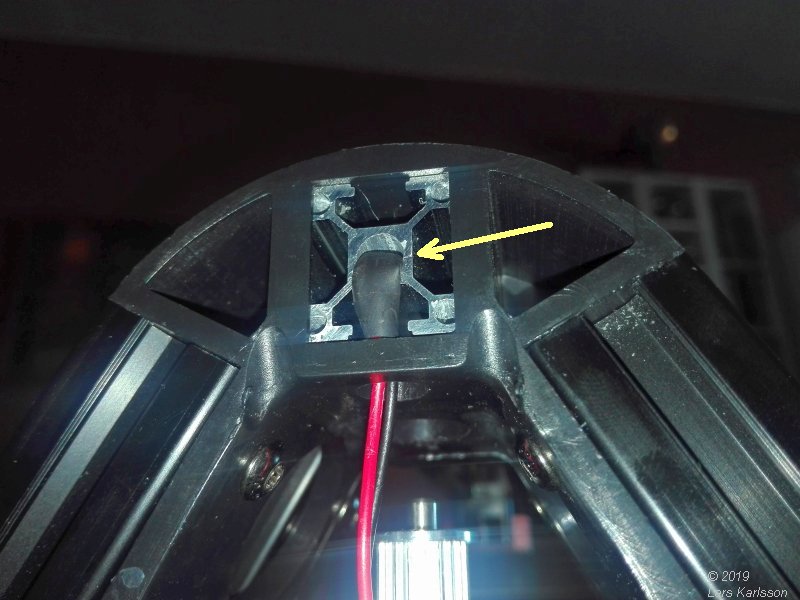
cables from the switches run through the pillars, do not get any bent on the cables


3D printer, assembling and setup

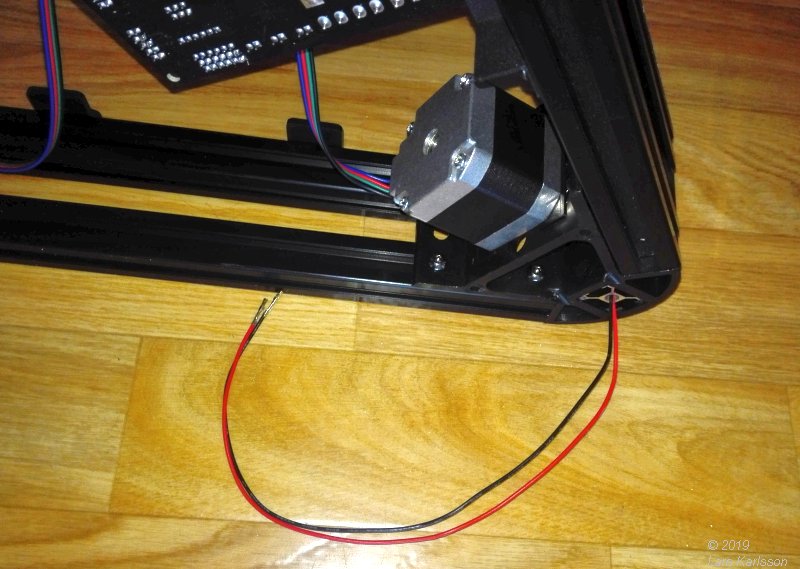
The cable come through at the bottom, there is holes prepared to let the cables connect to the pcb board.


3D printer, assembling and setup

I mounted the switches in the same direction on all pillars to have it symmetric, maybe good.


3D printer, assembling and setup

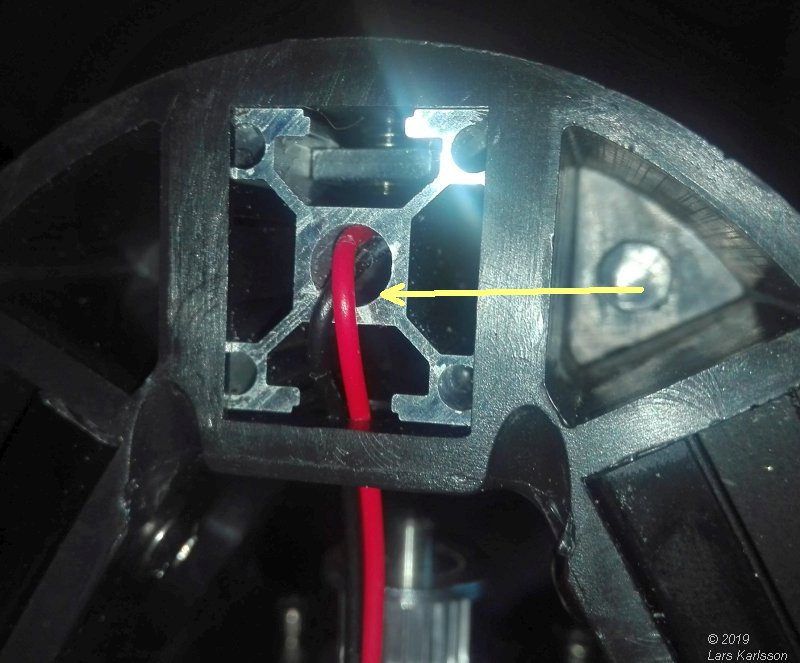
This didn't look nice to me. A very sharp edge at the pillar that can cut through the cable.


3D printer, assembling and setup

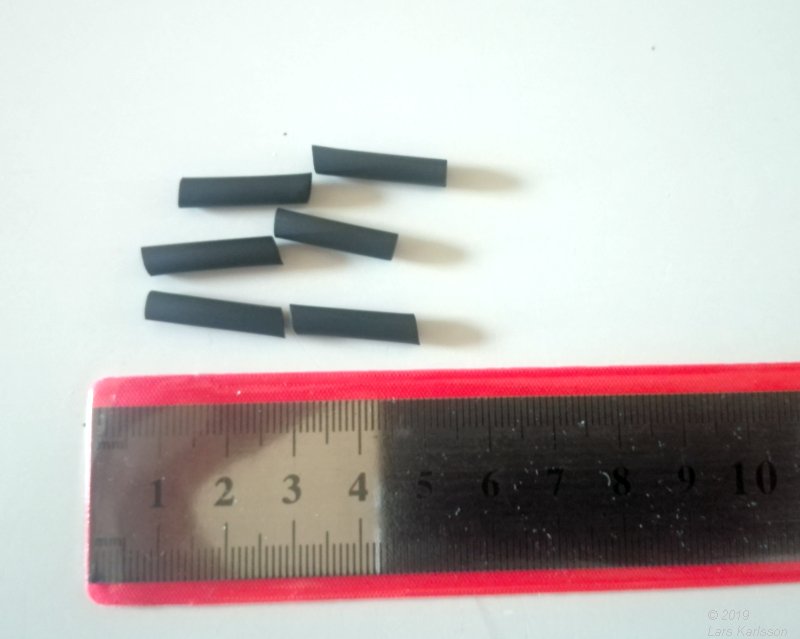
Looking in my boxes what I have laying around to fix this. Found plastic tubes that I could use. Cut six 20 mm tubes.


3D printer, assembling and setup

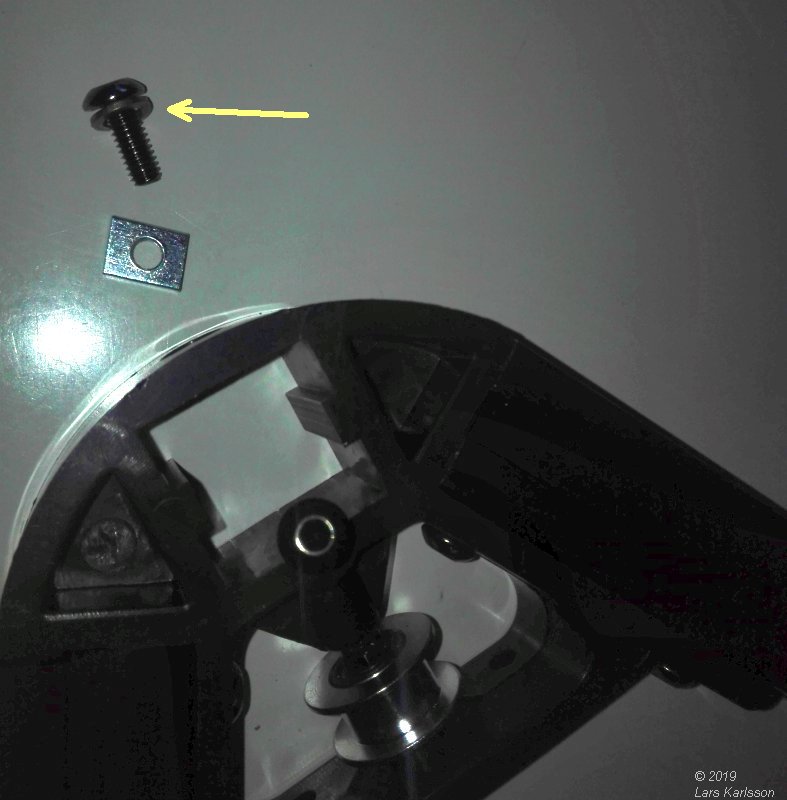
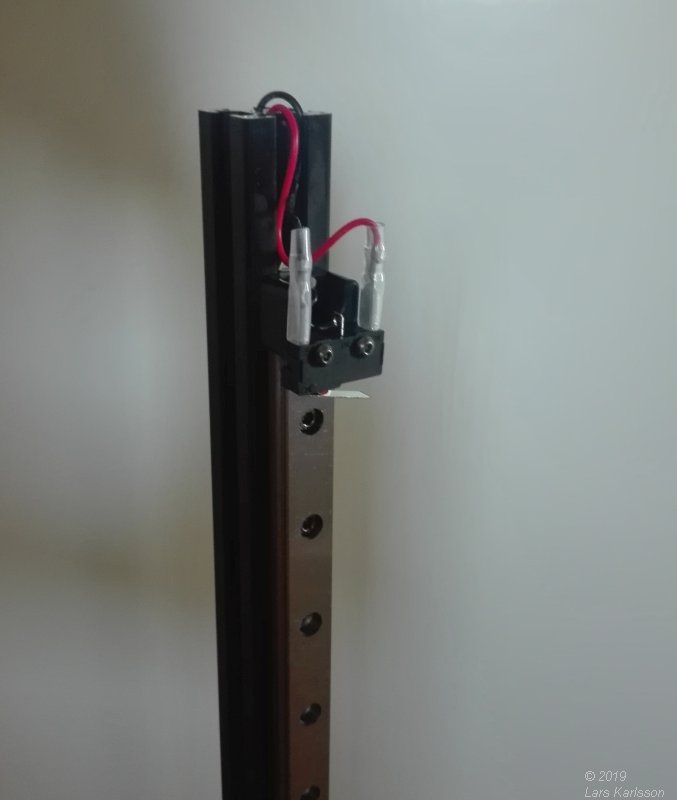
This is the top frame where the switches are located. 
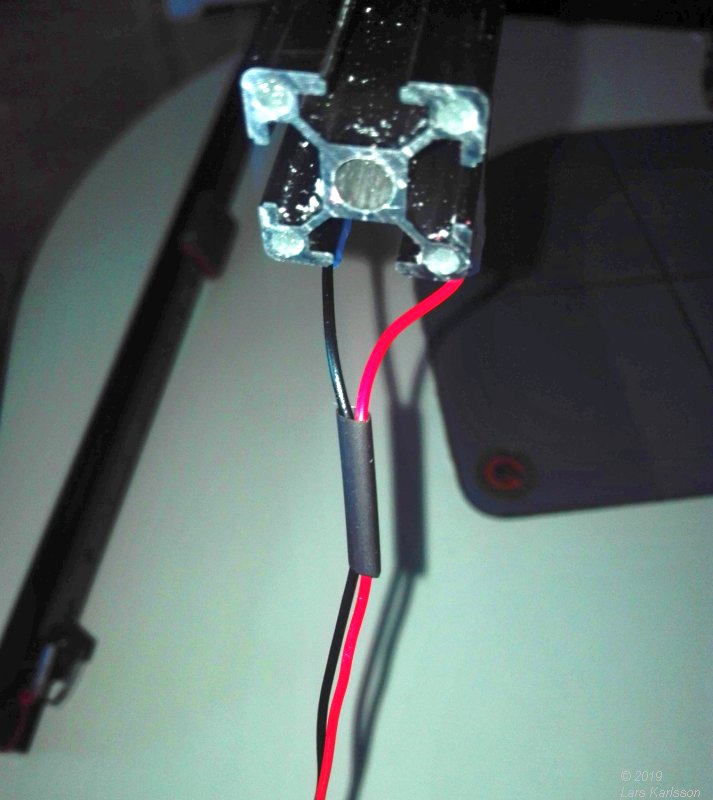
Put on the protection tube.


3D printer, assembling and setup

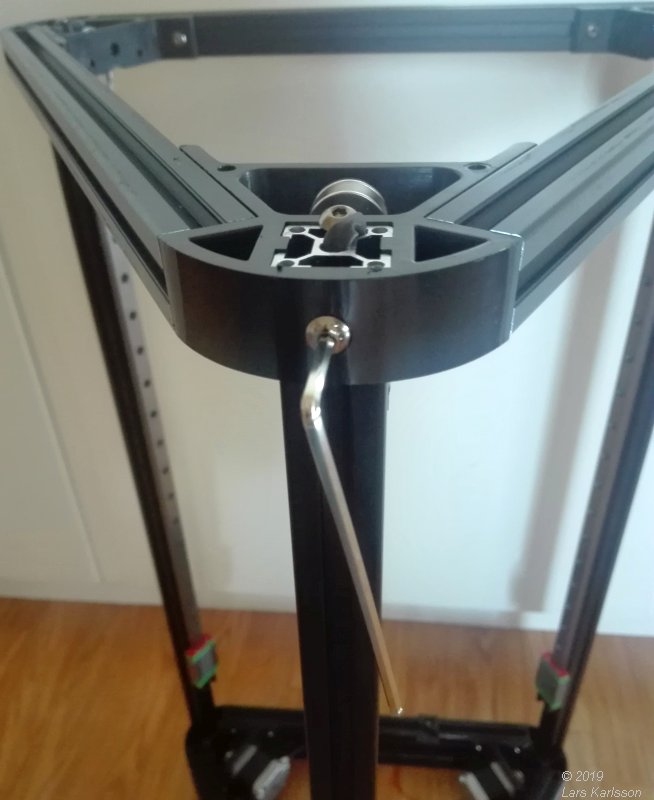
At the other end, the bottom I do the same. Very limited space, don't let the cables be twisted. See how the cable go through the hole.


3D printer, assembling and setup

Same problem with too long screws at the top frame also, easy fix with washers.


3D printer, assembling and setup

With the switches in place I can mount the top frame. First I tight the top screw, it acts as a end stop for the pillar. Take care to not squeze the cable, limited space here.


3D printer, assembling and setup

Second I tight the side screw that hold the top frame.

Go Back to content

Go Back
To page IV, Installing the timing belts

Advertisement / Annons: