|
Advertisement / Annons: |
Tutorial:
|
Content:
Note: |
6: Display and print a chartStart with a wide view to get an overview of the sky, also read my earlier tutorial for more details: 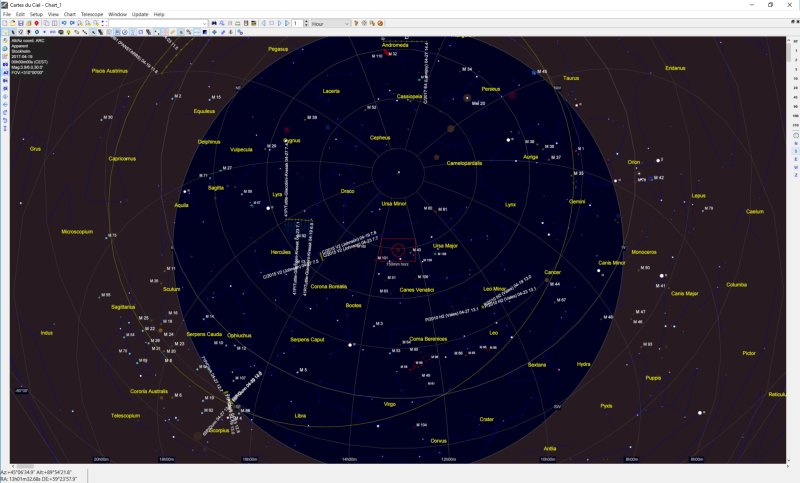
On the right side, choose 310 degrees. Here I also have chosen the Southern direction. Use the right scroll list to center the image. Can you see the comet 41P now? With the hour buttons above you can move back and forth in time to see when the comets is at its highest position in the sky. A rule is that you should at least have it 45 degrees above the horizon, but most comets don't reach that height. But remember it must also still be at a time when it's dark. In this case at the late season for astronomy the time windows with darkness was just two hours, and of course you must have a clear sky. Try to find when it's optimal at your local place. 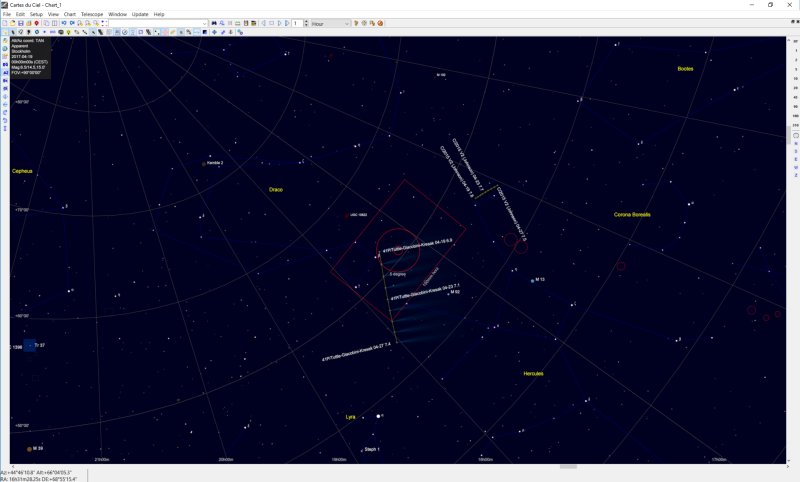
Here I have centered the comet, the field is reduced to 90 degrees and the direction is more to the East. You also see a red rectangle here. That rectangle marks the field of view of my Sigma 150 mm lens on a full frame camera. 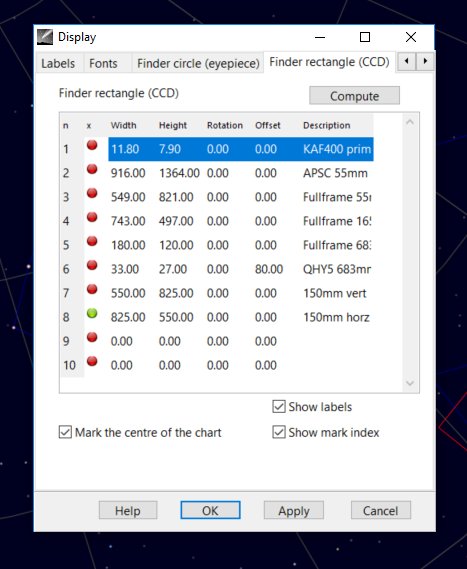
You setup up the rectangle in the setup display menu. You must know your lens field of view and it should be in arc minutes. There are 60 arc minutes (') in one degree. In my case with a full frame camera and a 150 mm lens it gives a field of view of 825' x 550'. I have also set up two finder circles, one and five degrees under Finder circle tab. 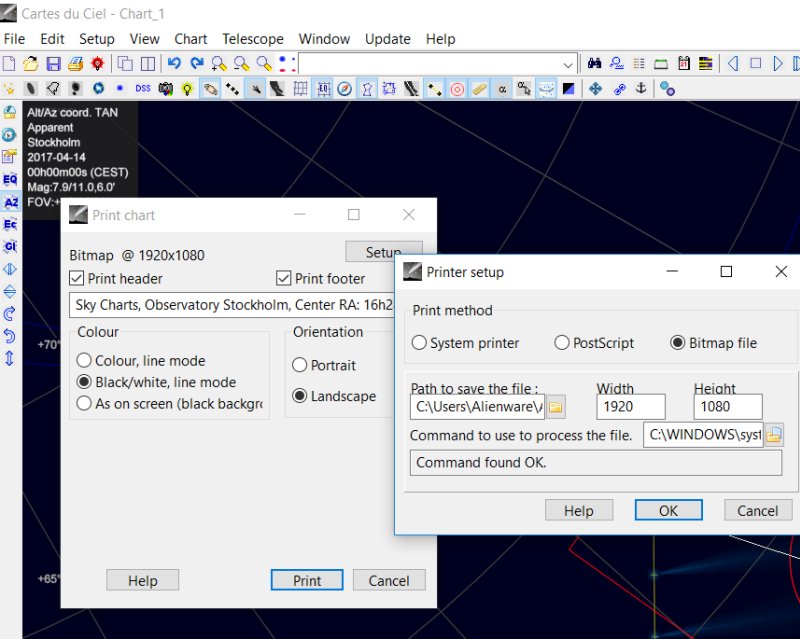
Now we want to print this star chart. Here I have as an alternative to print setup CdC to deliver it as a BMP file into Paint. Good if you want to add some overlay text to the map, after you save it as BMP or JPG file and print it out. 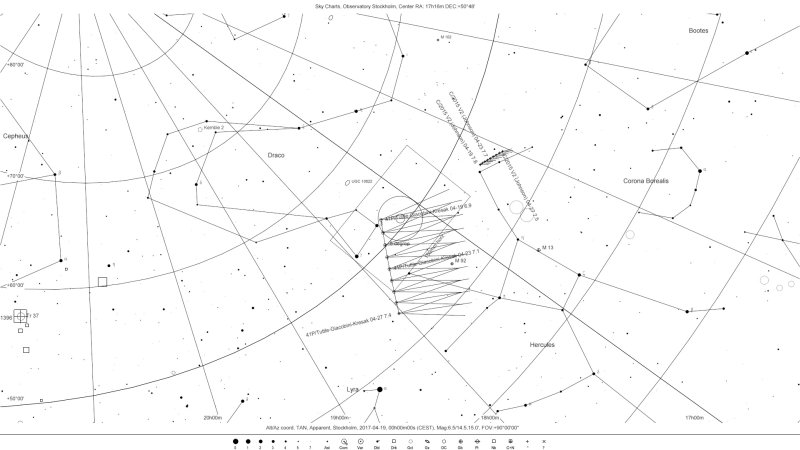 (click on the image to get a full resolution photo in a new window)
I have set it up to BMP file with resolution of 1920 x 1080 pixels. Black and white.
|
| Go Back |