|
Advertisement / Annons: |
Tutorial:
|
Content:
Note: |
0.2, How to load r,g,b images to Gimp:Maybe this is very easy and don't need to be explained. But I had some difficulties when I tried to do it. I had my image files in the the Tiff 32 bit floating points format and it was very difficult to get the levels correct. Then I converted them to Fits format and after that it worked as it should. Maybe something wrong with the information about levels in the Tiff header. Gimp has changed its appearance over the years, this is version 2.10 and it's now the fun begins for the astronomers who like to work with 32 bit floating image format. Loading files to Gimp: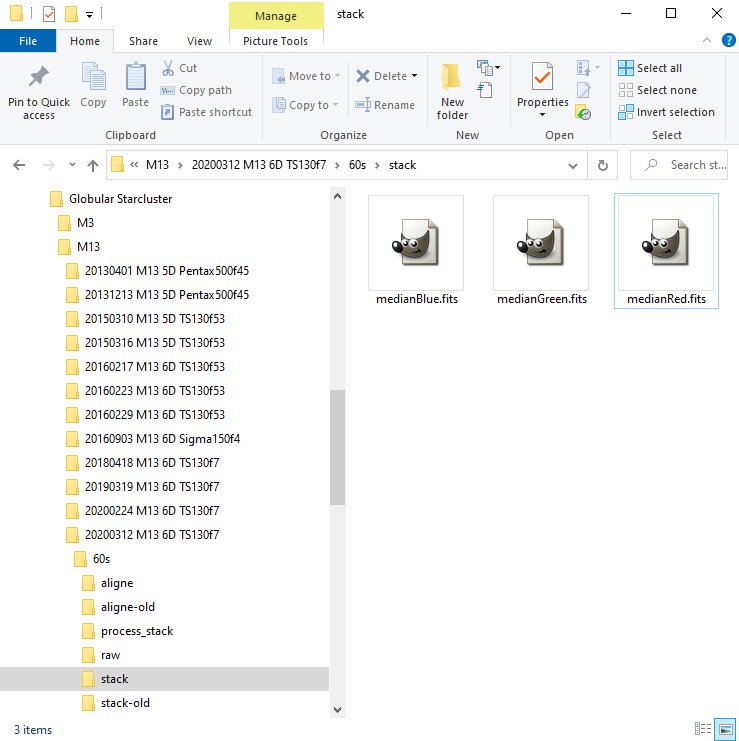
This is how I organized my files. The stacked files are demosaiced images and then only half the size. Normally they are interpolated when it comes from a single color sensor, they are debayered. The interpolation only introduce false pixels and increase the number of them by four. Even if these images are demosaiced they are of the size of hefty 20 MB each, 180 MB if 3x Drizzled.
Note: Gimp open dialog: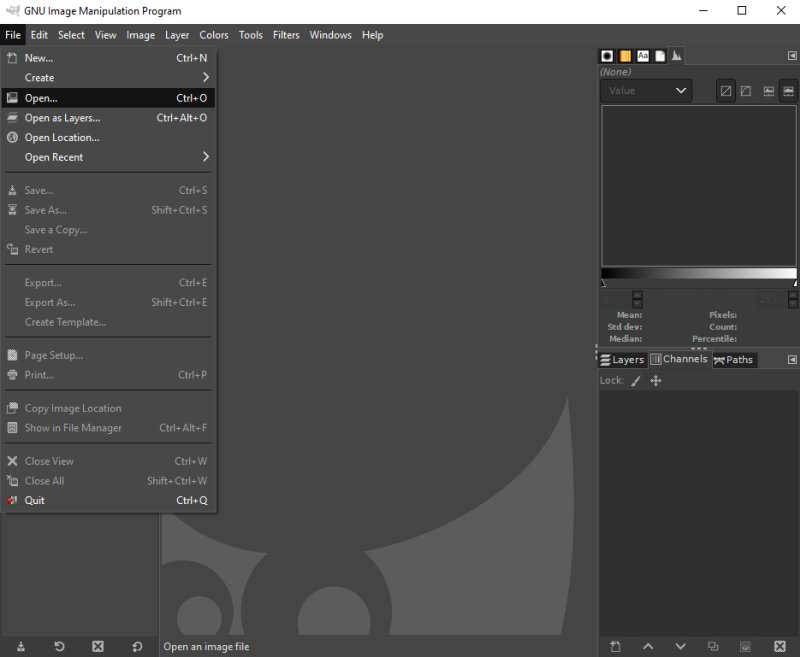
Gimp open dialog, I open the files via the open dialog, but it locks to work equally well to open them as layers. I'm very new to this, maybe I found a better method later. Open the Fits files: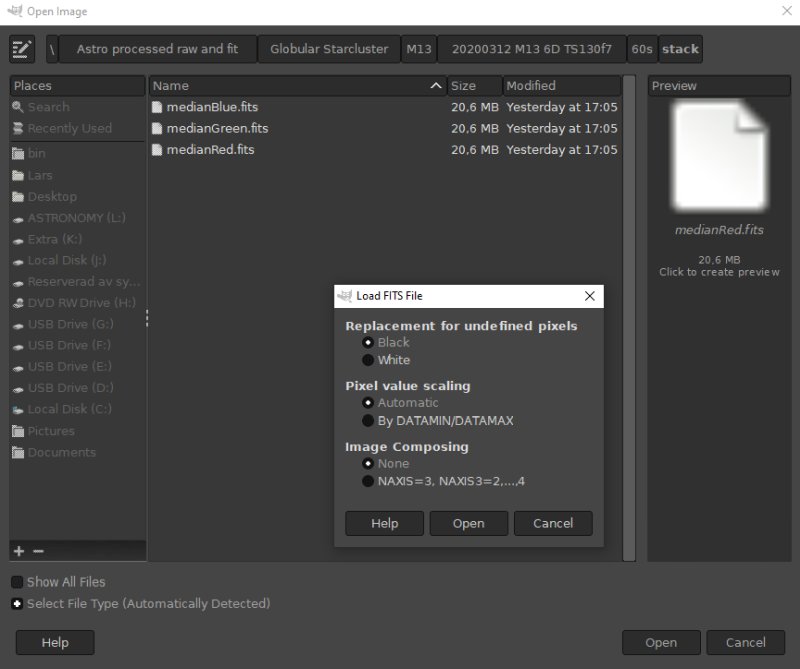
I mark all three fits images, when Gimp open the Fits files it ask about some information how to handle the file. This little window appear for each file you open, click 'Open' when correct data are chosen.
Note: Open histogram window: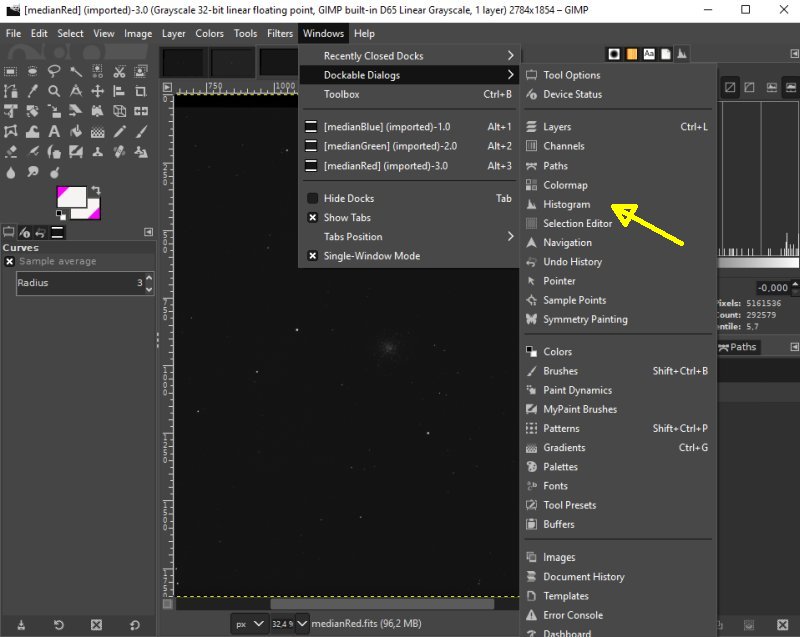
When working with levels you need a histogram, open it from windows menu and Dockable Dialogs. Greyscale mode: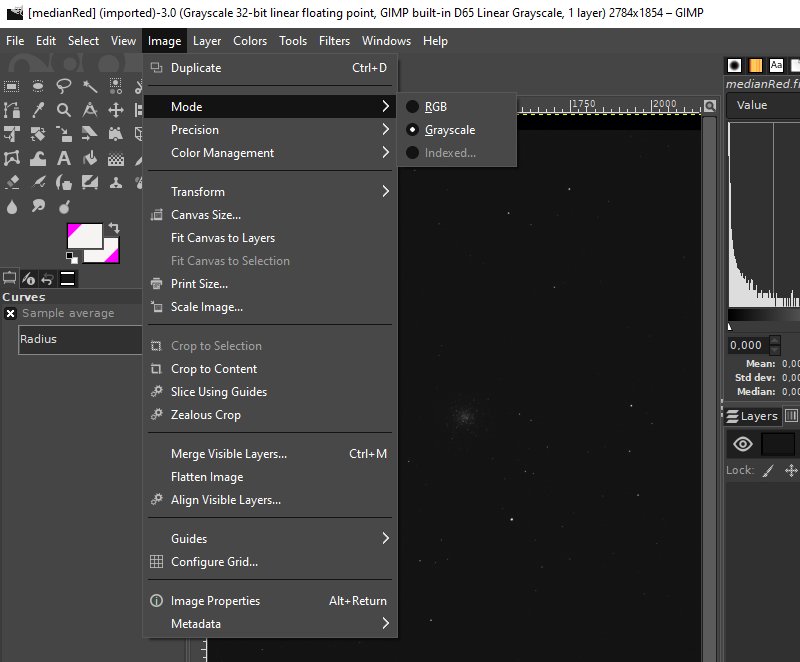
Check that the three r, g, b images are in Grey scale mode. But if it's a RGB, all colors in one file it will be a RGB. Image precision check: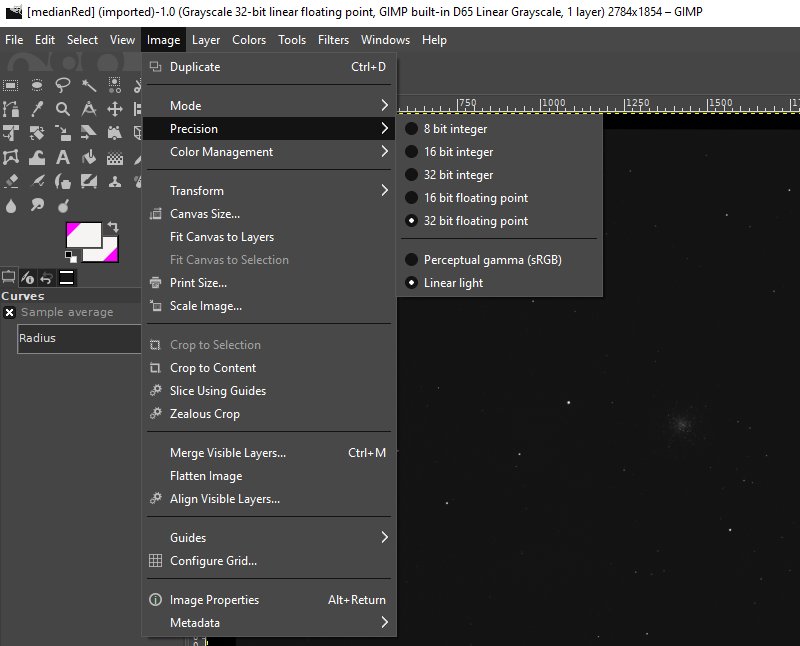
Check that the images are in correct format, I have the linear 32 bit floating precision, you maybe have something else. 8 bit are very bad and even with 16 bit you loose some precision. From grey to rgb color: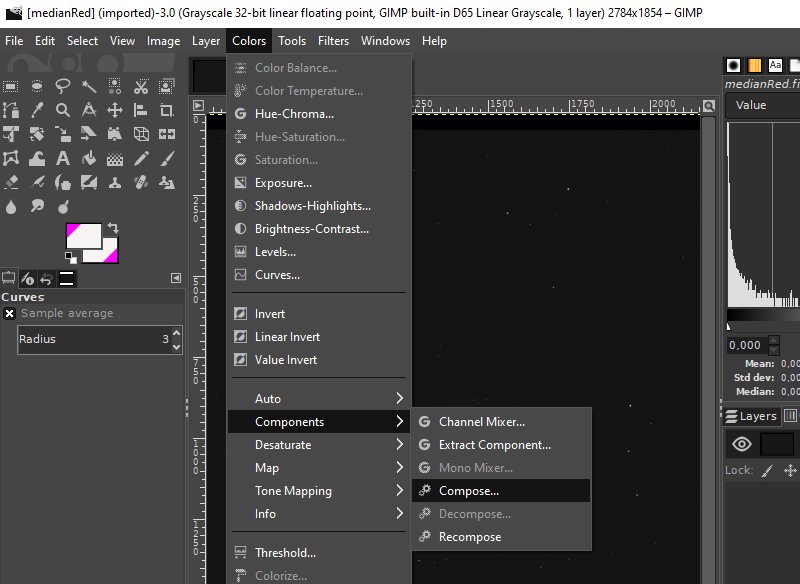
Open the Compose menu, here we transform the three r, g, b grey images to a rgb color image. Choose a color for each grey image:
Choose correct image for each color, red channel shall have the grey image that correspond to the red color and so on for green and blue. The rgb image: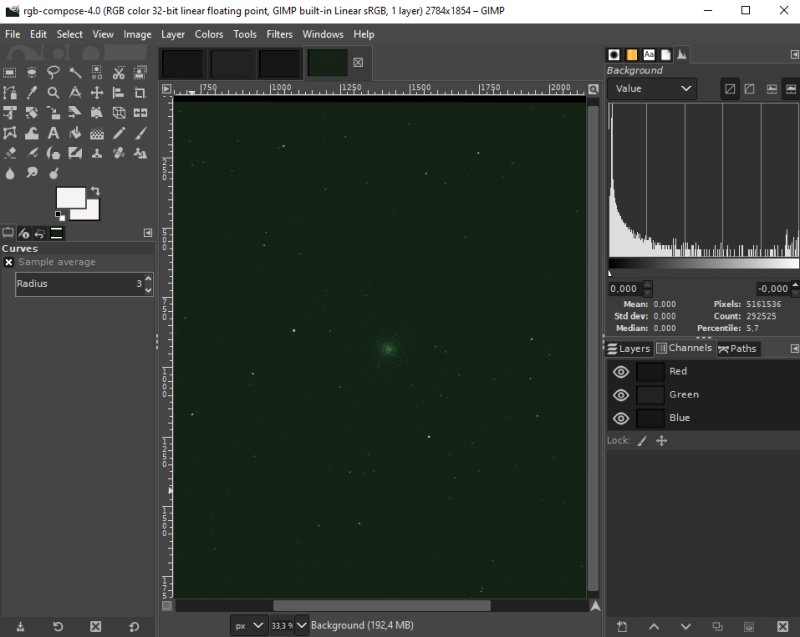
Now the image is in RGB mode and you see the three red, green and blue layers to the right. All channels are activated but the green channel dominate.
|
|