|
Advertisement / Annons: |
My astronomy project:
|
Contents:
Note: |
4, Workflow details, part I:If some of you find this interesting I will here give some details how I do different tasks to get a Drizzled image. Drizzling technique workflow:
This is how i do it for the moment, it could be changed later. 1, Workflow AstroImageJ:As I see it it's better to work with images as if they are taken by a mono chrome camera with filter for each color. Even if I only have a color camera I prepare the files and divide them in each color. Not the simple interpolating Debayer technique, I do it by demosaic them. From that I get four grey images that correspond to Red, Green1, Green2 and Blue color. Here is a tutorial about AstroImageJ and how I work, se the pages 3 to 5 or all if you are new to AIJ: AstroImageJ tutorial. I'm working on updates of the AIJ macros to be more adapted to the new workflow with export of the needed Fits format files, coming soon. 2, Workflow DSS (Deep Sky Stacker):DSS was an old software that I didn't used the last years. There was no development of the DSS and it was only a Windows 32-bit. Now someone has started to develop it again and it's available in Windows 64 system. With a 64-bit system you can use a lot of RAM and that's almost a must when working with Drizzling technique. I have a Pentium I7 with 16GB RAM PC and that is not very special today but work fine for this purpose. You can read more about Deep Sky Stacker and download here:
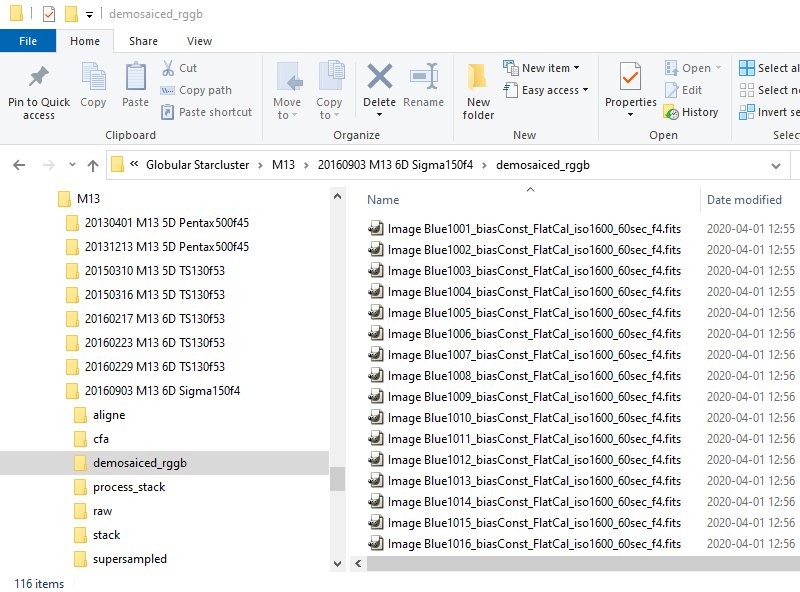
The last step in AstroImageJ is to deliver the demosaiced files. For me the Fits format works best as input in DSS. 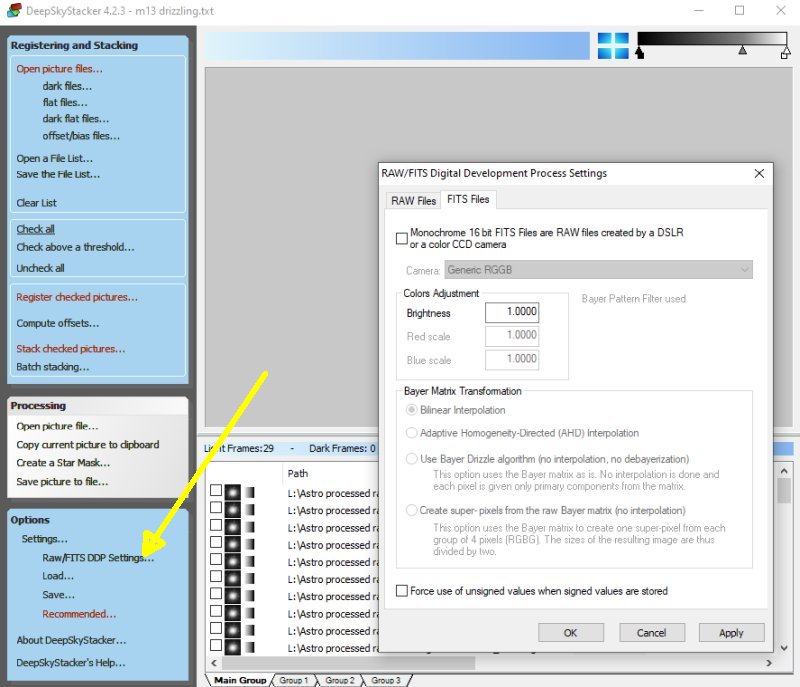
First thing to do in DSS is to setup the format of the input files. I have *.fits files and they are just grey, no color information. I have separate files for each color. 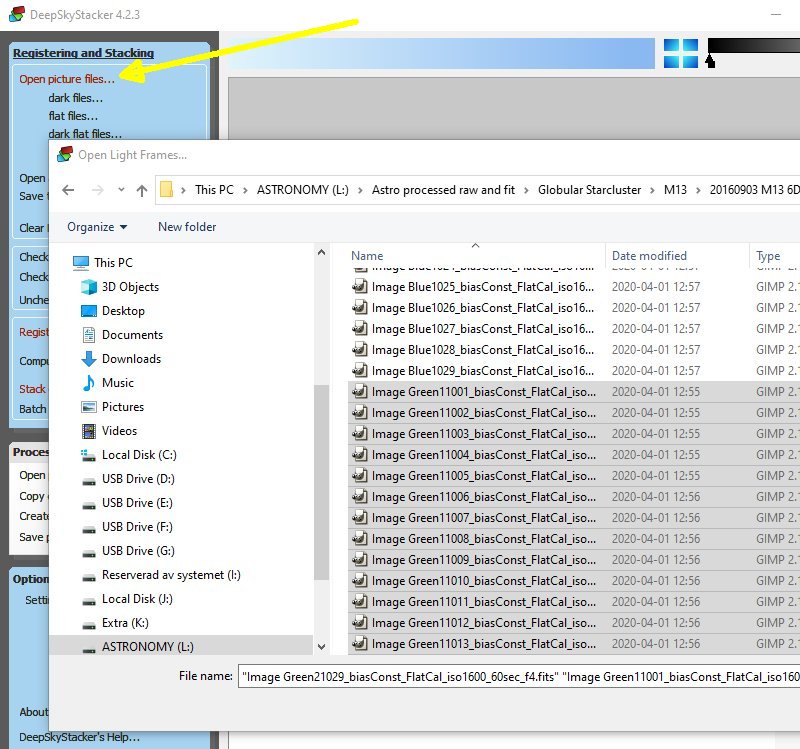
Click on 'Open picture files'. In this case I process grey RG1G2B images which DSS is not designed for, but it's still possible to make it work. You can divide colors in groups or place all files in the Main group. I prefer to have only one color in each group. The Main group is always there, take the color of highest quality and place them here, normally it's the green color. Here I have selected all the Green1 and Green2 color files, they are twice as many as the Red and Blue. I have no experience of H-Alpha, but I can imaging that they are good to have as reference files.
Note: 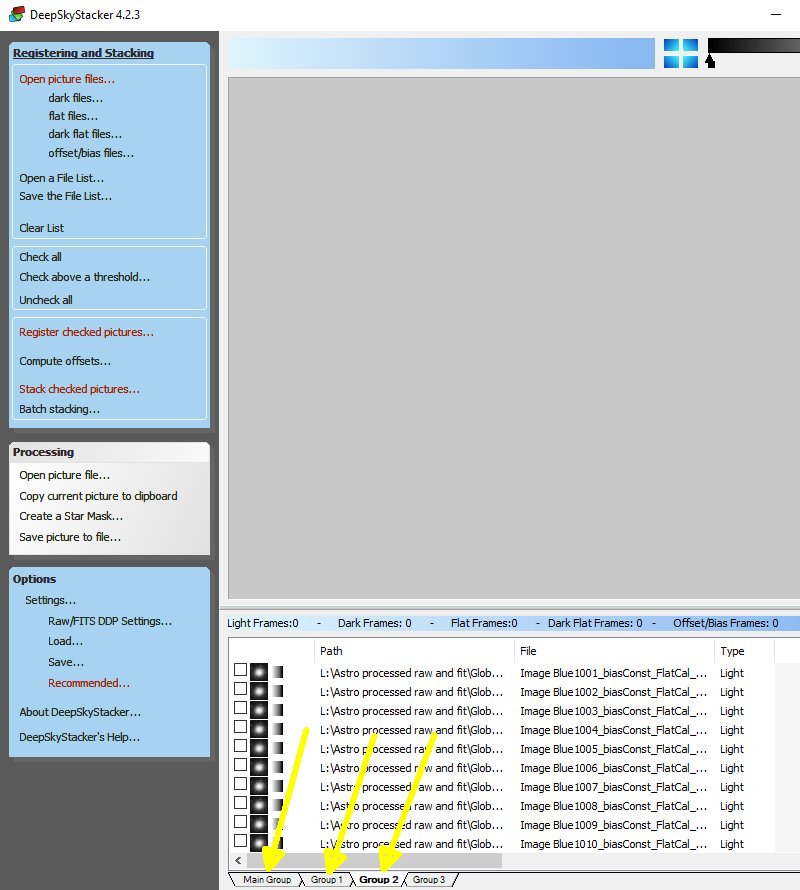
After the Main group is loaded with the green files, continue with next, Group 1, I normally place the Red files in this group, but it doesn't matter as long you remember which is which. And at last open and load the Blue files to Group 2. If you have more files, H-Alpha or similar, open more groups and load them. My files are already calibrated in the former step in AIJ. If you need to calibrate your files. Place all calibration files that are common for the color files in the Main group, and if there are calibrations files that only belong to one color, place them in the corresponding color Group. Each time you fill a Group with data it create a new Group, in this case I don't use Group 3. 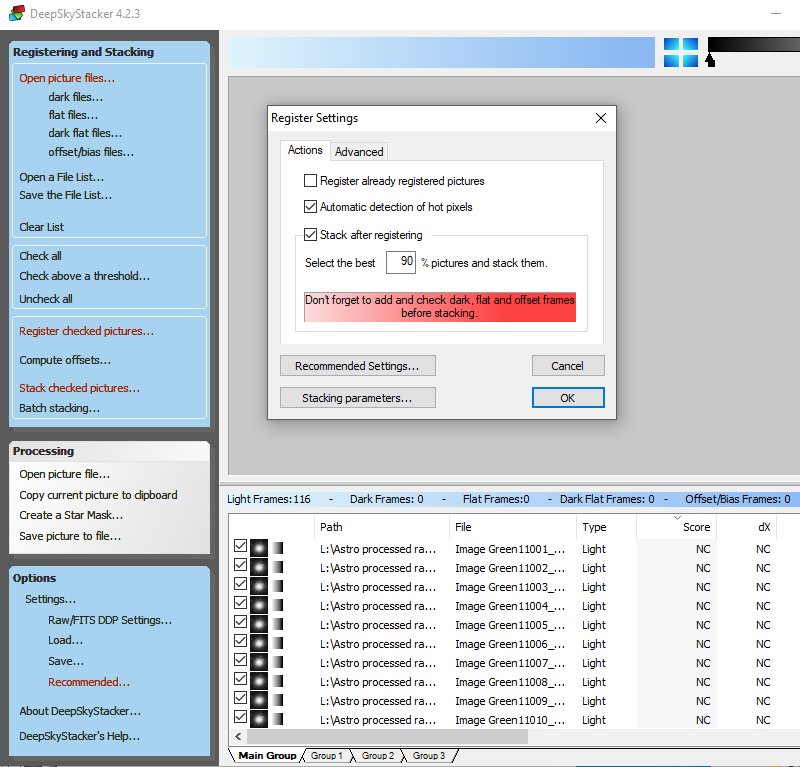
Click 'Check all' and all the files in Main Group and the other groups will be selected. Click 'Register checked pictures'. Here is the 'Stack after Registering' enabled, normally I don't have it checked, it doesn't work with separate color files and I want to do some analyze before proceed, disable it ! If you already have done a register run you maybe want to register the files one more time, if, then enable 'Register already registered pictures' 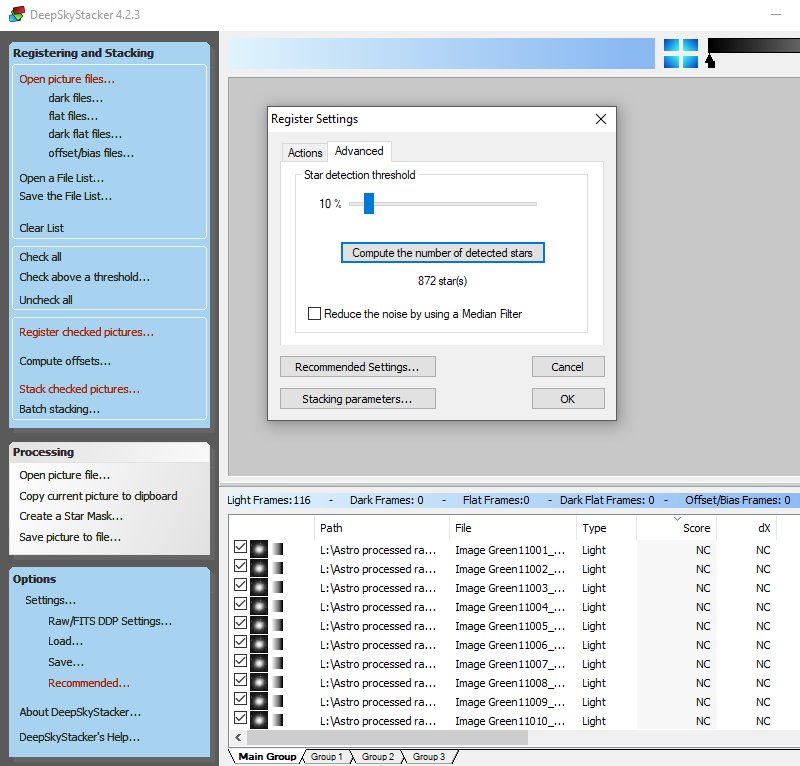
Before you start the register process, check how many stars DSS detect, see the 'Advanced' tab. 500 to 1000 stars normally works fine for me, but depend on the object and quality of the images. Click the bar 'Compute the number ...' to do a test. Go back to 'Actions' tab, the Stack after registering' should not be enabled. When everything is correct, click the OK button and the registering process starts for all colors. 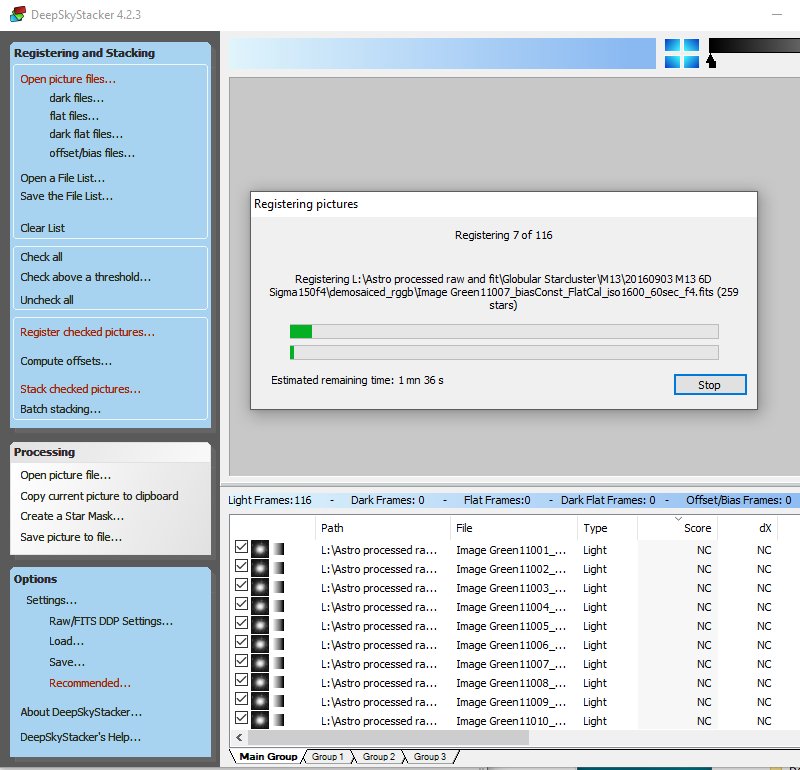
Running the registering process, after a while the Score will get figures of the quality.
|
|