|
Advertisement / Annons: |
Project:
|
|
Camera orientation problemWhen I do astrophotography I normally want the cameras sensor's long axis be aligned along the RA axis. The Star Adventurer's included L-bracket doesn't have space enough to let me do that. I can solve that with a distance between the camera and the holder. But one problem still exists, the camera hang outside the RA-axis and then I need a counter balance weight, why shall I bring extra weight when out traveling? Here how it looks: 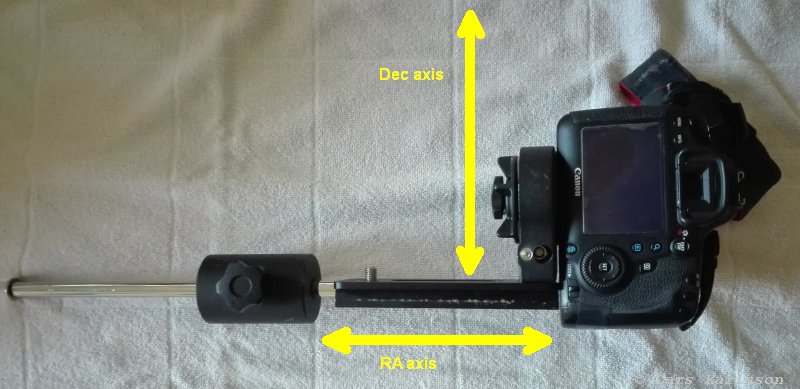
With my 150 mm telephoto lens I can rotate the camera, but there is not space enough for the camera rotated 90 degrees relative the photo above, it will hit the mount at some angles. 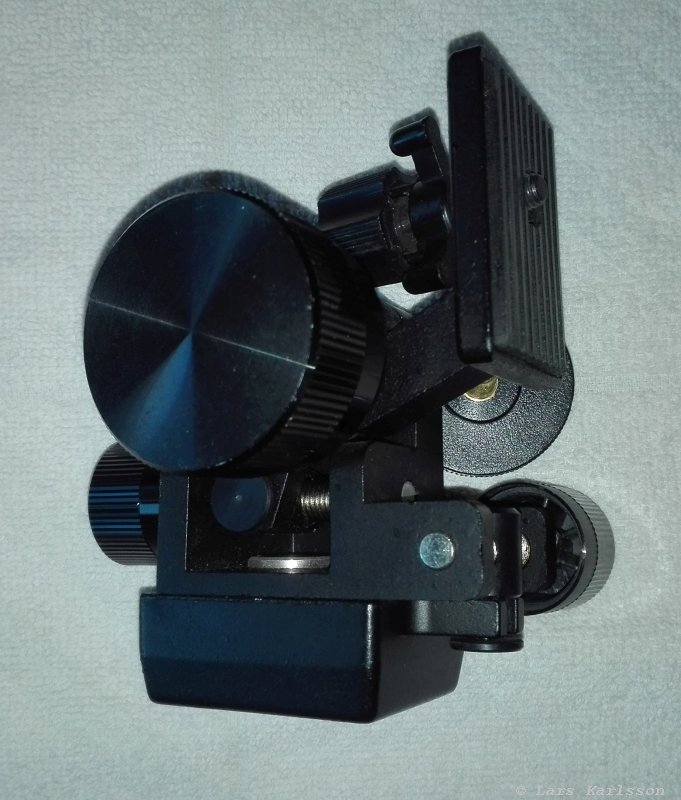
Looking in my "box of handy stuff" what I have collected. This holder look promising, but when I test it on my camera equipment it was too weak. And it only have the small 1/4" bolt at the bottom, not the more common 3/8" bolt. I can use it for a smaller camera but not my DSLR. 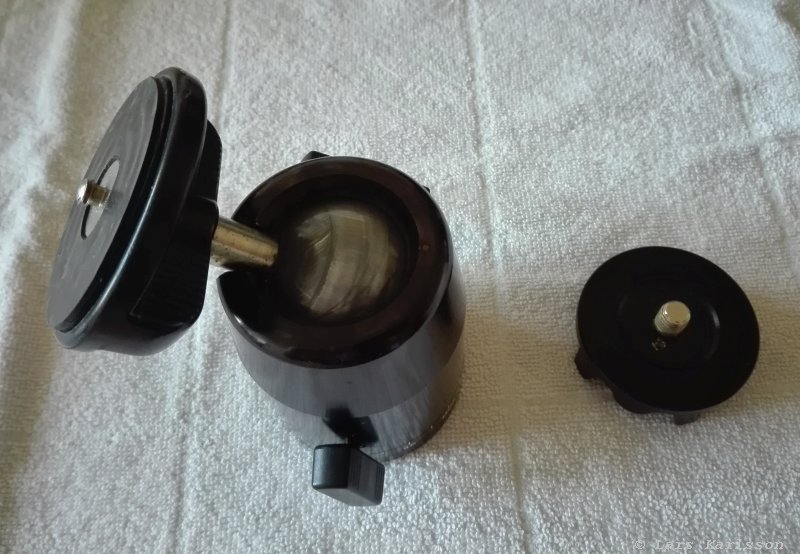
Then I have this monster ball head, it has 3/8" bolt standard at bottom and fit directly to the Star Adventure's short tail. But when tilting a ball head the balance point move, need some more. 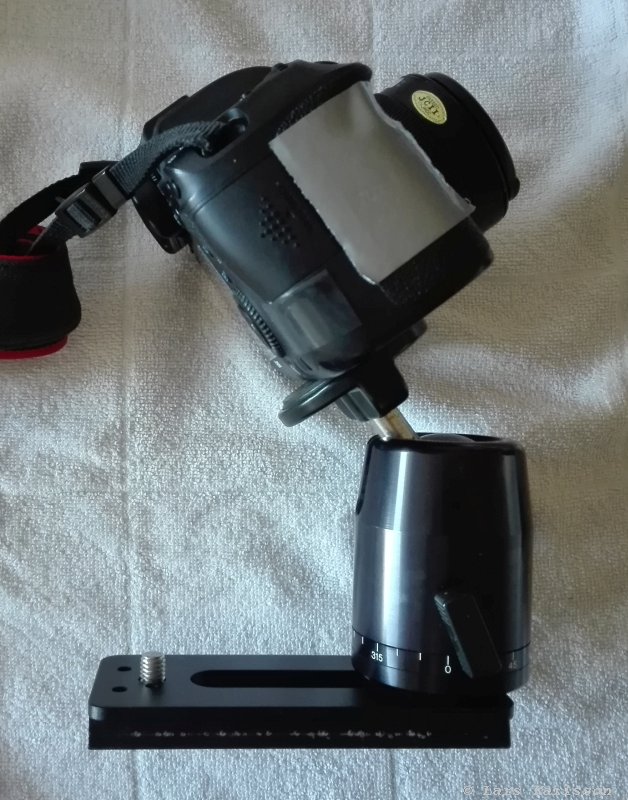
Here is the L-bracket disassembled and I have mounted the ball head at one end. Now I can move the tail on the RA-axis and find the balance point without any counter balance weight, great! Note: I have rotated the main camera relative the L-bracket to bring it in balance. 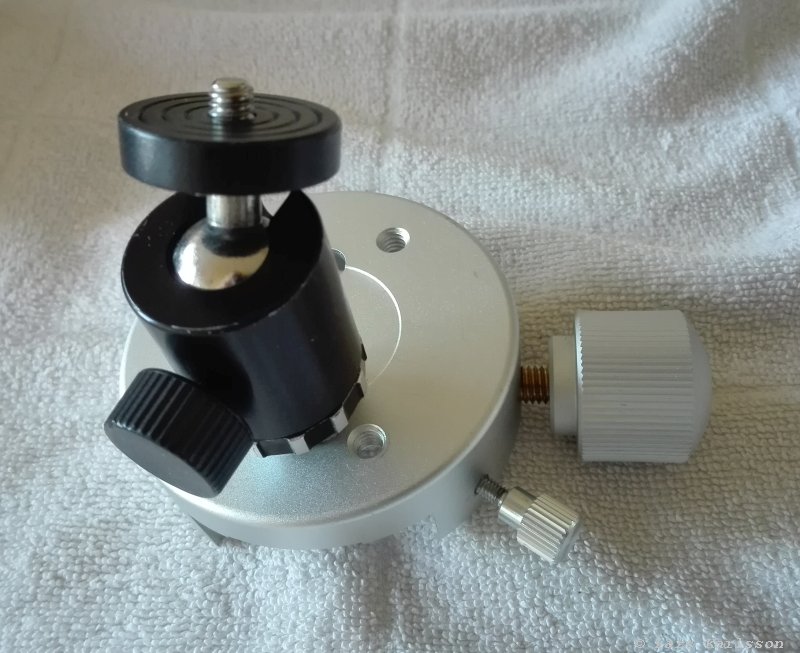
I have this holder with a dovetail holder when I want to add an extra camera. It can't be too heavy on this secondary holder. 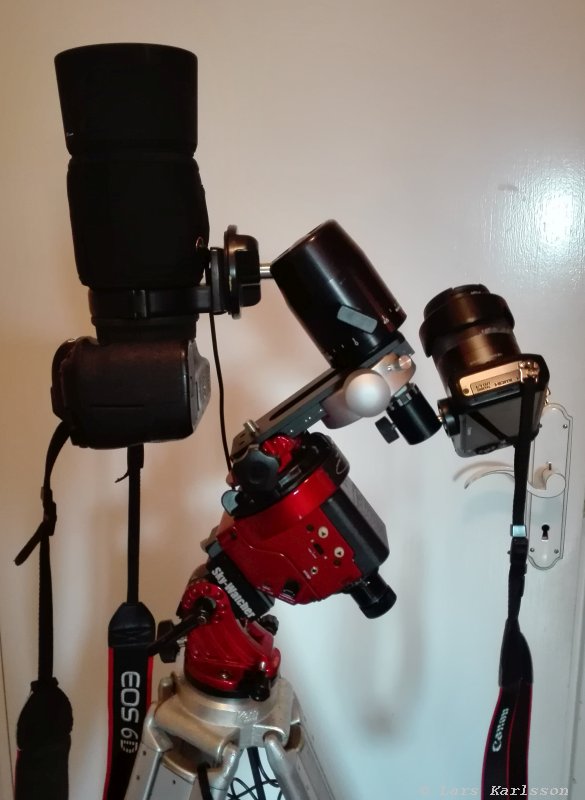
This is how it looks assembled together. On the lower side of the L-bracket I have installed the secondary camera holder, it's a bonus to have two camera working on the tracking mount. 
This was the old setup, as you see the space is too narrow to rotate the camera 90 degrees. It's still not perfect, the ball head is heavy and the orientation of the camera axis is not fixed along the RA axis, it can move a bit. A better solution had been a hinge that I mount between the camera and tail, a hinge that can be locked. I think I can use part of a tripod head for that. This Z-tilt head looks to be popular, but I think it's too weak: My goal, have it fit into a small backpack and have as low weight as possible.
|
| Go Back |