|
Advertisement / Annons: |
My astronomy project:
|
Content:
Note: |
5: Shaft and roller bearingsThe filter wheel must be attached to a shaft, stable, not wobble and be centered. Roller bearings is the solution to this. Shaft and roller bearings: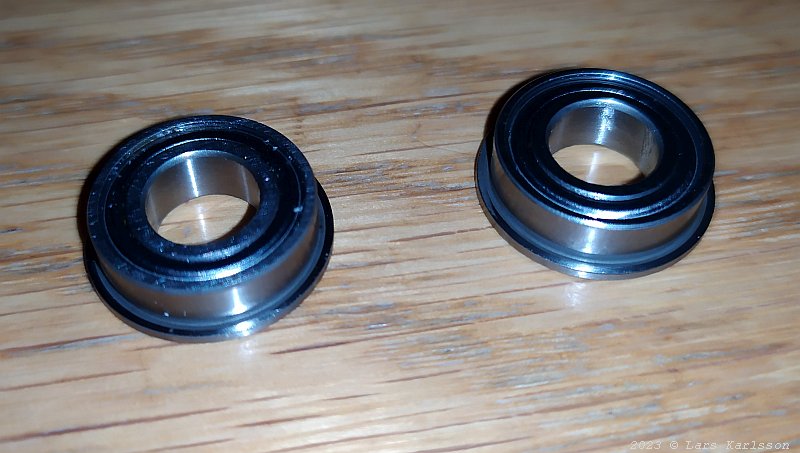
I found these two roller bearings in my desk, maybe something I can use for the filter wheel. The dimension are: 16 x 8 x 5 mm, little bit special with its1 mm flange, they use them in 3D-printers. If I want two of them I have to increase the total thickness of the filter wheel from 13 mm to 17 mm, but I think I have to do that anyway. 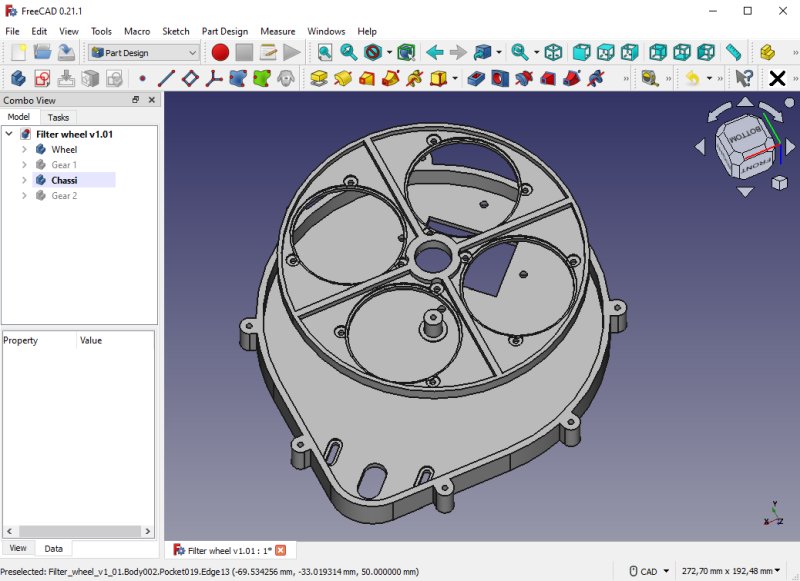
With the thin roller bearings I have chosen I can have bigger diameter on the wheel's shaft, now 8 mm. The shaft connect to the lid and enforce the construction. To fit these roller bearings, 16 mm outer diameter, I have to move the filter holes outwards by 3 mm and then increase the chassi's diameter too. 3D-print: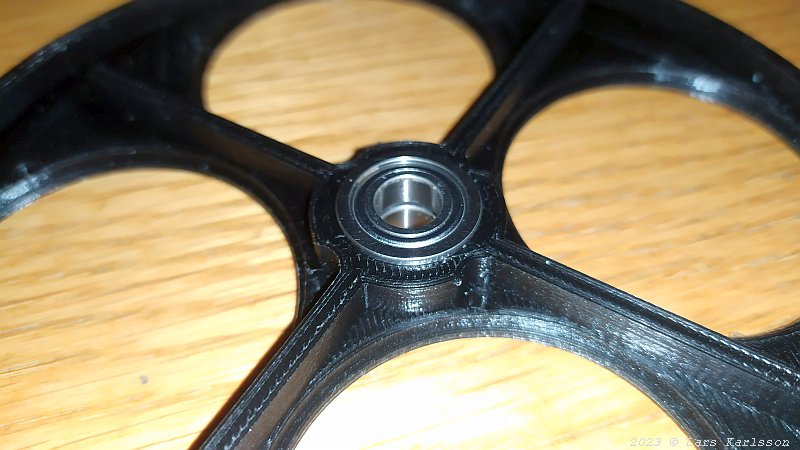
After cleaning the surfaces from plastic debris I pressed in the roller bearings. They fit perfect directly. When I rotate the wheel I can't see any tendency to wobbling. 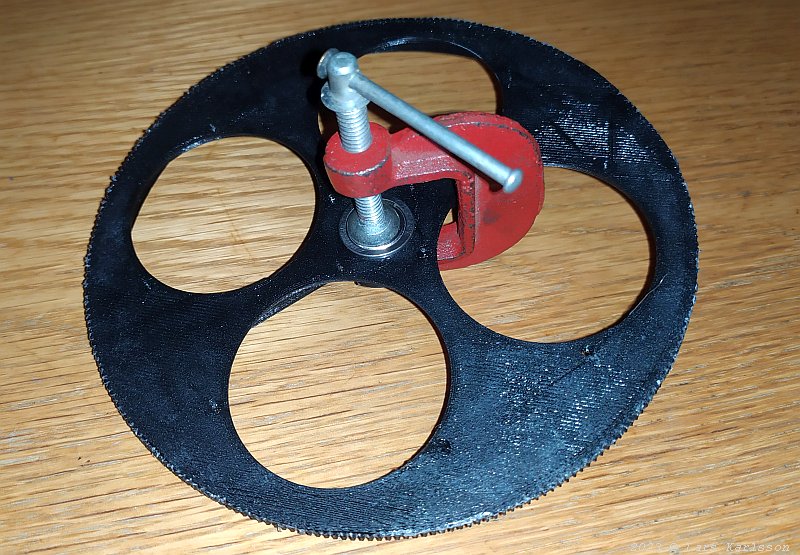
I needed a little bit extra force to get the roller bearings all the way in.
|
|