|
Advertisement / Annons: |
3D CAD drawing:
|
Contents:
Note: |
4, 3D printing of lens bracket:3D printing of second bracket:Now when I 3D-print this second bracket, the bracket that hold the Tokina 200 mm lens I hope it will fit well enough to be used directly. I just had to decrease the inner diameter of the QHY5 bracket and delete the rectangular block. Testing the nut pocket: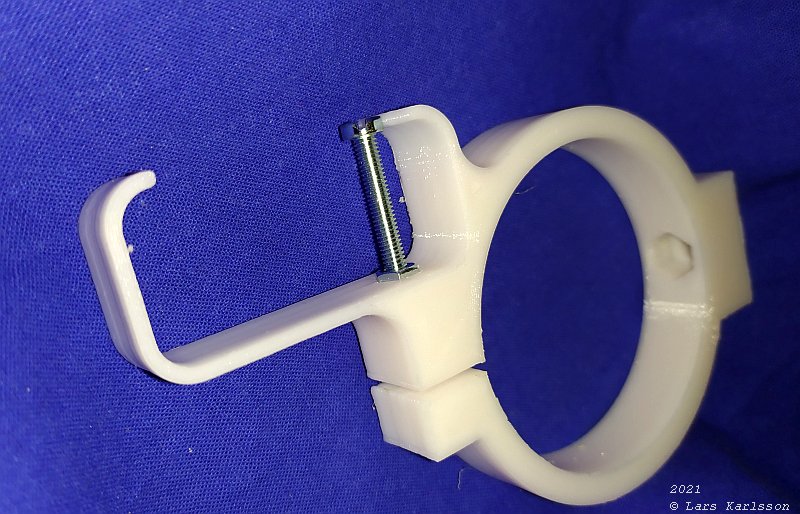
After I had increased the size of the M4 hexagon pocket by 0.2 mm it fit the nut, with a screw with the nut I press it into its position. 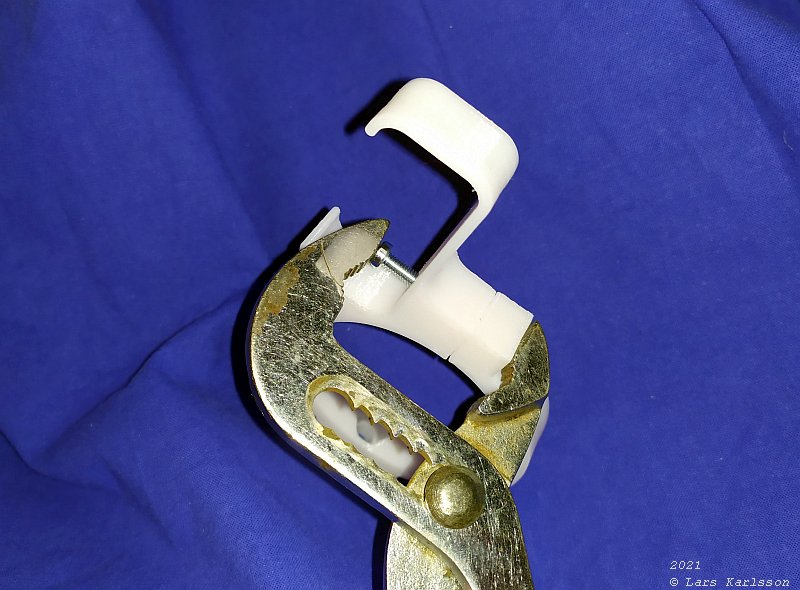
With help of the pliers I get force enough to get it in place. Note: it's important that you clean all edges with a knife before installing the nut. 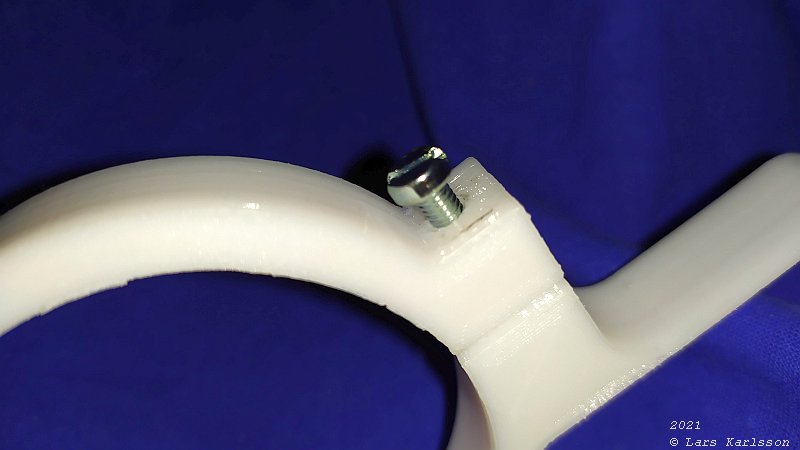
View from other side, strange, where did the pocket go for the screw head ? 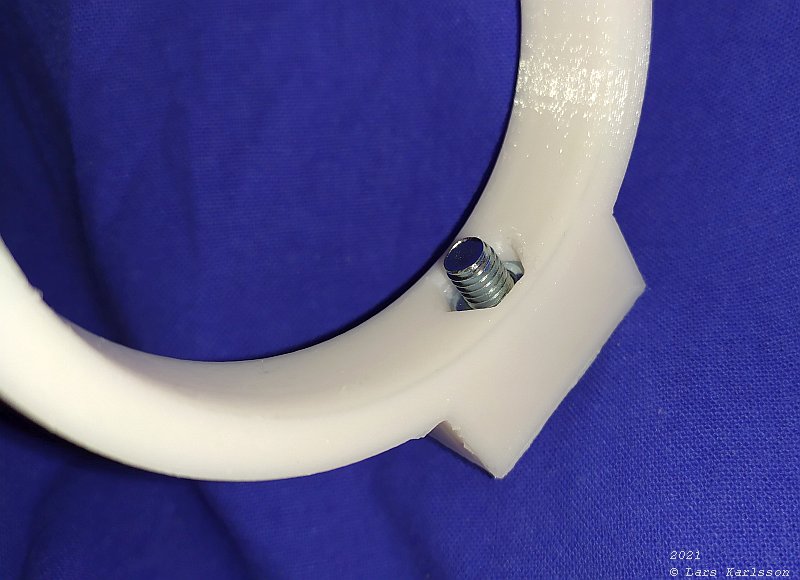
The same procedure for the main bolt at bottom, M6. Measure the needed pocket size: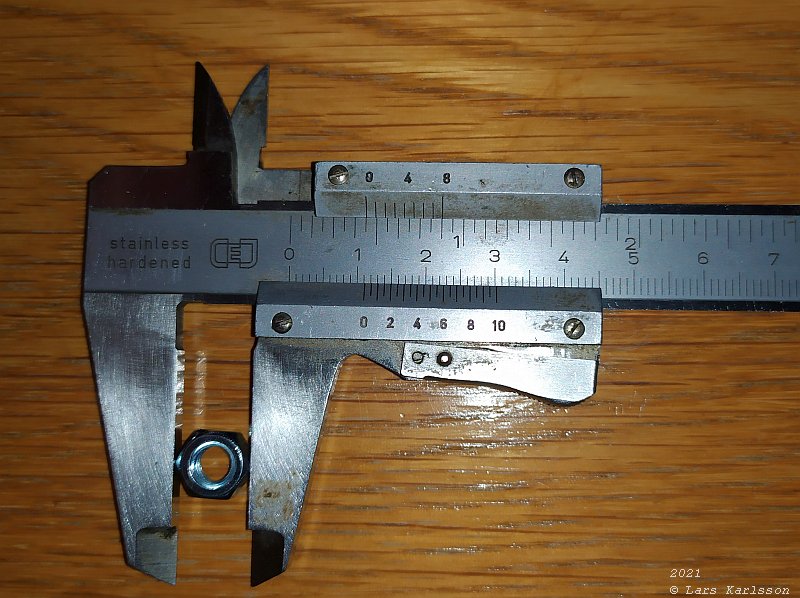
When setting the hexagon pocket size it's the diameter of it you set. With my 3D-printer I have to increase the diameter, I add 0.2 mm (for M4 and M6 size nuts) compare to what I measure it to be. Mounting the bracket to the lens: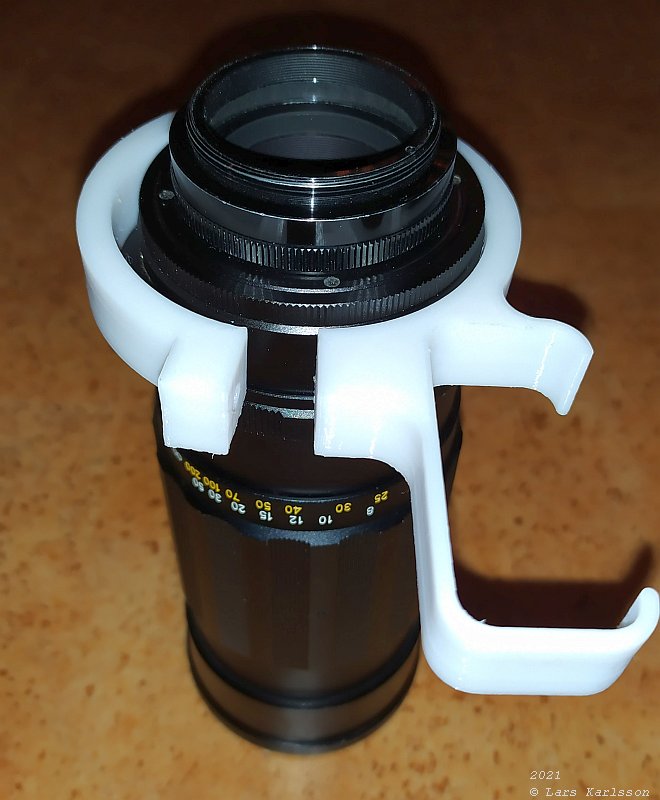
I have to bend the slits apart to get the bracket over the edge of the lens, I have to use some force, but the plastic didn't break apart. 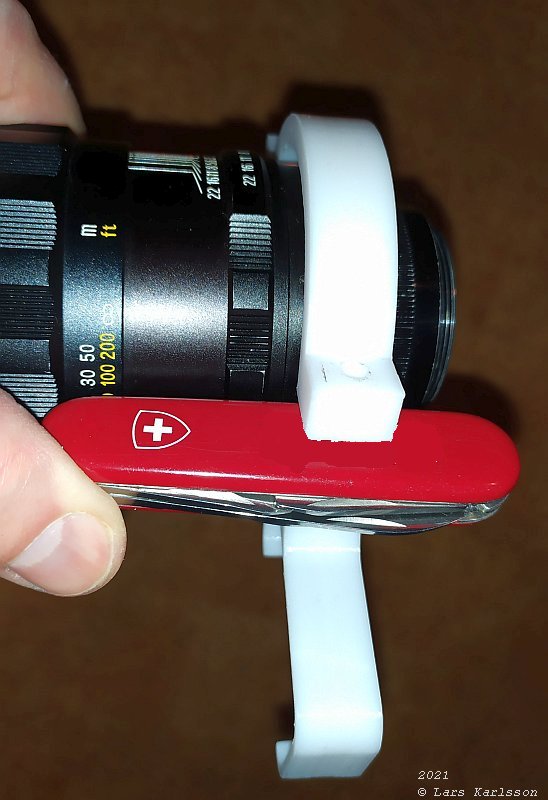
It's easier if you insert something in the slit, less risk to destroy the lens. Assembling the 300 mm setup together: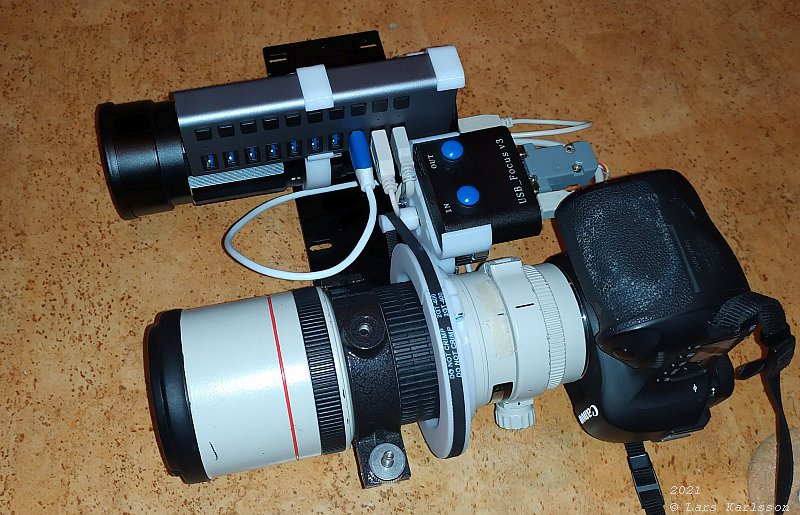
Now I can assembling my 300 mm system together. The 300 mm lens bracket, focus motor bracket, guide camera and lens bracket and the USB-Hub holder. 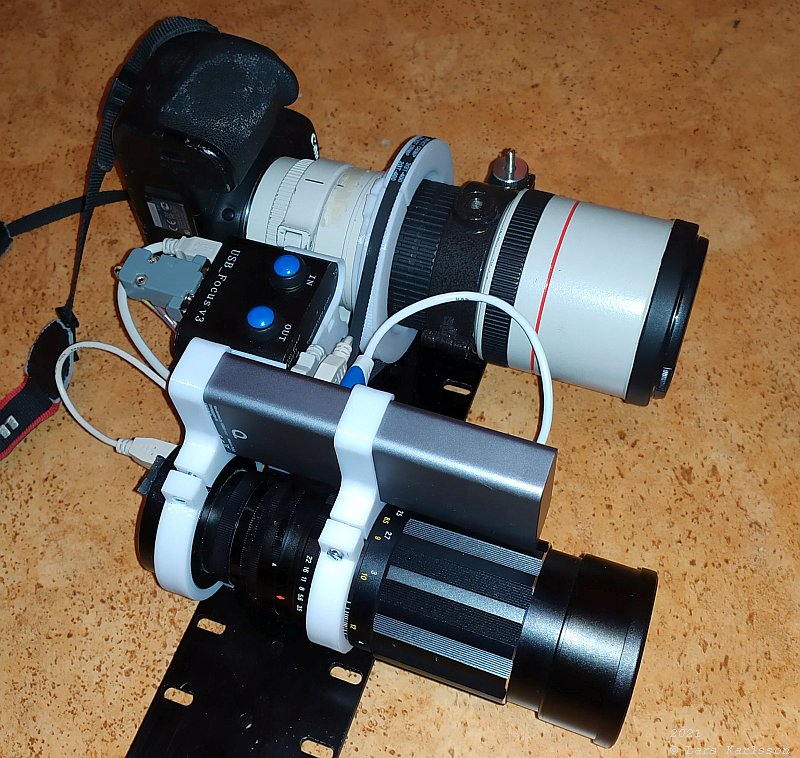
It give a very clean and compact look now. I can have short 25 cm USB cables to most of the equipment. 
The middle bracket that hold the motor focuser is still an early prototype. I have to increase the strength of it. But it's good enough to do a first outdoor test. |
|
|