|
Advertisement / Annons: |
3D CAD drawing:
|
Contents:
Note: |
2, Solving 3D-printing problem:problem solver:This time I got problem with the 3D-printing. The brim around the object was incomplete and caused problem with the filament, but why didn't the brim print out ? 3D-printing problem:
This is how it looked when the 3D-printer has just started printing. The thin brim that should be all around the object is missing at the bottom. Without the brim the filament will not get stuck to the printer bed. Slicing in Cura: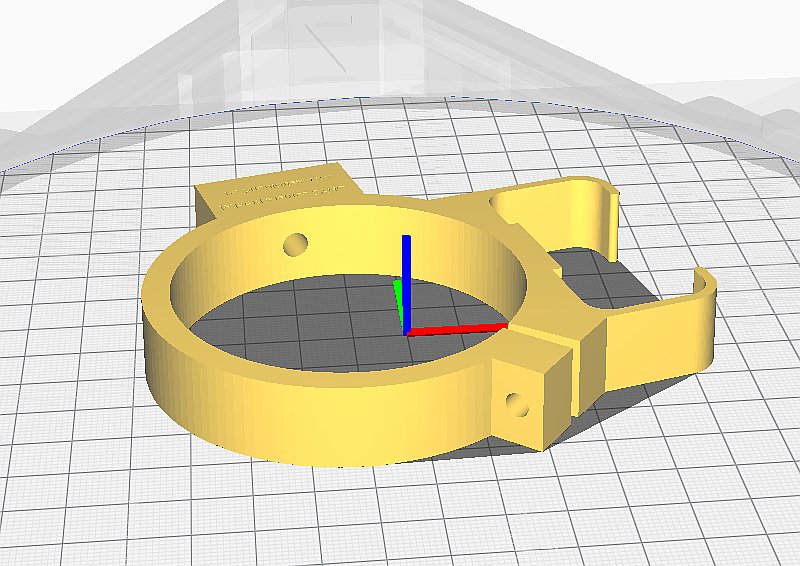
I startup the Cura software and slice the drawing. Before slicing it looks like this, I couldn't see any problem, everything looks correct. Preview of the sliced drawing: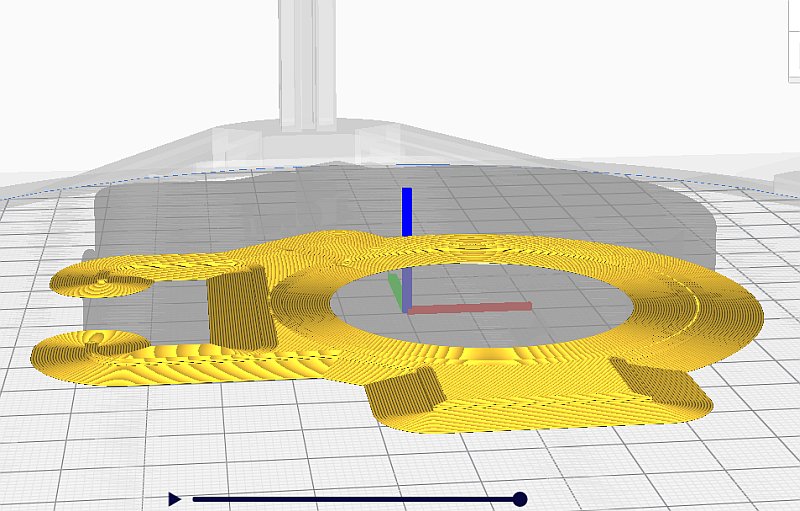
In Cura you can get a preview and layer by layer see if there is something wrong. It looked okay, the brim is there. The 3D bracket: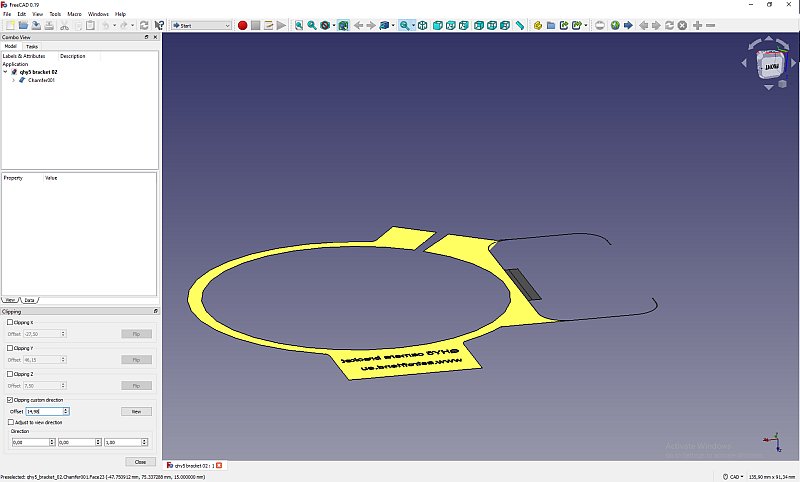
I analyzed it in FreeCAD also, with the Clipping tool I go all the way down to the first layers. Even here it looks okay. No help from the software I use. No solution, I have to use my brain and think hard. After a while I thought that the text I have added to the drawing caused this problem. I had placed it at the plane that is towards the printer bed. Very bad idea, that surface is always bad at this side, but for some reason it also caused this problem with the brim. I also took away some rounded edges that I had problem with earlier. First prototype printed out: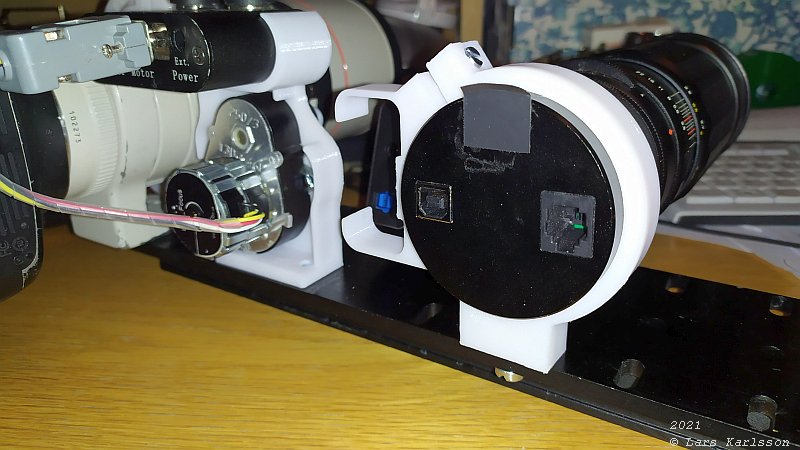
Now I can 3D-print the first prototype. It's faster to do it this way with a simple prototype than spend many hours behind the CAD software. It's cheap to print and you can have the prototype in front of you and test it in different position. Cables, timing belt, other brackets, always something that take up the same space. This setup I want to build very compact and then there are more chances that something goes wrong. With the bracket and guide camera in place I direct see that I wasted with the space. I couldn't use the mounting hole between the two brackets. I also find a bit time consuming to thread the holes every time. And other that 3D-print this stuff maybe don't have these threading tools. Time to learn more about making drawings in FreeCAD. |
|
|