|
Advertisement / Annons: |
3D CAD drawing:
|
Contents:
Note: |
5, CAD bracket version 3.0, part 2:Info:The earlier attempt to draw a bracket with subtracting of blocks and cylinders were no good way to do it. I start again from the first 2D drawing and now I use a parameter drawing for the other parts of the bracket too. With a parameter design it's very easy to edit it in the future, and there will be a lot of changes. Holder for motor controller, parameter based drawing: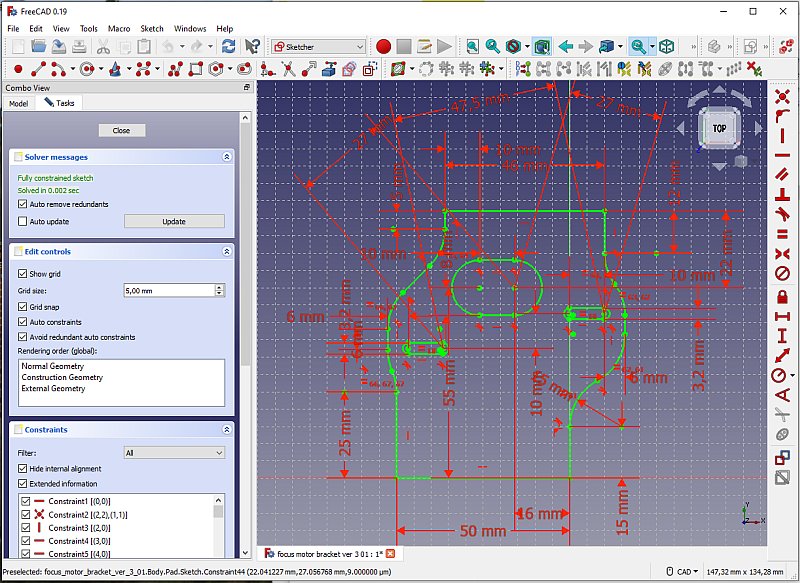
I have changed the angle of the motor to have it more compact, I also try to have this bracket to work for the later Pentax 645 300 mm lens. With the new 400 mm long timing belt and two new 3D printed pulleys, 16 teeth and 180 teeth I have more information about how I shall draw the details. 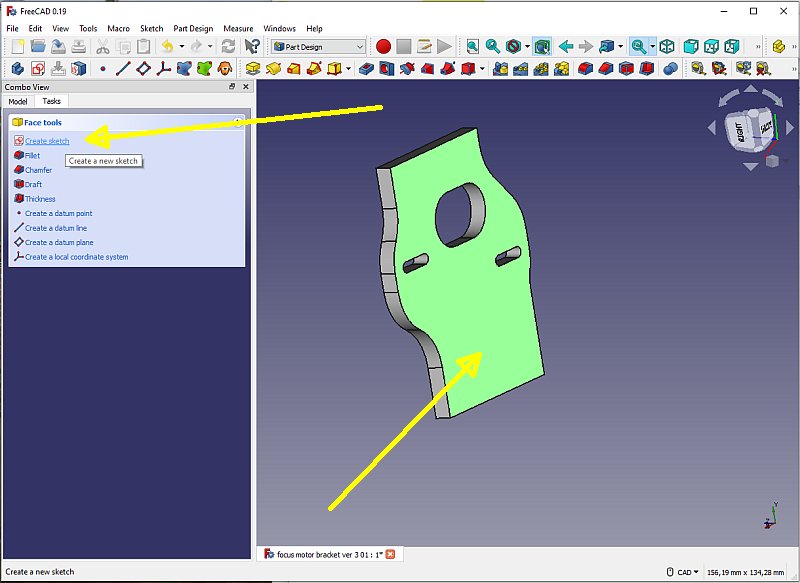
The 2D drawing with parameters shall be in this plane. Mark the plane and click Create Sketch. 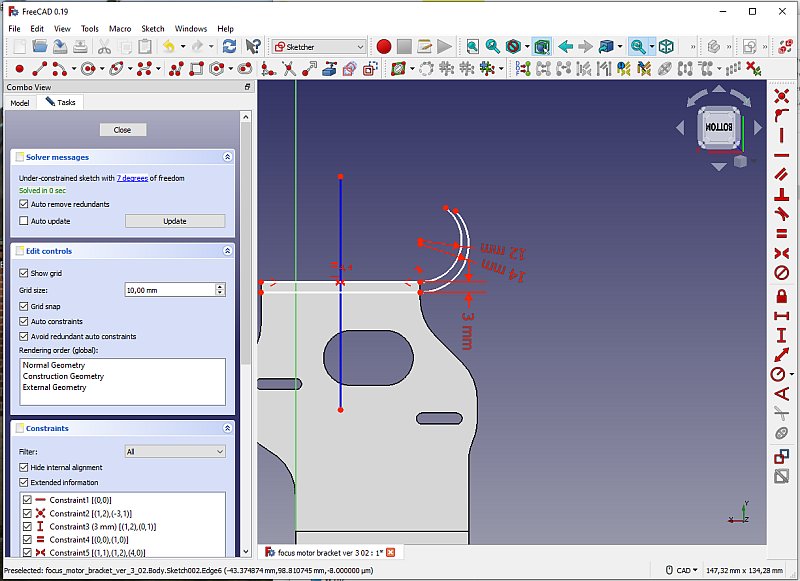
With the solid at the background as a shadow I start sketching of the upper part of the bracket. It will hold the the control box of the focus motor. Build it with two arcs with different radius. 
A third arc at the tip connect the two big arcs. Just drawing about how it will looks, adjust it later. 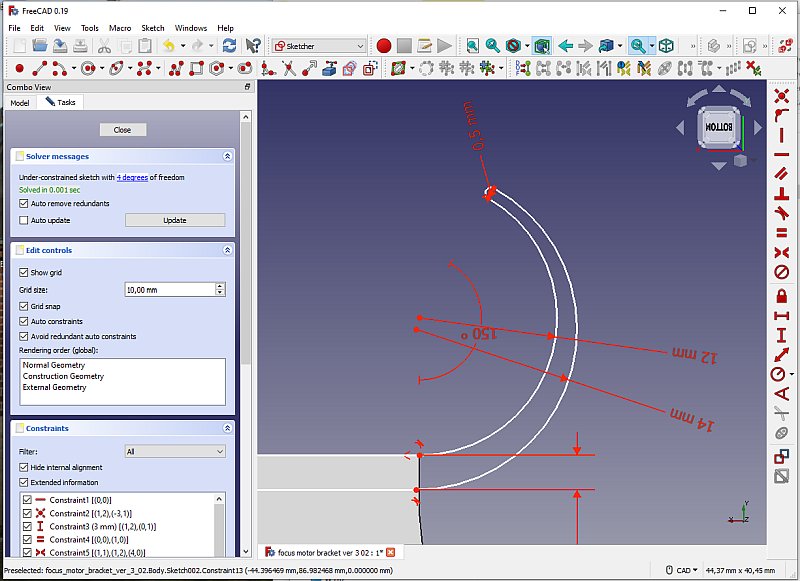
Setting some constraints of the model, radius, angle, tangent. It force the drawing to stay with these values. 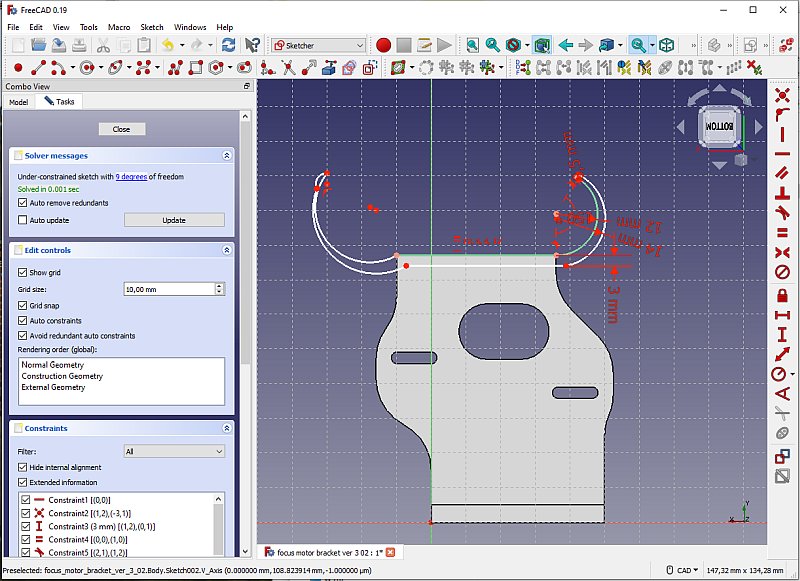
After the right part was finished I try to mirror it to the left side, haven't done this earlier and noticed that I can only mirror along the X-axis or Y-axis Y-axis. But the drawing isn't symmetric against these axis and I have to draw the left part from scratch. 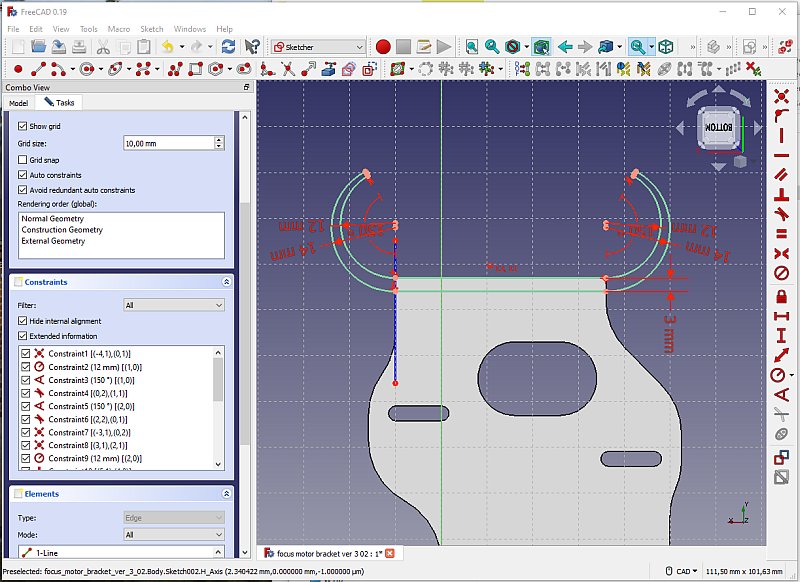
Set the same restrictions on the left side as I did on the right side. The blue line is a construction line that helps to set the start point of the lines. 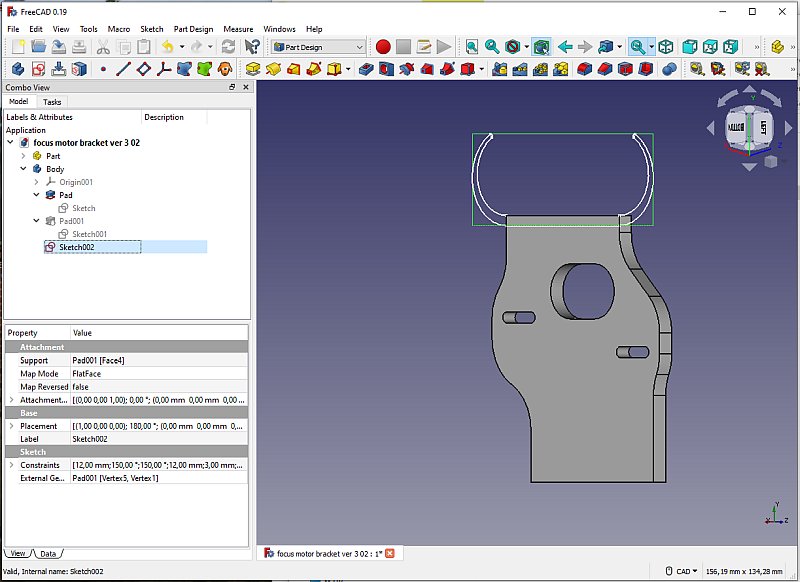
When finished with the Sketch, close it and go back to Part Design. Mark the sketch. 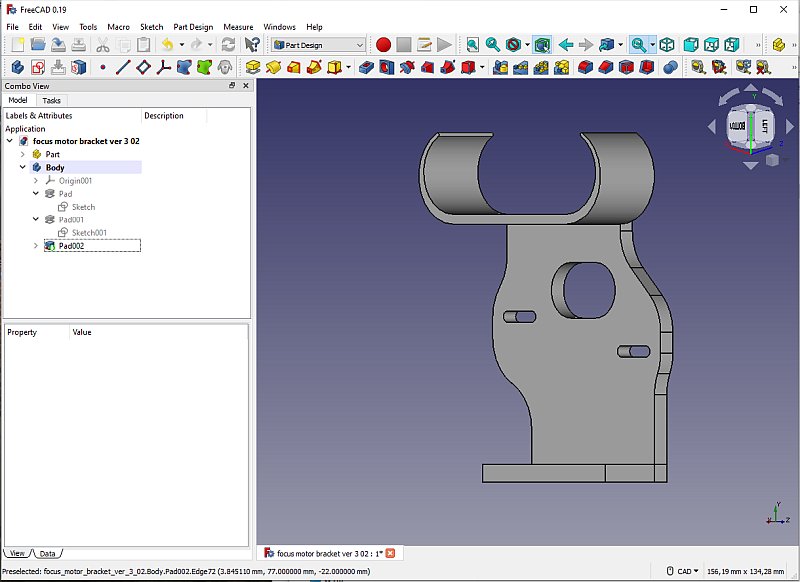
Use the Pad tool to extend the 2D drawing along the third axis. 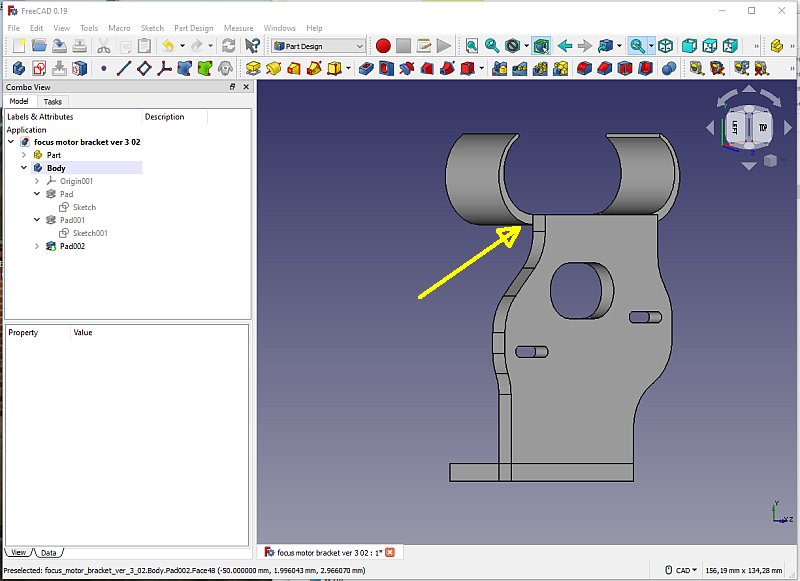
Looking at the backside, notice that it didn't start from the bottom. It could have been done if I had chosen that level of the plane. But it's an easy fix. 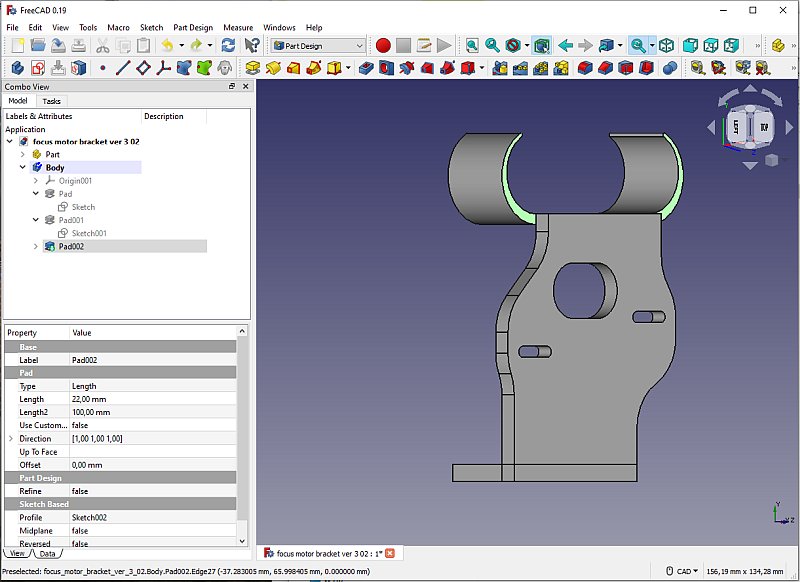
Mark the two and sides of the "ears" and pad them out until they are in level with the backside plane. 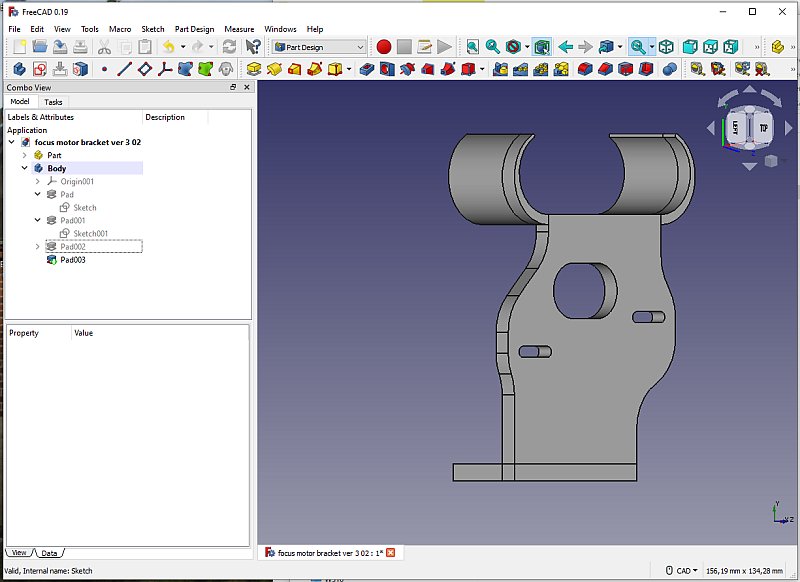
Now the upper holder is almost finished, looks good. The parameter CAD drawing was much beter after I have learned how to do it. |
|
|