|
Advertisement / Annons: |
Technique:
|
Contents:
Note: |
2, OpenMediaVault setup:There are many NAS server software to chose from. I have chosen the OpenMediaVault, highly recommended by others. There are a lot of documentations and forums to ask questions about it if you get trouble. OpenMediaVault homepage:
Installing the NAS software: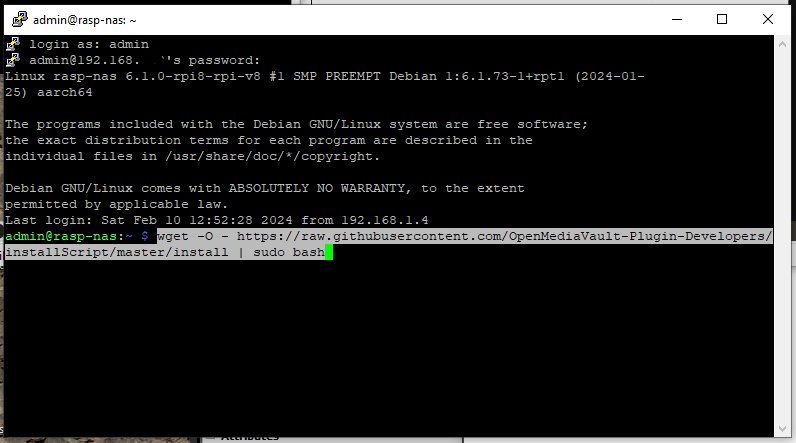
It's easy to install, give this command in your Putty window after you have logged in to your Raspberry:
It take a while, maybe ten minutes to install it. When finished, reboot it as you did before. Close your Putty window and open your web browser on your PC machine. Normally it has the same IP address as before, but do a check in the router. Do a reboot to it.
OpenMediaVault: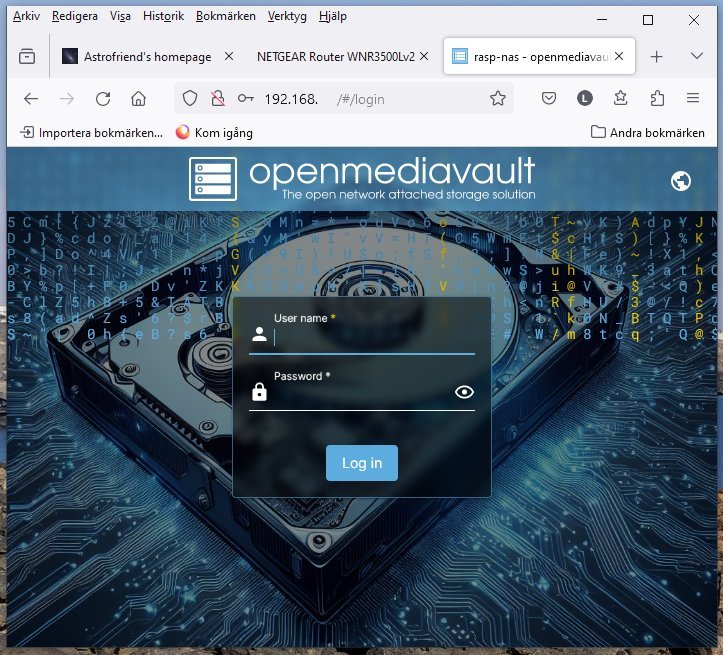
After rebooted the Raspberry and when it appears on the local network I could connect to it through my web browser. You just type in the Raspberry's IP address in web browser's address field. Normally it has the same IP address, it's a dynamic address now but will be changed later to a static IP address. Install & Configure openmediavault:
More to come. |
|
|