|
Advertisement / Annons: |
Technique:
|
Contents:
Note: |
1, Install OS on Raspberry:Our NAS is aging and it's time to replace it with something new. Last years the energy cost has increased a lot so it preferable to have power efficient technique. I have read a lot about people that use the Raspberry as a NAS server. The Raspberry is very power efficient and with use of SSD drives it maybe will serve us very well. I already have some experience of Raspberry so maybe I can handle this. Note that I'm far from a specialist on this. The Raspberry with power adapter, cooling device and a SD card cost about 100 Euro. Then you need some storage, a big SSD drive, it could cost a bit. I plan to have two 4 TB SSD. 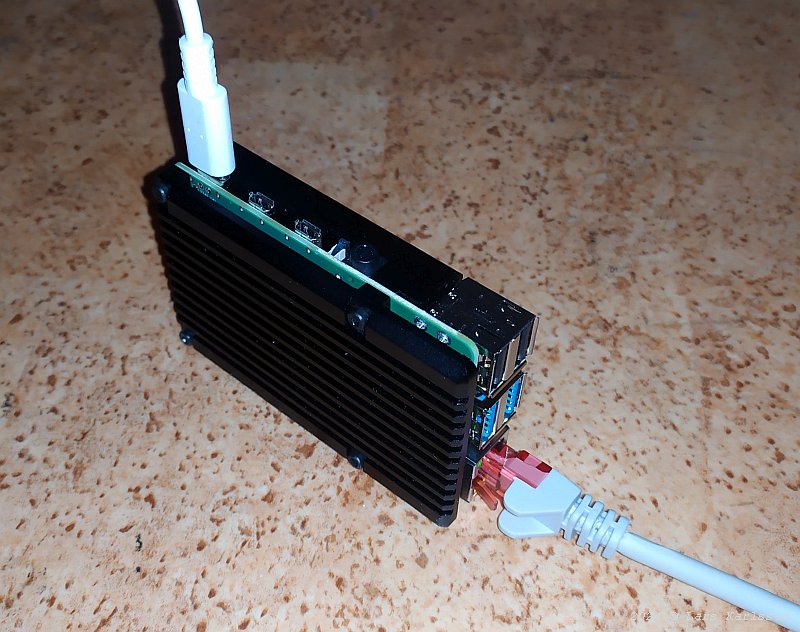
My Raspberry Pi4 with a passive cooling enclosure to have it absolutely quiet. It must be well ventilated ! The blue USB ports are of USB 3 standard and very fast. I attach my SSD discs later to these USB 3 ports. Download Raspberry OS:First of all you must install the OS on your Raspberry. They recommend to have at least a Raspberry Pi4 for the NAS server I chose, OpenMediaVault. The SD card must have at least 32 GB RAM. The OS is recommended to be the 64-bit lite version. In the lite OS there is no desktop, you use it through the terminal window. Page where to download the Raspberry OS installer:
It's very easy to do this, no struggle with image files. You do it from your PC machine and the raspberry installer download and install it direct on the SD card. But it must of course be formatted first. Maybe you have to use the Windows administrator tool to manage the partition on the SD card first. Only one partition. 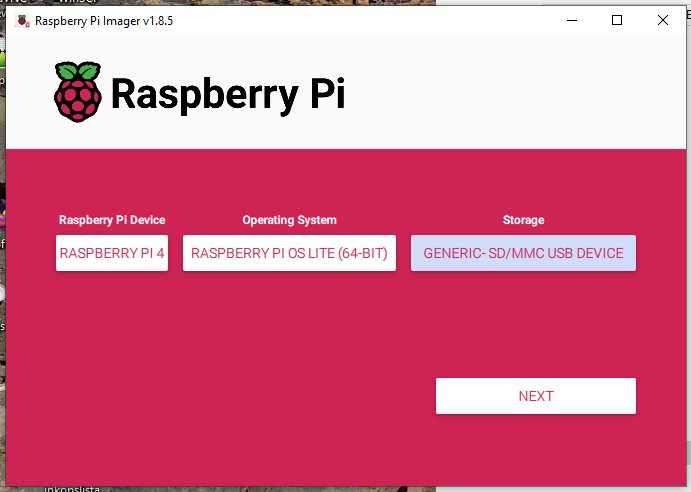
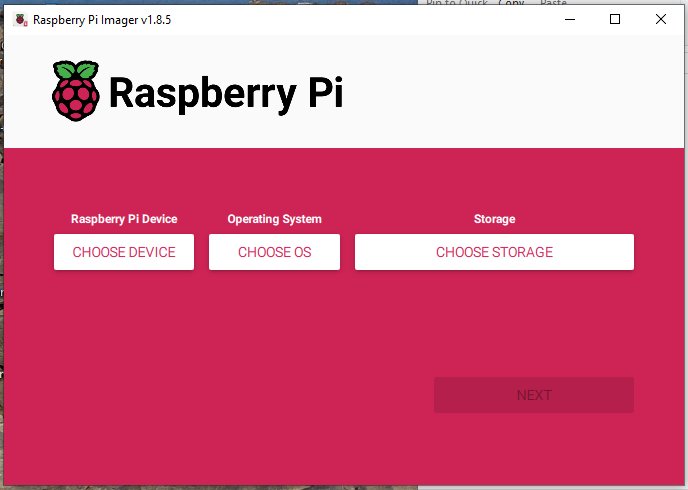
Raspberry Pi Device:
Operating System:
Storage: Click on 'NEXT' button. 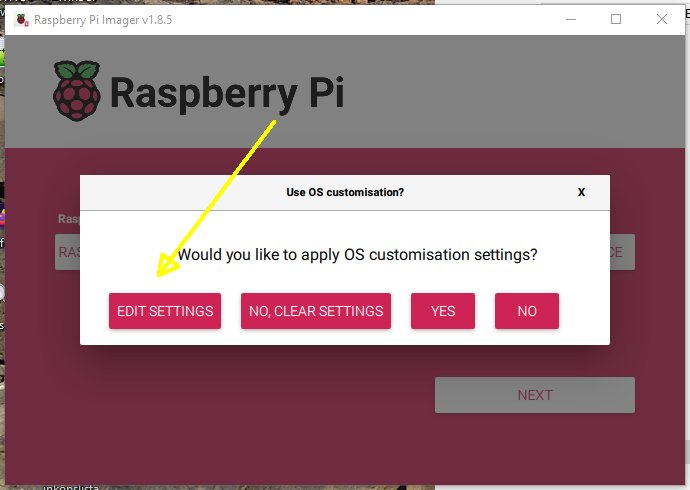
I prefer to change some of the parameters already now, click on 'EDIT SETTINGS'. 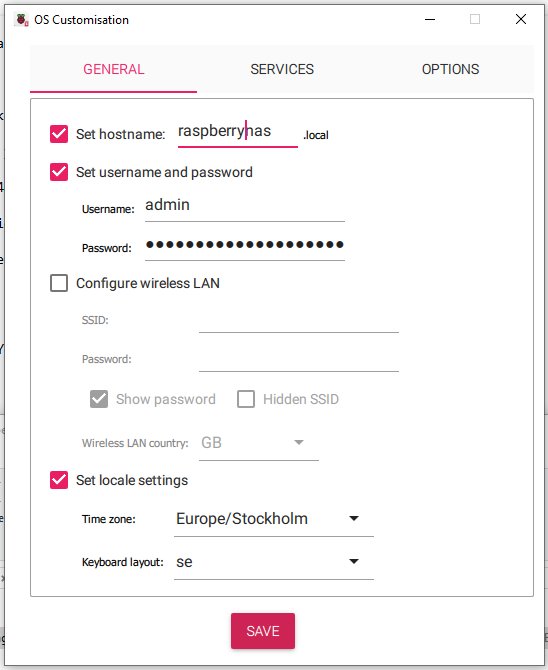
Set a hostname and give an unique password, don't forget your password, write it down somewhere. You will use it many times. I also set the time zone and keyboard layout, different for you. There are more you can setup here, but I only did this. Save and go on. 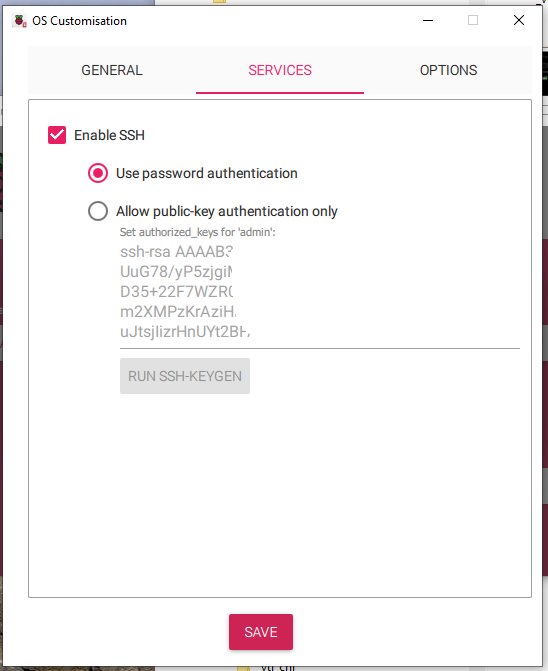
Next step is to enable SSH, whit that you can connect to the Raspberry over LAN. No need to connect a monitor and keyboard. 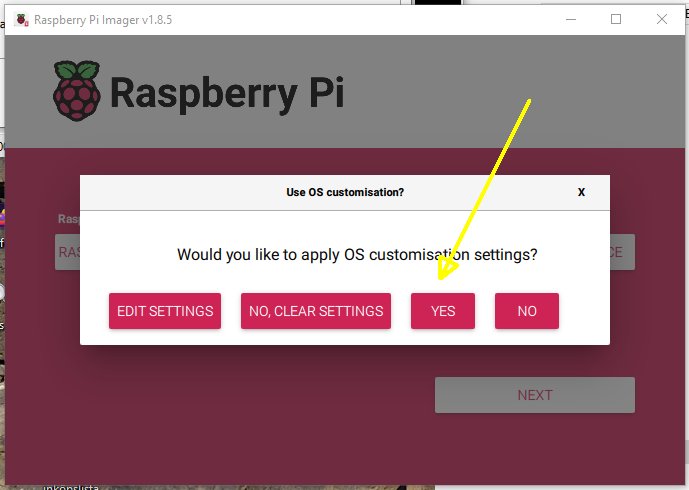
When click on the 'YES' button it starts to install the OS on the SD card. When it's finished, pull the SD card out and install it in your Raspberry and power it up. Enable SSH:If it failed to enable SSH you have to connect a monitor and keyboard and from the commando window. But if it's enabled you can skip this step. Fist thing you must do is to enable the SSH. Before that you can't communicate with the Raspberry over internet. Connect a monitor and keyboard to your Raspberry. Start it up, you will see the terminal window. Here you should setup the SSH function. It's always disabled as default for security reason. First log in with your user name and password. The type in this command:
A menu appear, chose:
Now it should be possible to connect to the Raspberry over the internet. You must found out which IP address it has been given from your router. I normally log in to the Router and look which devices that are connected. You will find it after some minutes with the host name you gave it in the beginning. Connect to the Raspberry over IP:Before you have installed the NAS server software you must use the Raspberry's terminal window. I use the Putty software to do this in my PC, but are many others you can use. Page where to download Putty:
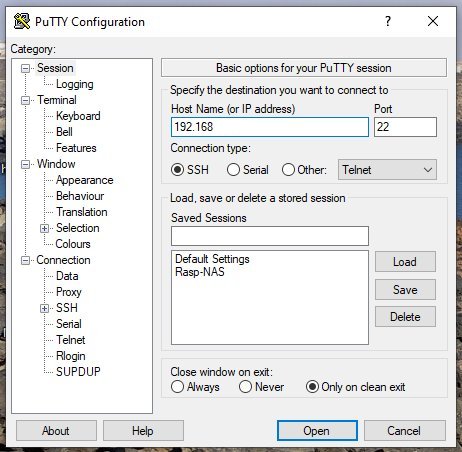
When installed and started Putty on your PC it looks like this. Type in the IP address you found to your Raspberry earlier. Click the 'Open' button and a terminal window shall open. 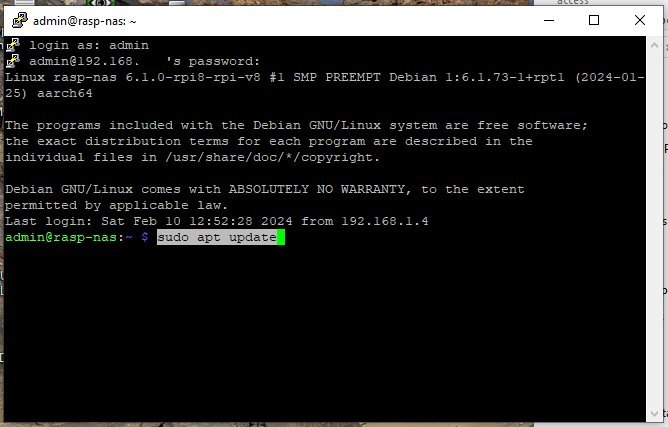
Login in with your user and password. When online, give these two commands to update the OS system.
It could take a while, 10 minutes. When it's finished, do a reboot, you must still be logged in:
Now the Raspberry system is ready to install other software. |
|
|