|
Advertisement / Annons: |
3D CAD drawing:
|
Contents:
Note: |
3, HEQ5 Pad:HEQ5 pad CAD: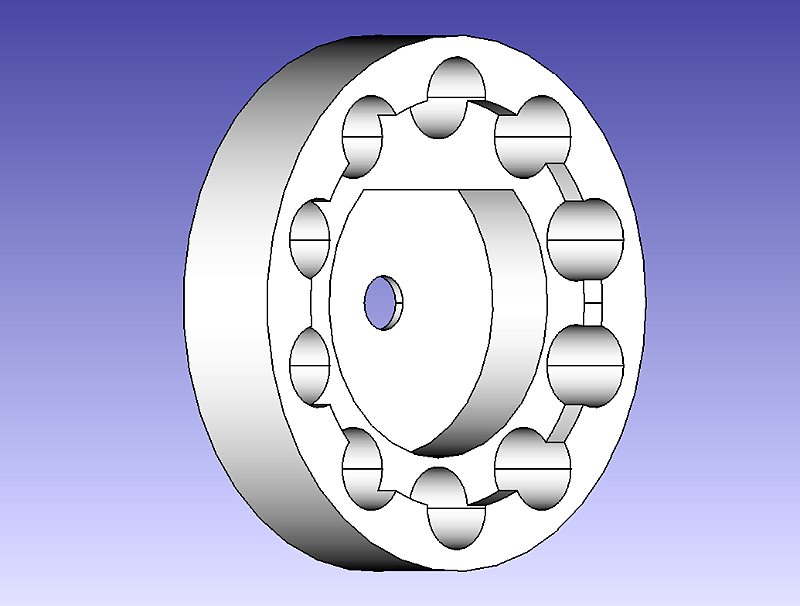
I recently bought a smaller brother to the EQ6 mount, the HEQ5, this is a mount I bring with me on travel. But sometimes I maybe install it in the observatory and then I need a pad to it. I designed it a little bit different. The EQ6 pad warped a bit and got convex at bottom. This time I carve out the center to have it ride only on the outer rim. Above is the top side. 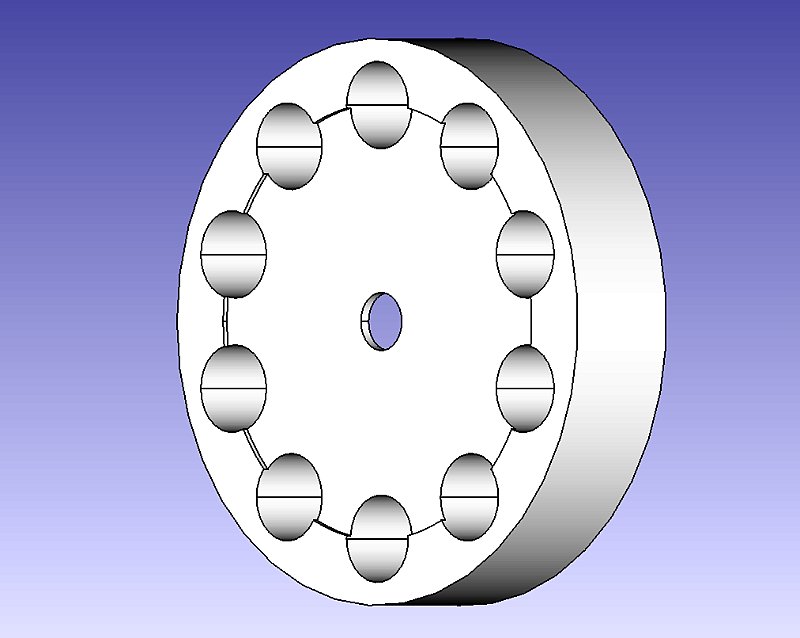
On the bottom side the center is also pushed back, just 1 mm. This shall get it more stable. 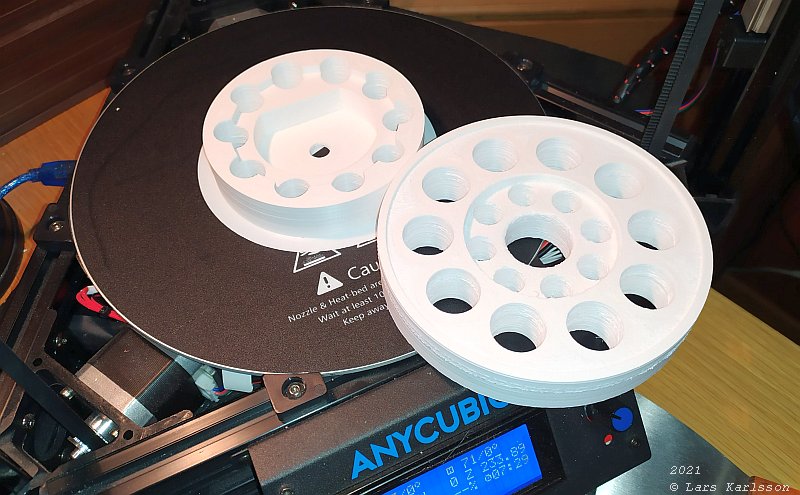
After 7+ hours I can have a first look at the pad, compare with the much bigger EQ6 pad in front. 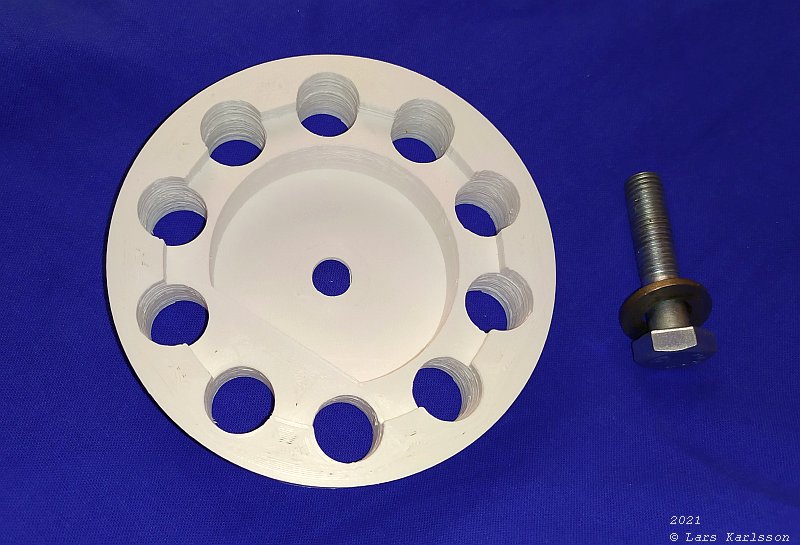
A M10 bolt will connect the mount to the pier. 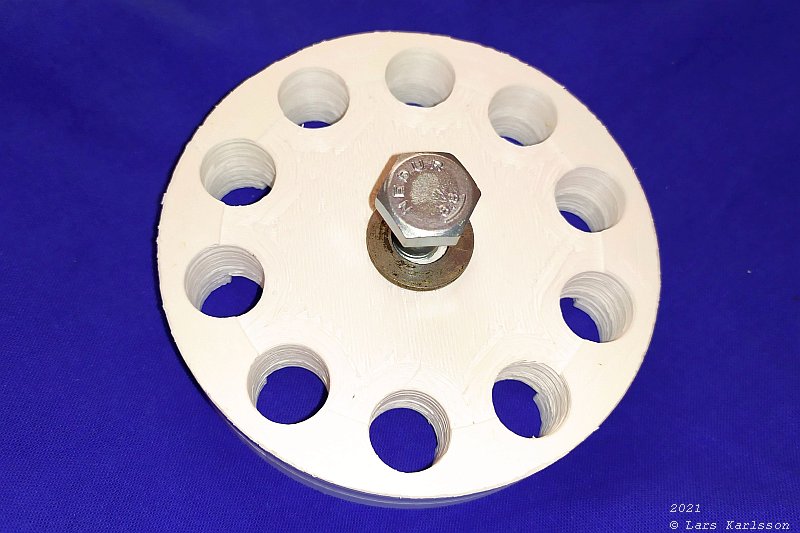
The bottom side, the ABS pro filament I use don't print as beautiful as the PLA filament. This time I increased the temperature from 230 C to 240 C degrees and the layers melted together better but not perfect. 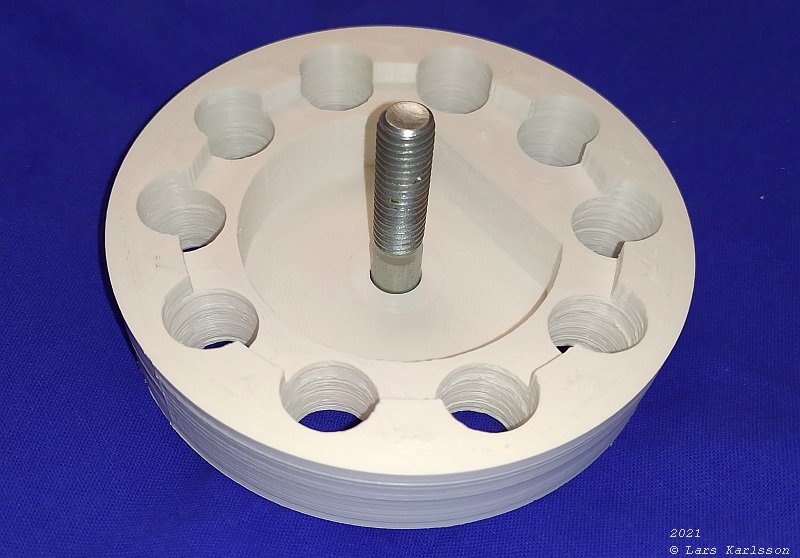
The upper side with the bolt coming through. I must install a new guiding pin on the pier. At the EQ6 it's placed 47 mm from center, on HEQ5 it's placed 40 mm from center. 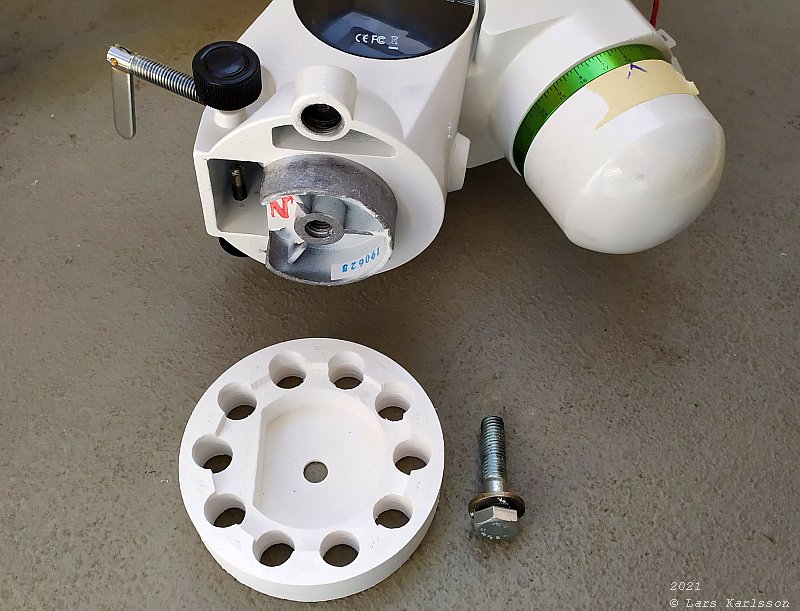
This is the bottom end of the mount that the pad should fit to. 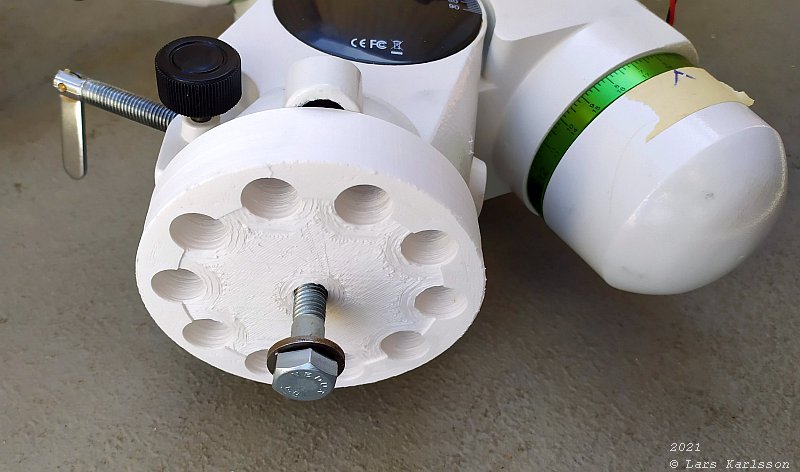
It fits perfect, it will of course depend a bit of the printer how high precision it print with. 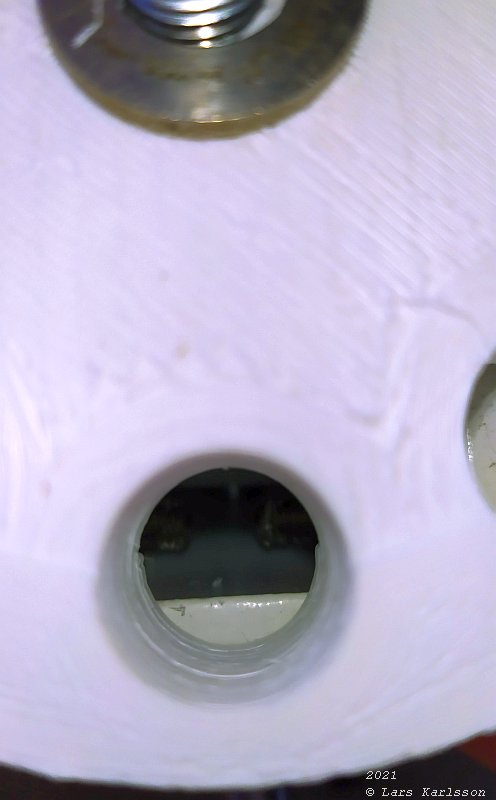
Deep down there ore the two screws that adjust the Azimuthal angle. I plane to install a M6 bolt on the top plate of the pier which I cut the head off. |
|
|