|
Advertisement / Annons: |
3D Printing:
|
Contents:
Note: |
2, 3D print the adapter:An exiting moment, first print of a part that I will use later. Will it be useful or just trash ? 3D print from SD card: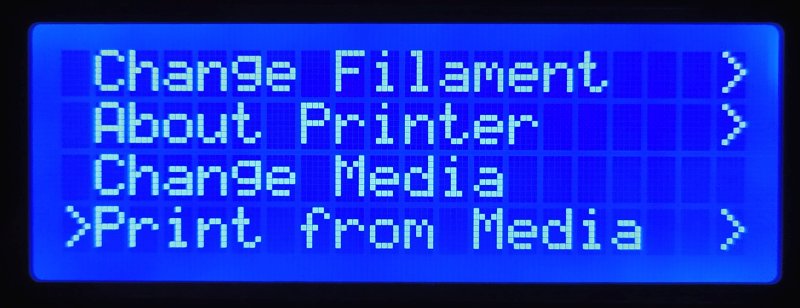
Insert the SD card into the 3D printer, power up the 3D printer. From main info menu, push the button, scroll down until you find "Print from Media", click on the button (the rotation knob). 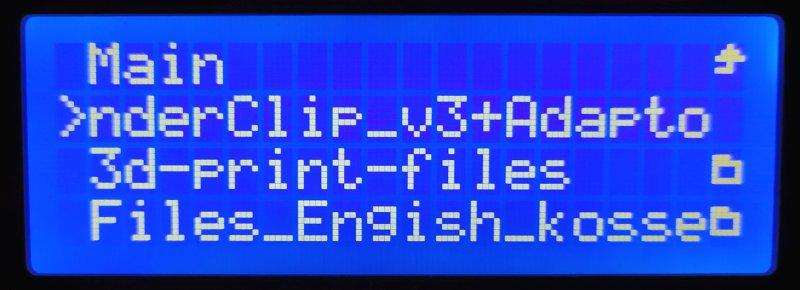
Look for the file you want to 3D print, in my case it was stored in the rot, click on it. 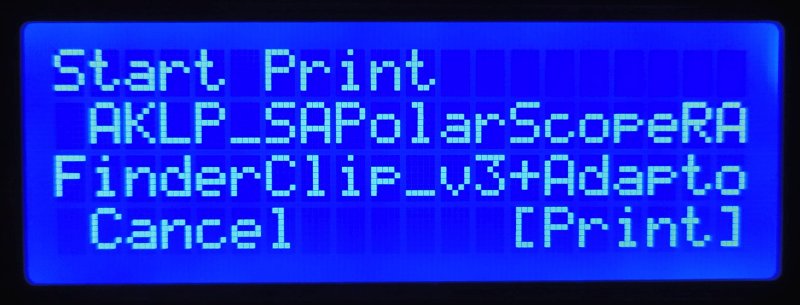
Rotate the knob until it marks the [Print], click on it. 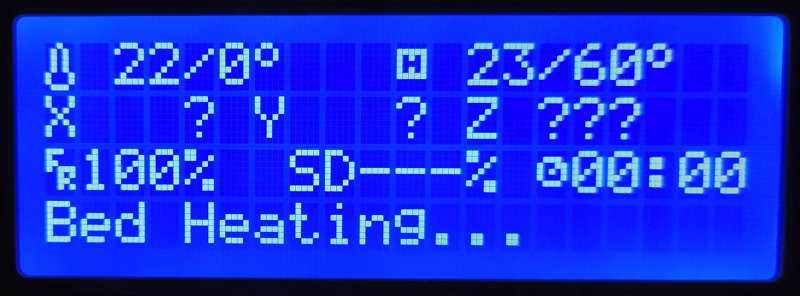
Now the 3D printer starts to heat up the bed and nozzle, takes some minutes. After this it home in the printer head and start to print. 3D printer working:
After five minutes it has done the lover layers of the four items it prints. 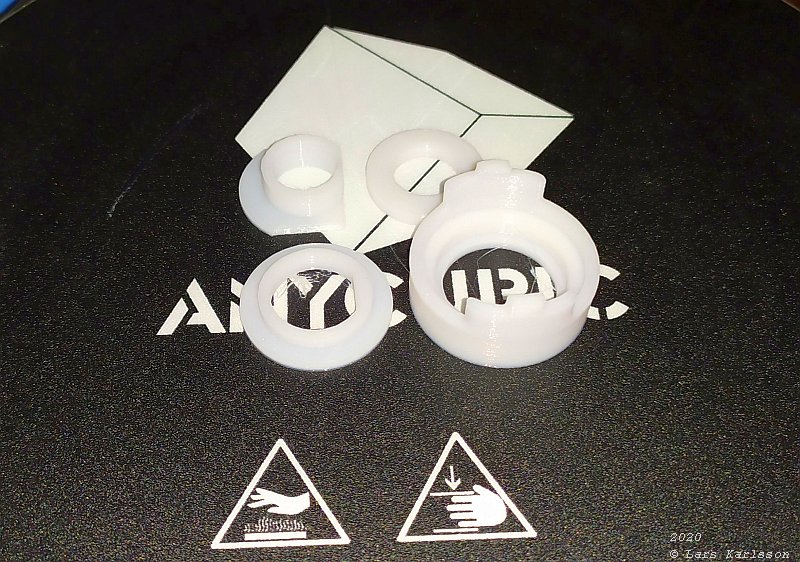
Fifty minutes later it finish its printing work, turn of the heated bed and nozzle. After it had cooled down I loosen the four items from the printer bed. Finished parts: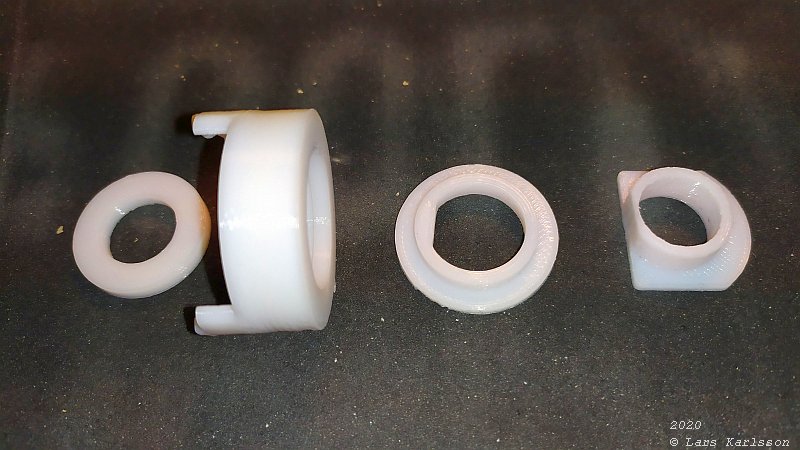
This is how it looks and the order as they should be mounted. 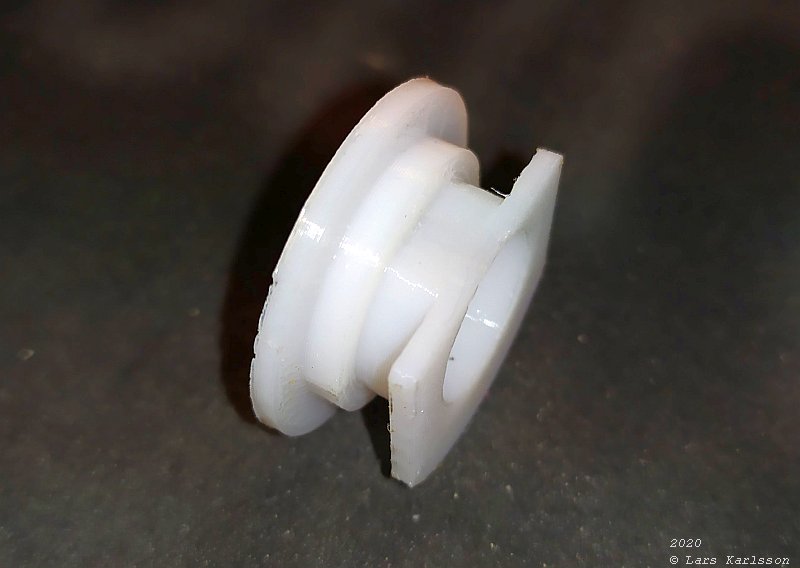
With a knife I clean the edges and surfaces. These two parts fits together perfect and no need to glue them together, how could it be so perfect ? 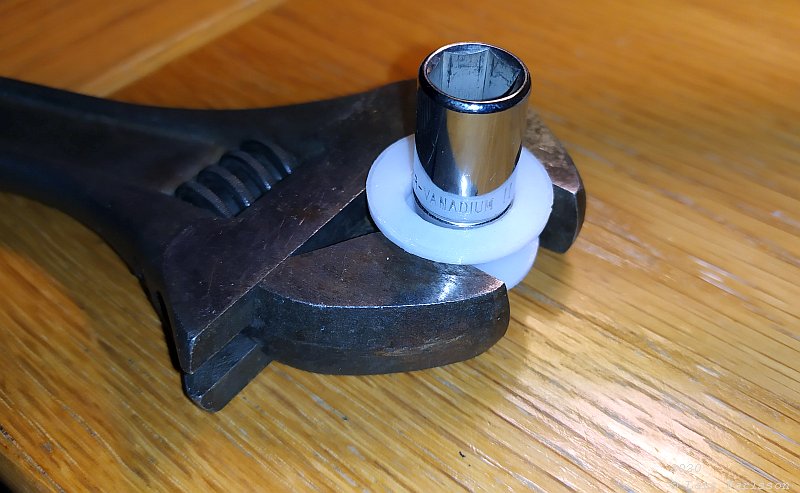
I didn't read the information at Thingiverse deep enough, I turn one part back and fort. I knocked it out with a small hammer and some support. The plastic didn't broke after my brutal handling of it. 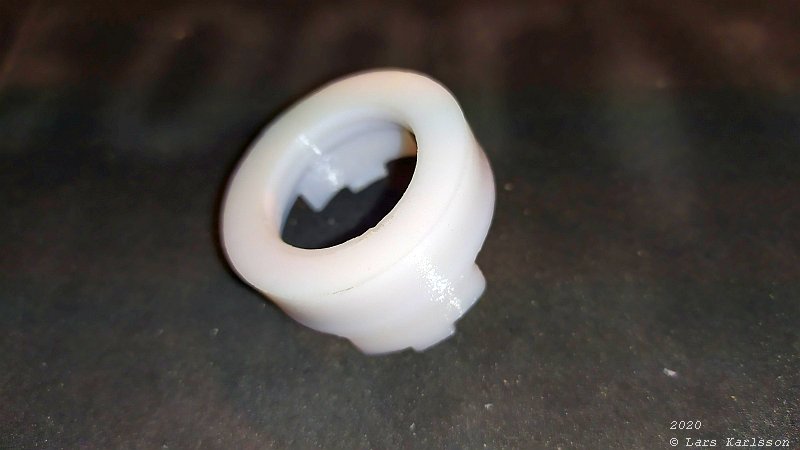
This device attach to the polar telescope finder of the Star Adventurer. This is a weak point, not stable. 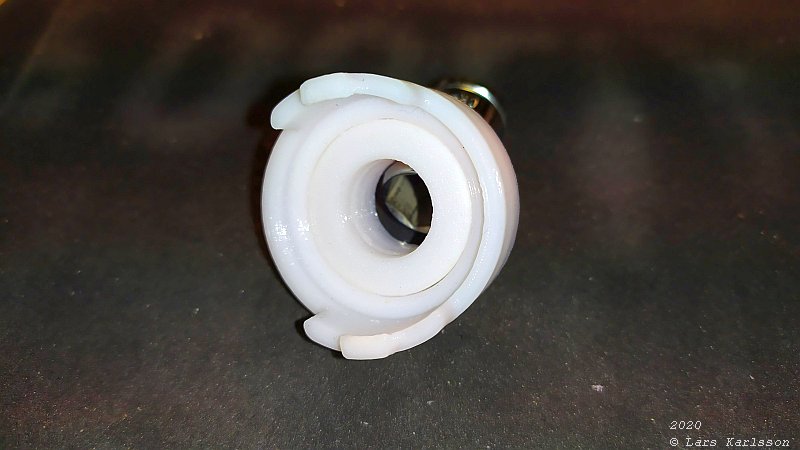
I insert the ring into it from polar telescope side. It has to be glued together with the other parts from other side. It's recommended to use Super Glue, be careful to not glue the outer and inner ring together, they shall rotate freely against each other. Protect your eyes when gluing ! 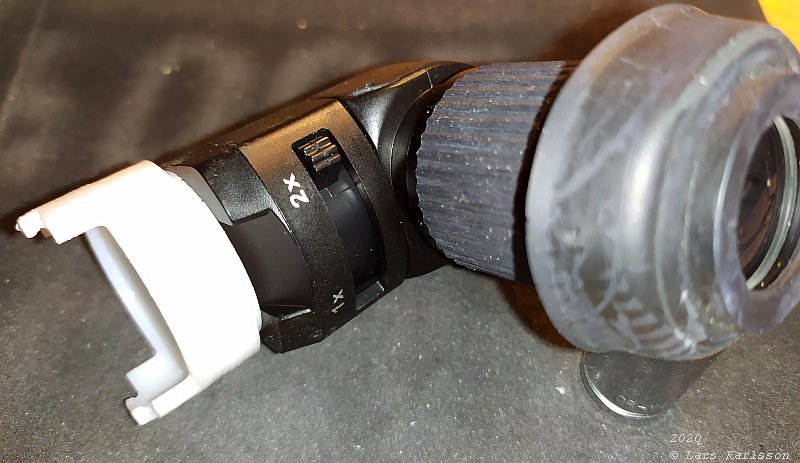
The adapter connected to the camera angled finder, fits perfect. Adapter installed: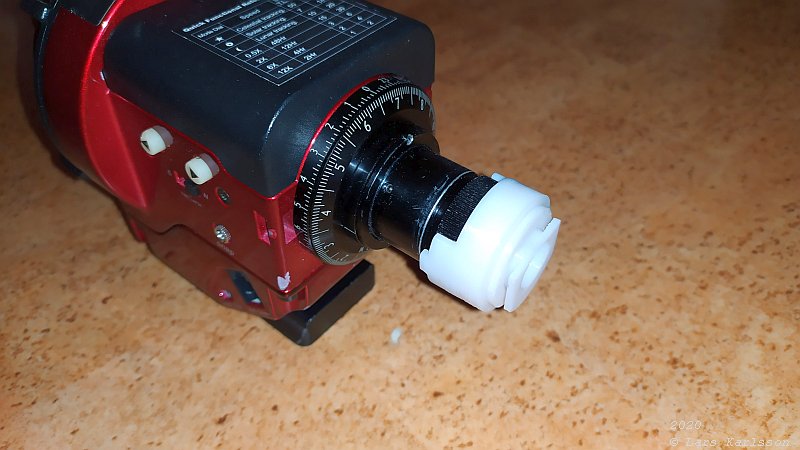
The outer ring attached to the polar telescope finder. 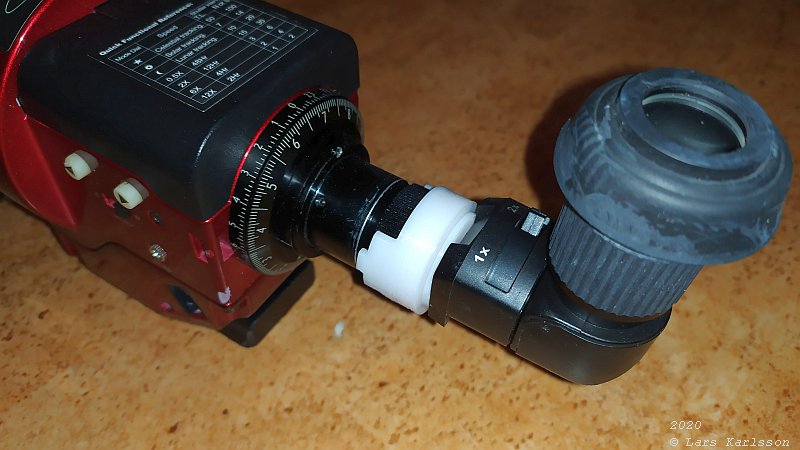
Everything in place. Grab the white ring to adjust focus and hold the camera angled in correct position. What a great introduction for me into the 3D printing world ! |
|
|