|
Advertisement / Annons: |
3D Printing:
|
Contents:
Note: |
1, Setup Cura for slicing STL files:Introduction:Something I have thought about a long time is to 3D print an adapter to my Star Adventures polar finder telescope, an adapter so I can attach a 90 degree angled viewer. My earlier attempt with a modified film canister adapter. Note: Go direct to page 3 and you find my own adapter, much more stable. Star Adventurer 90 degree angle finder adapter for Polar telescope: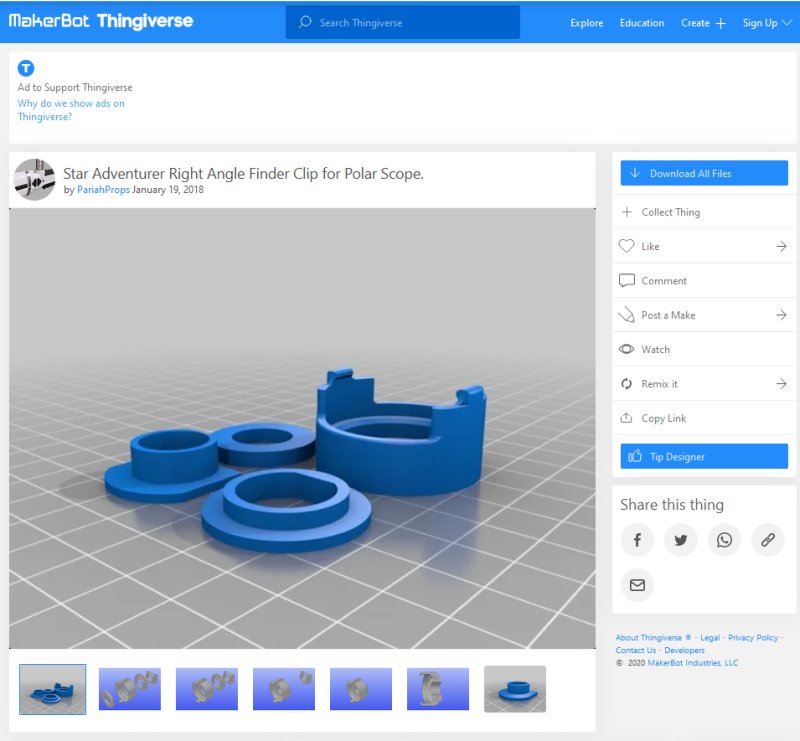
This adapter I found at Thingiverse and it's free to download. You don't have to do any drawings. Download all files and store them on your local PC. These files are normally STL formated files, a standard in the 3D-printing world. Here is the link to the adapter at Thingiverse site:
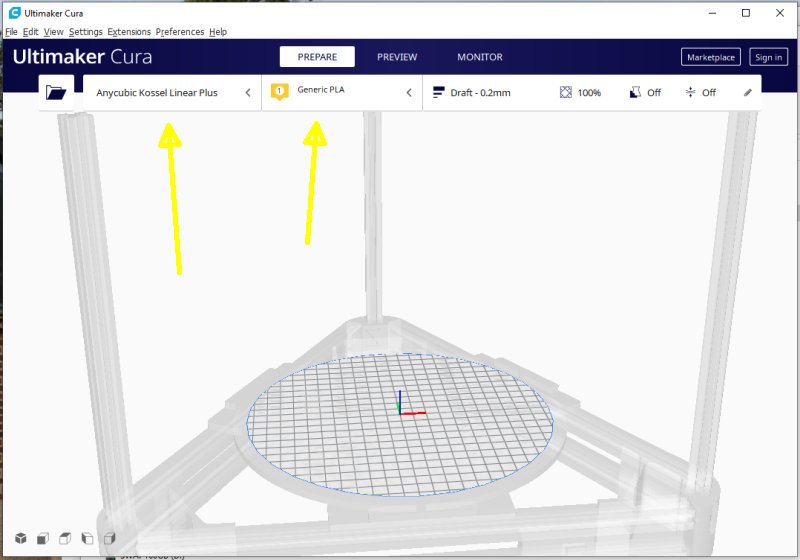
Even it's no need to make drawings there are some preparations to do. I use the Ultimaker Cura software as a slicer and send the commands to the 3D printer. First I setup the material I use when I 3D print, it's PLA filament, maybe not the best but I have it at home and good to start practicing with 3D printing. After that I have to setup the 3D printer too. Link to Ultimaker Cura site:
Setup Cura, 3D printer: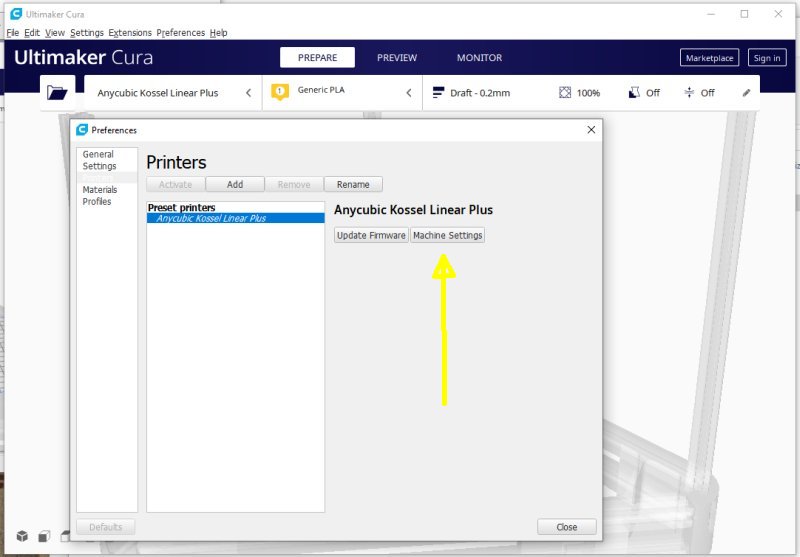
In the printers menu, click on Machine Settings. 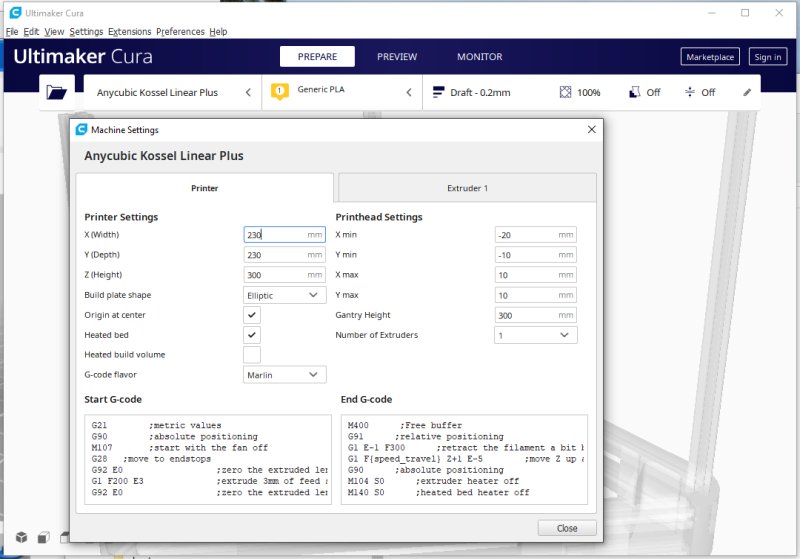
I didn't changed anything here, only check that all settings are correct for my 3D printer. Maybe I could have limit the diameter to 228 mm which is max as it's now. Close the window when done. 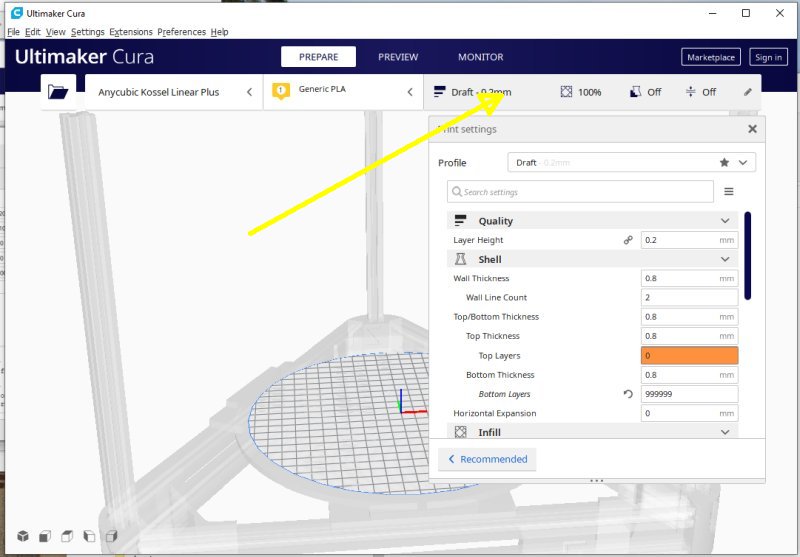
There are more settings, these setting you maybe change every time you 3D print a new device. These are also left as it is. The layer height is set to 0.2 mm, it's fast and works for most of the 3D-printing works. Sometimes when I need higher precision and finer surface structure I set it to 0.1 mm. 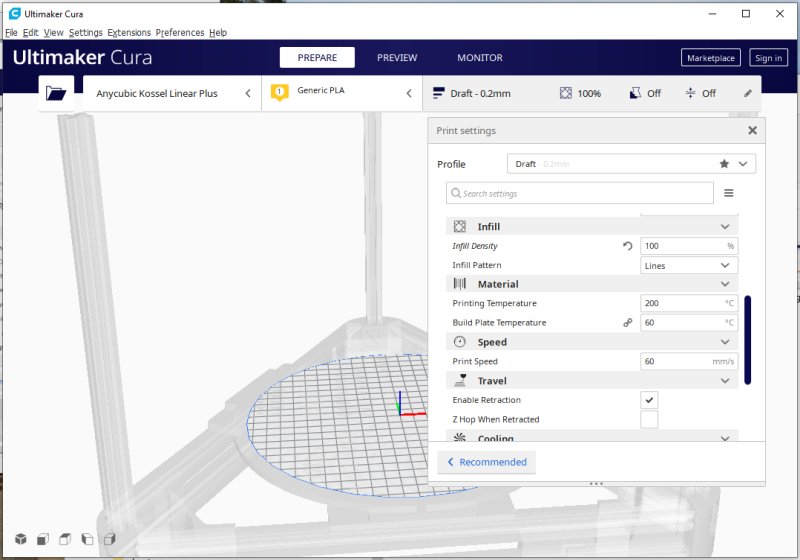
Scroll down and more settings appear. Infill is set to 100% (nowadays I usually use 15% for everything and 1.5 mm walls and base) because these are very small details and I want them as strong as possible. The Printing temperature is set to 200 Celsius degree and the print bed to 60 Celsius degree, standard recommendations for PLA material. 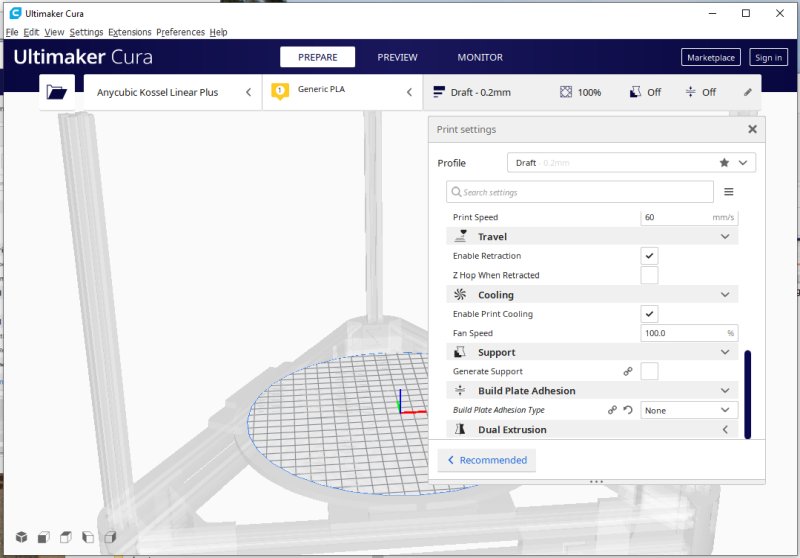
The last settings, in this case no overhang and then no need for support. Note: It don't have to be the best setting I have chosen, I have to practice and learn. 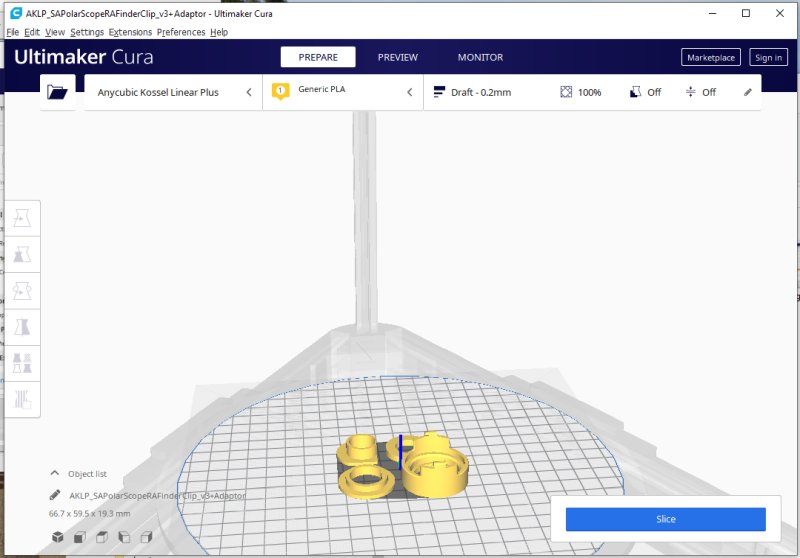
Open the files you downloaded, there are three files, but the last include the four items you need for a standard adapter. Place them at center of the printer board if they are not there already, you have the controls to the left. Click on the Slice button and it start to slice the drawing to prepare to print it. 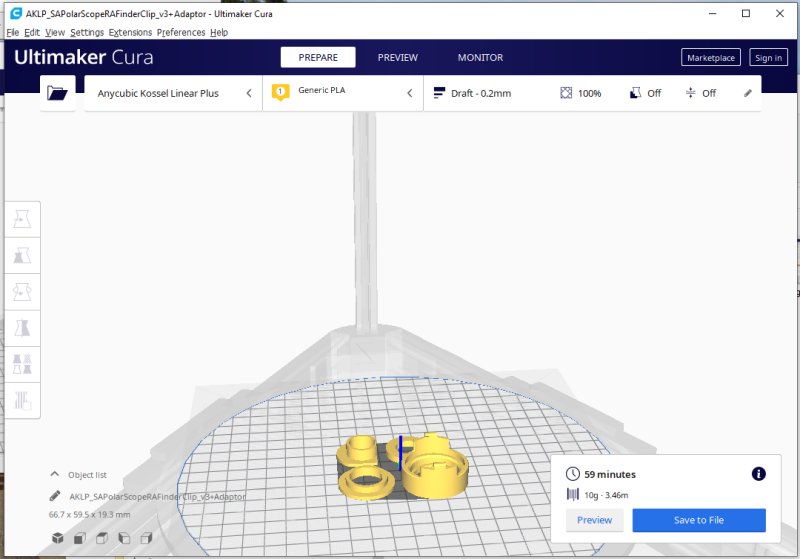
After Cura has finished the slicing procedure it's ready to either send commands direct to the printer over USB which I don't do. Better store the sliced file to a SD card and put it into the printer direct. Then you don't have to have your PC powered during a many hours printing process. |
|
|