|
Advertisement / Annons: |
My astronomy project:
|
Content:
Related projects:
Note: |
4, Setup Kstars and Ekos:Now everything is ready for a first start. I take power from the 230 AC adapter that was included, it can deliver up to 3 Amps at 5 Volts. I use this power supply only when testing, later it will be a mobile solution and battery powered. See page 7 on this project where I did a simple battery test. The raspberry normally start with a setup as a Wifi Hotspot, I have temporary changed it to connect to our local network. I did this first setup with an USB keyboard and monitor connected to the Raspberry, more information below. My plan now is to set up three different profiles on this single Raspberry.
The Raspberrys are cheap, I can also have two Raspberrys or three as an alternative if I find any advantage of that. Here I have started with the first profile. 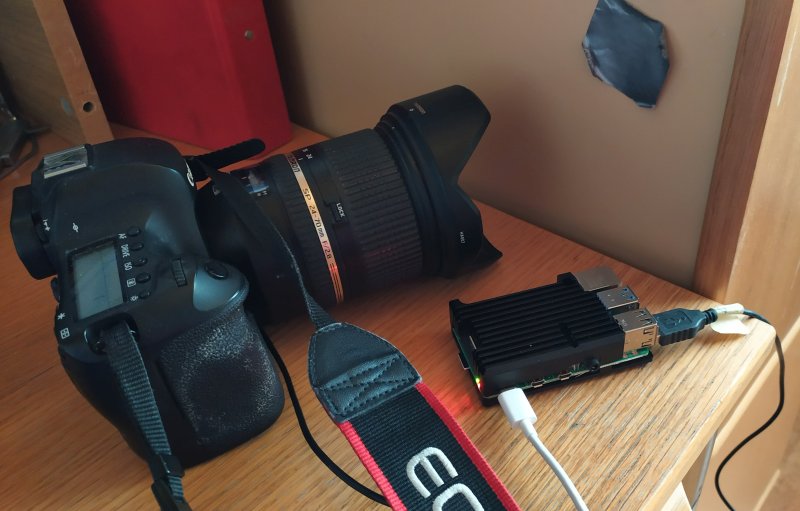
Wise from my earlier project I started it simple, I only want to control my camera in the beginning, a Canon EOS 6D DSLR. When I get this to work I add more functions and devices. Setup the Wifi network: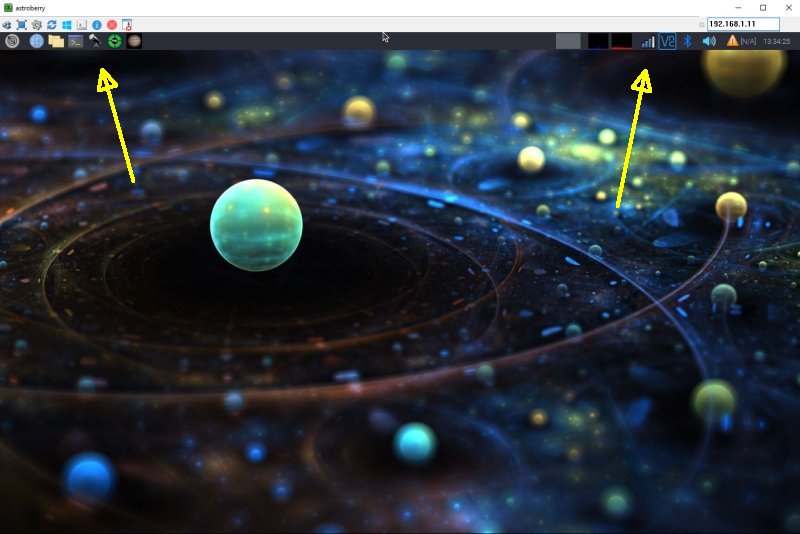
When first startup of the Raspberry it ask about some configurations. I set the display resolution to 1400 x 900, with higher resolution it can be a bit slow when communicating over Wifi, better with a LAN cable. I set the locations and time zone to where I live. The left arrow where you start KStars and the right where you setup the Wifi network. This I did with a USB keyboard and monitor attached to the Raspberry. In this case I use the KStars locally on the Raspberry. You can also setup it to have the KStars on another machine and do the heavy work on that computer, but then you depend on a reliable connection. With the Raspberry running KStars direct it work independent of the connection. Earlier I had problem with this because it overloaded the Raspberry processor, I hope it will work better now with the more power full Raspberry Pi4. The following steps I do remote over VNC from my Windows PC. Setup location, download star database: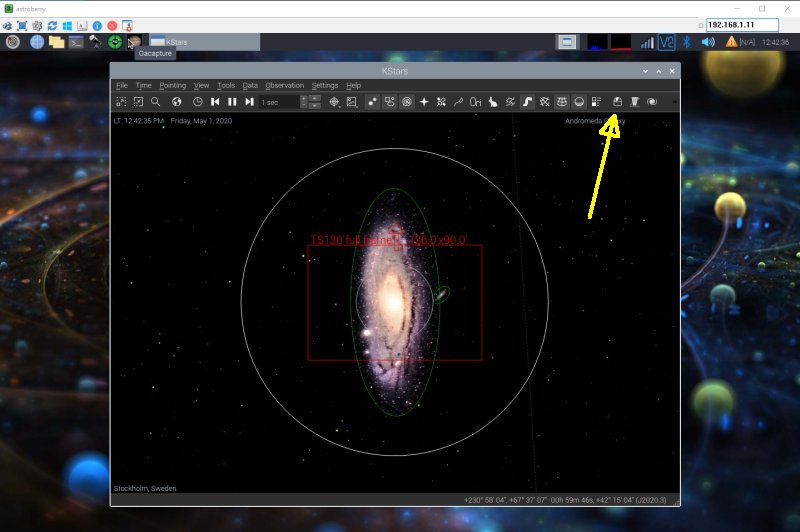
When starting up KStars first time it ask about some configurations. Set the locations and time zone to where I / you have the observatory. I also downloaded some of the star data bases. The arrow points to the button that open the Ekos setup. Start Profile editor: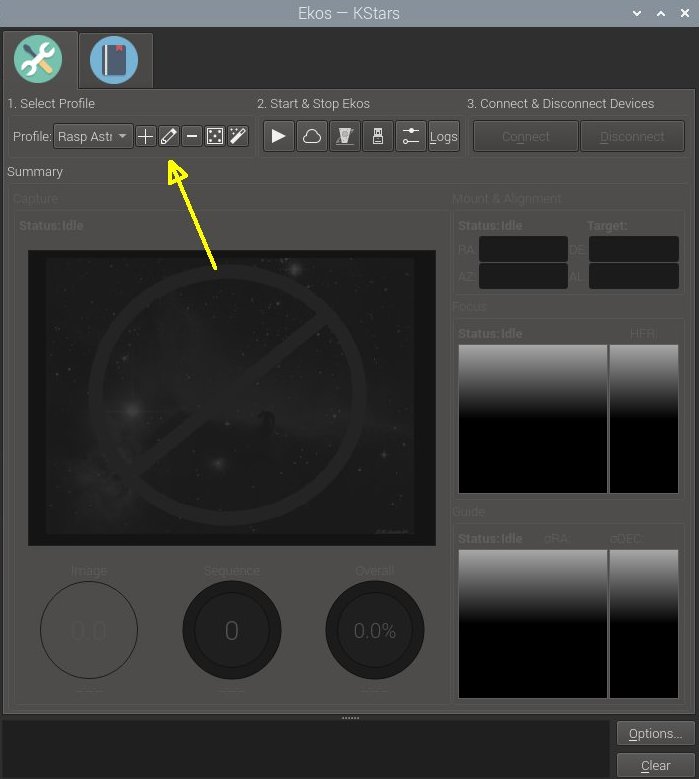
Next thing to setup are the devices you want to connect Raspberry to. Click on the edit button. Add devices: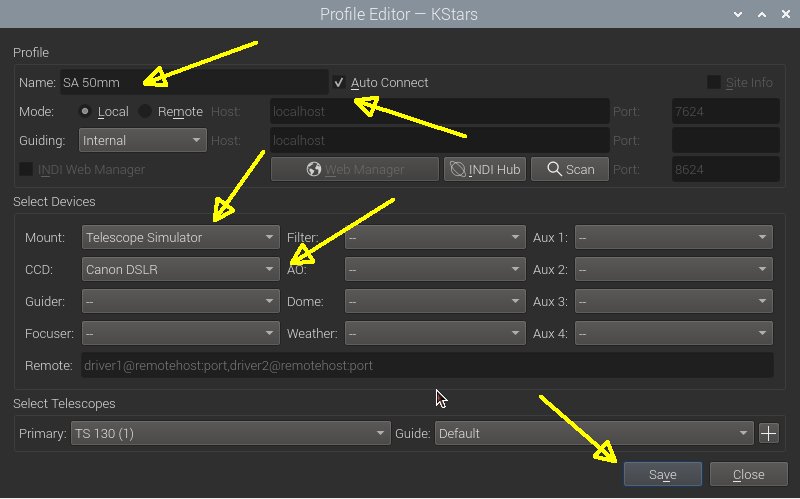
Give the profile a name, my name 'SA 50mm'. It's short for Star Adventurer mount and 50 mm lens, a better name had been 'SA auto focus lens', I will change that later. It's my first setup with this mount so I have to experiment with different settings to get it optimal. Enable 'Auto connect'. The Star Adventurer mount is not remote controlled, but still there is a need of a mount in the setup. Choose the 'Telescope Simulator', you find it under Mount>Others>Telescope Simulator. A camera must also be setup. In my case with a Canon 6D camera I chose the CCD driver 'Canon DSRL'. Save and Close. Start Ekos: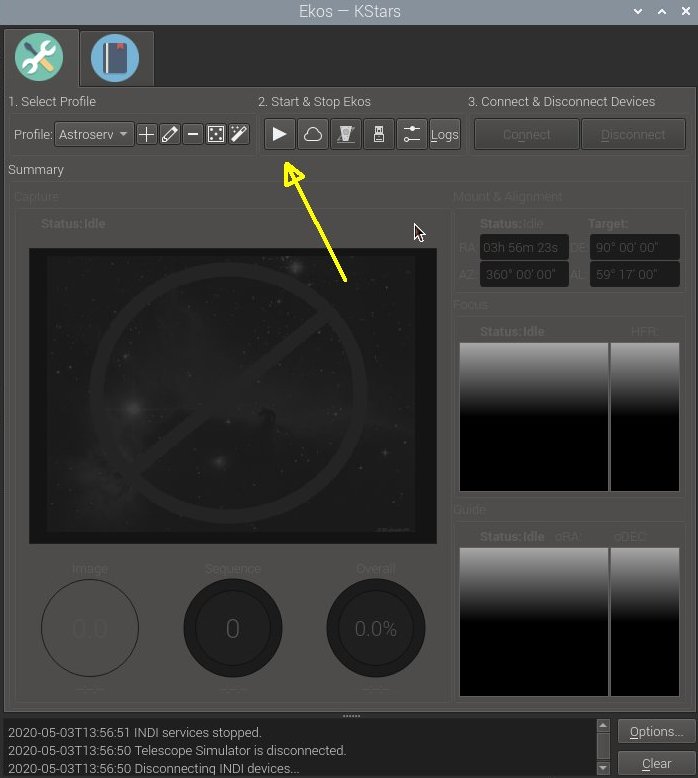
Start Ekos with the 'Play' button which connect the devices. I got problem here, it didn't connect, I found later that the camera had the WIFI enabled which block the USB port on the camera. I use the Wifi function when I remote control the camera with the Android app 'Canon Remote' in my smartphone. After I disabled the WIFI connection I could connect it to KStars. DSLR camera Settings: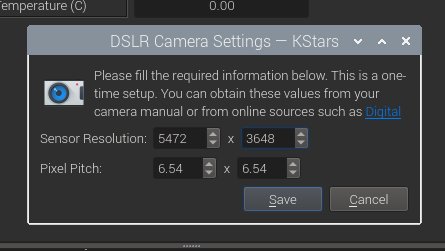
When it connect it will ask after some camera data, search for your camera's specification and enter it, save it when okay. These data is for the Canon EOS 6D.
Note: KStars star chart setup:
In the KStars setup there is a star chart setup. Here you can change how weak stars and DSO will be visible on the screen. These settings are what's good for my equipment and environment.
|
|