|
Advertisement / Annons: |
My astronomy project:
|
Content:
Related projects:
Note: |
3, Formatting the microSD card and transfer of the mirror file:It's so much easier now, there is a software package with name Astroberry where everything (almost) is included. You just have to download the image file and install it on the SD card. You have the Astroberry page here with instructions: https://www.astroberry.io/Astroberry Server homepageI do this on my Windows PC, when finished I move the SD card to the Raspberry. Format the microSD card:I do the formatting of SD card and transfer of image file in the Windows PC. The PC doesn't have microSD reader, only a full size SD card port. 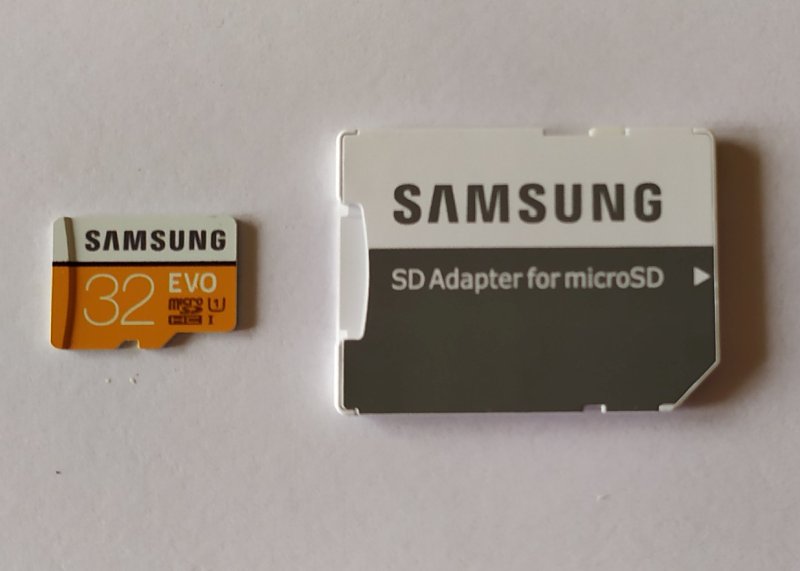
With the adapter I can insert the microSD card in the PC. 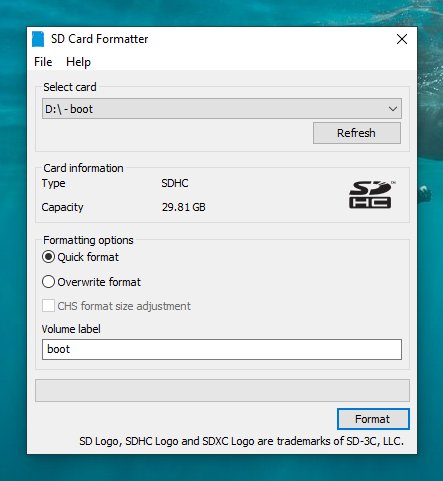
To format the microSD card I use the software SD Card Formatter. Set the device to your microSD card, be careful, if you choose the wrong device you erase files on wrong unit ! https://www.sdcard.org/ downloads/ formatter/SD Card FormatterTransfer the imagefile to microSD card: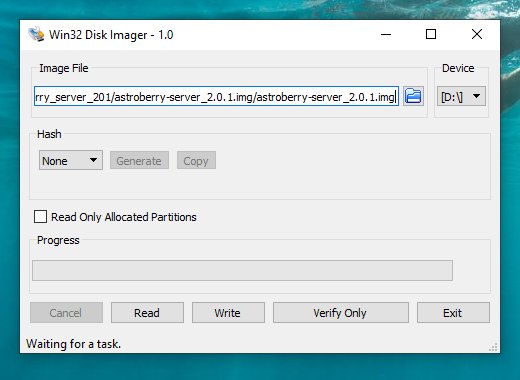
After the microSD card is formatted, I use the software Win32 Disk Imager to transfer the image file to the microSD card. Choose the image file you downloaded from Astroberry's homepage. Set the Device to your microSD card, be careful to choose the correct device. You don't want to overwrite something else. https://sourceforge.net/ projects/ win32diskimager/Win32 Disk Imager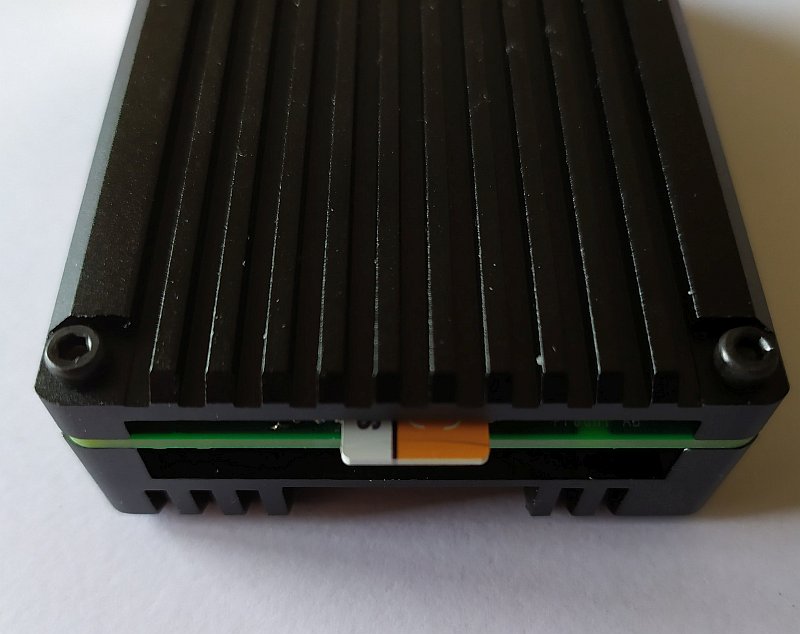 When finished, take out the microSD card when it can be safely done and insert it into the Raspberry microSD port.
|
|