|
Advertisement / Annons: |
Macro photography
|
Content:
Note: |
5. First macro photo testNow I have all parts to do a first test, it will be very exciting to see what these lenses can deliver. |
Setup the object: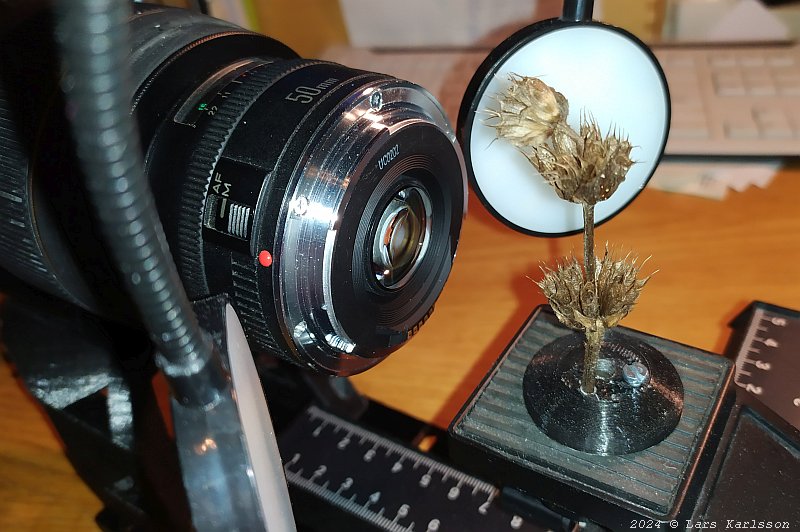
Looking into my glass jar what macro objects I have collected. This one has a reasonable size, about 15 mm wide and deep. Put the LED flashes as close as I can. This is an early test and the sync cable not constructed yet. I have to have the flashes to continuous mode, it drain the batteries fast. Set focus of the lenses: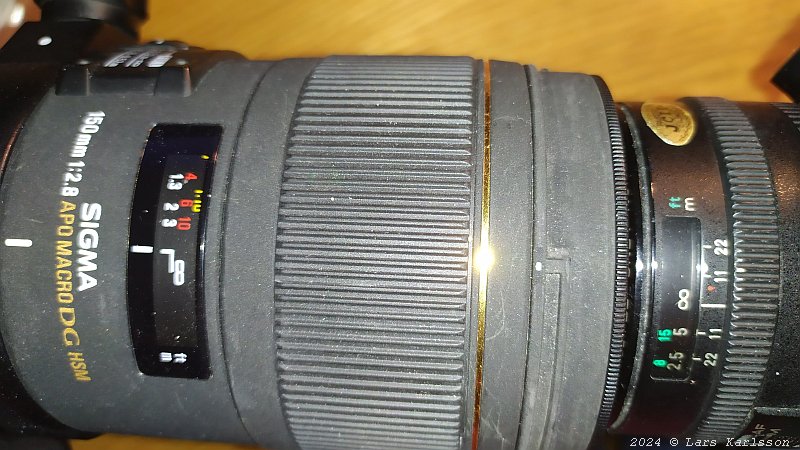
Set both lenses' focus to infinity, that's to have a parallel beam between them. 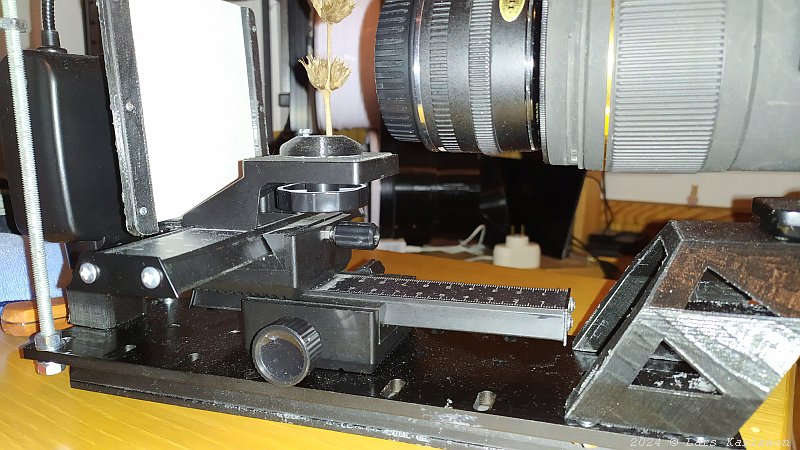
After that I can focus with the sled. Start with the part of the object that is closest to the lens. Take a picture, move the sled a small fraction of a mm and then take a new photo. I do that until I reach the last part of the object. The camera is in live view so I can follow what happen. Manuel mode, 400iso, 1/80 sec. Both lenses set to full aperture, f/1.8 respective f/2.8. Intervallo meter: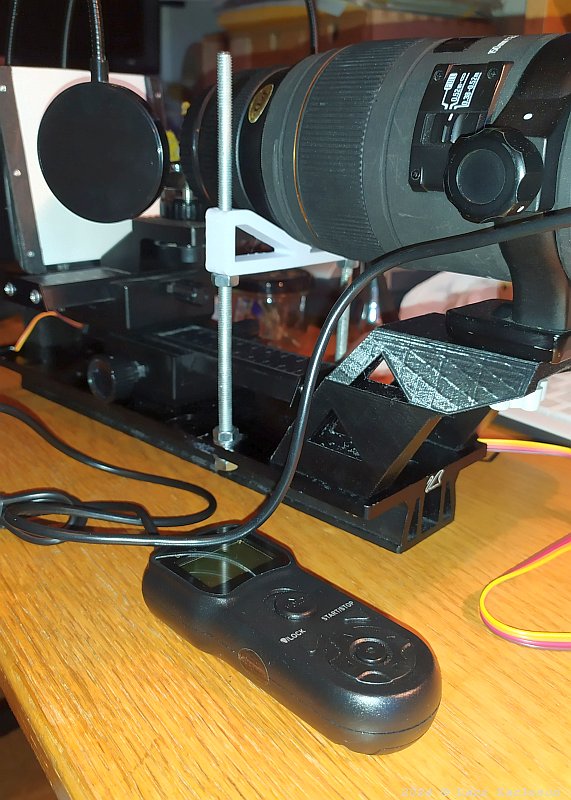
To control the camera I use this intervallo meter. Only use the push button to remote control the camera, in that way it will not cause any vibration in the camera. Series of photos at different focus: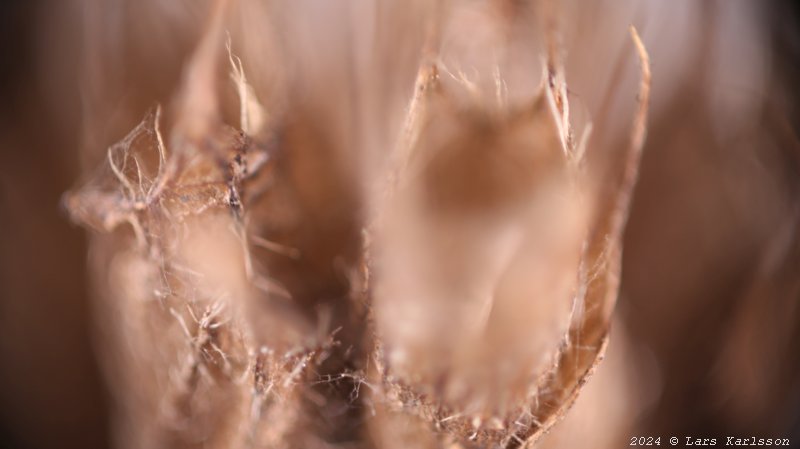
Over a focus distance of 15 mm I took 35 photos, about a photo for each 1/2 mm. This is one of them and as can be seen the focus depth is very shallow. Focus stacking: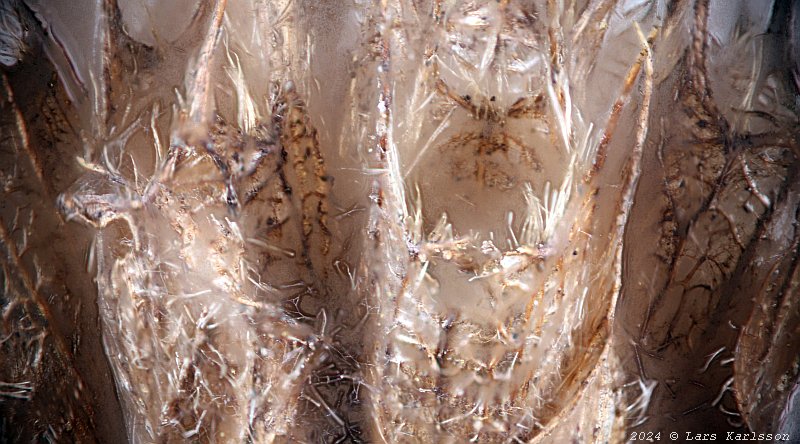
Now this wonderful technique with focus stacking. It select all sharp parts from every photo together to one image. In this case I used the standard settings. I crop the final image and adjust the color. What I can judge, this lens combination works great. Now out in the nature and collect exciting small things and put in my glass jar. Second macro photo: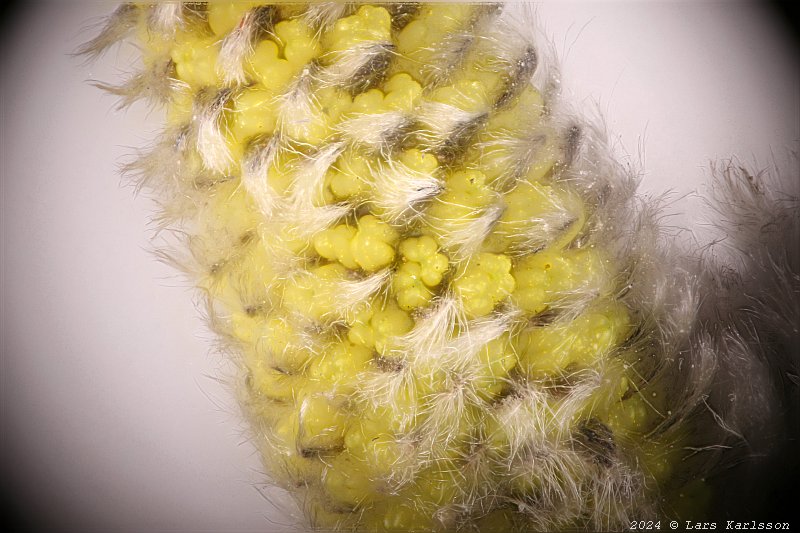
In the garden I found a fresh thing to take a macro photo of. This time I took 78 photos at different focus, tried to move the focus with smaller increments. From the beginning it was more than 100, but erased all that were too far from focus. The dark corners comes from that I set down the aperture from f/2.8 to f/3.5 on the main lense, learning by mistake. |
|
|