|
Advertisement / Annons: |
Macro photography
|
Content:
Note: |
1. Macro slider v2Time for an update of my macro setup system:After I have used my macro photography setup a couple of years I now try to make it better. I have the 3D-printer working now so it's much easier. |
Reversing object and camera bracket: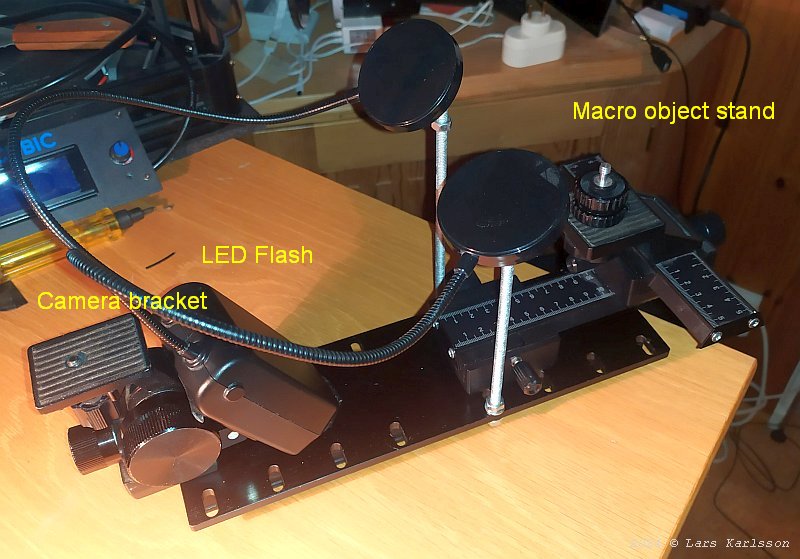
It's obvious that it's better to have the macro object on the sled. The camera is much heavier and the sled is weak. I now change place between them. 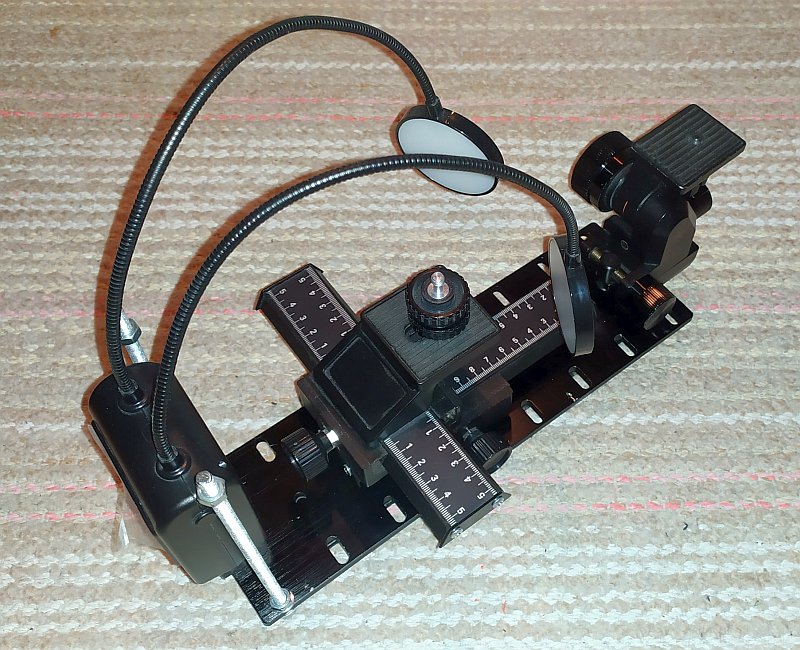
The LED flash installed on a bracket and the two LED lamps hanging over the object's place. With the sled I can move the object in and out of its focus. It's also possible to move it sideways. There is no need to adjust the position of the camera now and I can use that camera bracket to my astro equipment, I use it for astro time lapse. Later I 3D-Print a new camera bracket for this macro setup. Background screen: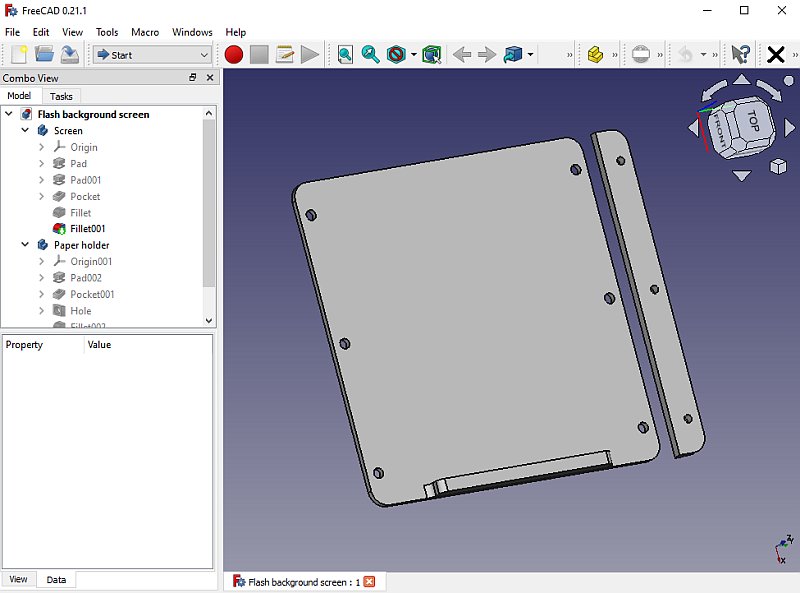
Behind the object I need some kind of screen. This is the CAD for a flat screen, it's made of black plastic. Two paper holders can hold a colored paper in place if I want that. 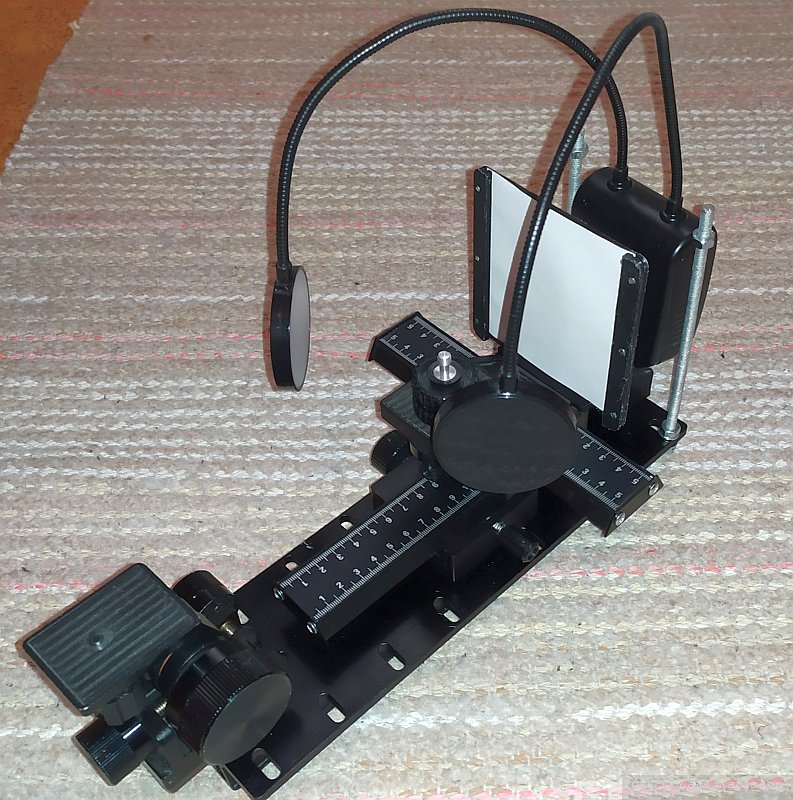
The 3D-printed background screen in place. Here I have a white screen, but it easy to change to other colors, it's just a paper. With a color of the paper not so common in nature it's easier to separate the background from the object. Like blue screen technique. 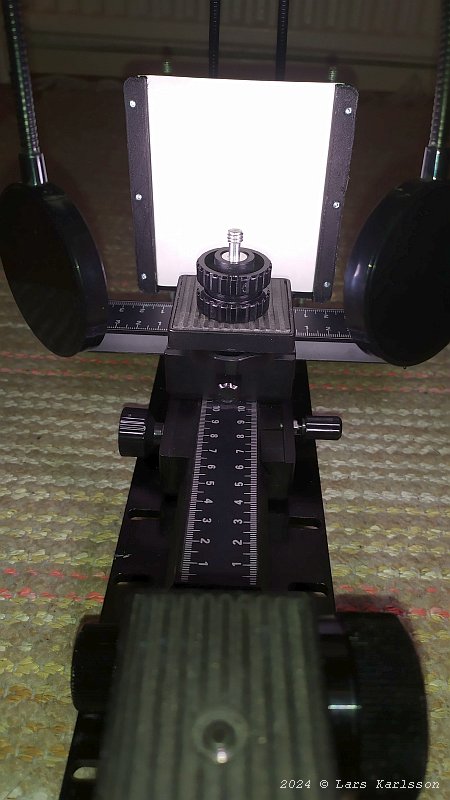
The LED flash is turned on. Looks bright but it's nothing compare to what's needed later. Macro object holder: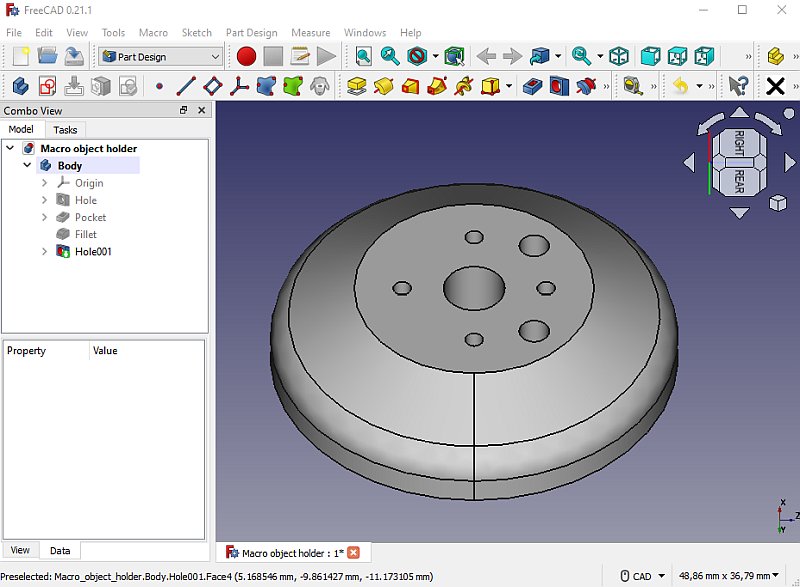
This is the holder I have designed in 3D CAD and 3D printing just now. Center hole is a 1/4 inch threaded hole for camera screw, then there are two M3 threaded holes and four 1.5 mm holes. 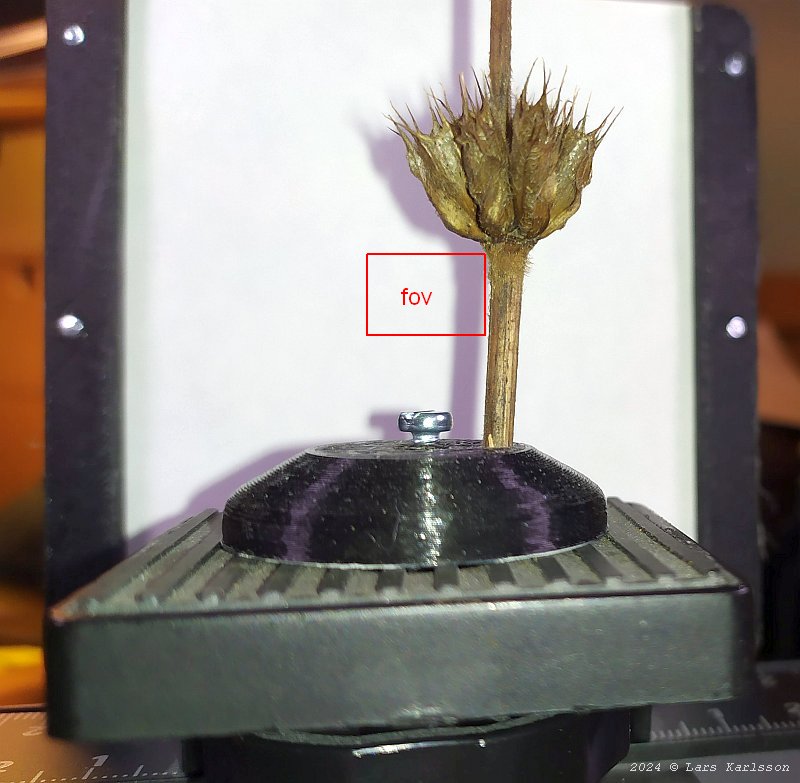
With a test macro object it looks like this. The red rectangle is the field seen from the camera so 3 times magnification is really high. It's calculated for a full frame camera. |
|
|