|
Advertisement / Annons: |
Macro photography
|
Content: |
Macro slider1. Introduction, macro sliderWhen doing macro photographing we talk about very small moves of object and camera to bring it in focus. When out in nature it's most practical to do it by hand and by luck some of them are in focus. But doing macro photography indoors you want to have more control of the focus process. To solve that I bought a simple macro slider. That's a mechanical device that let you move the camera in small increments. Normally you don't use the lens' focus and if you use an revers mounted lens you can't with a normal lens. The focus depth is very small when doing macro, but there is a solution to that, focus stacking. The principle is that you you take a lot of photos of your object with slightly different focus. Then blend all this photos together, but only the sharpest area from each. All these small sharp areas puzzle together a whole sharp image. That's is something I will test later with this macro slider. Wikipedia has more information about focus stacking:
|
2. Macro slider SetupWhat I need is the macro slider, a bracket mount and a holder to the object. The macro slider I bought new and the other were something I already had in my desk waiting. 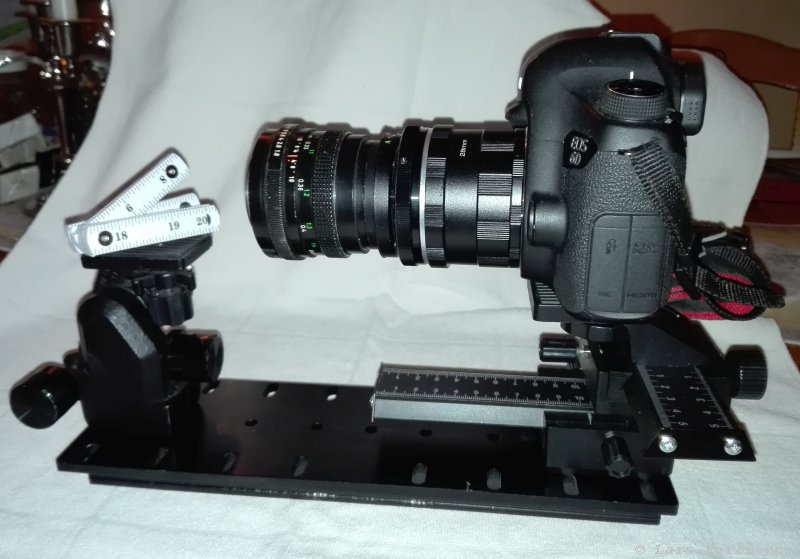
This is how it looks, the camera mounted on the macro slider, the object holder to the left. The bracket hold it together. The bracket is something I use in my astronomy projects, a Vixen dovetail. 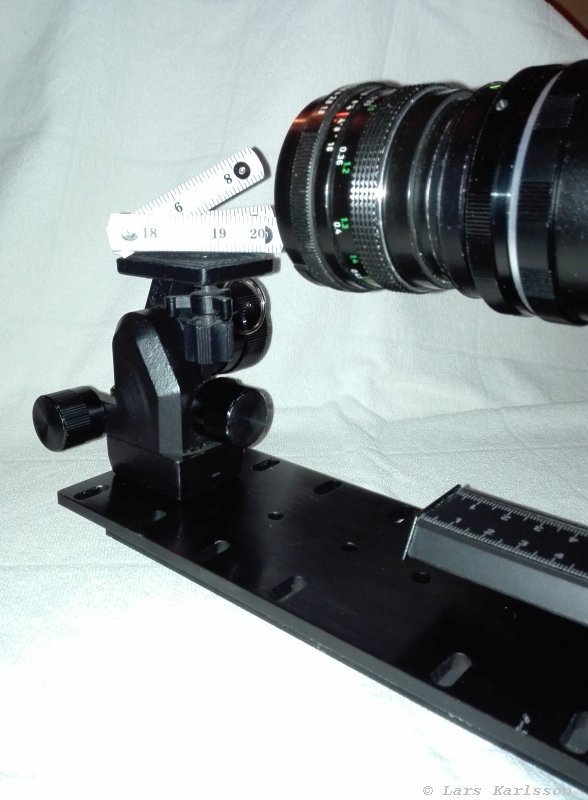
The object holder is not perfect to this use, but in the beginning it will be enough. I immediately noticed the macro slider was very weak for a heavy camera like this. I shall later change the setup and have the camera on the object holder and the object on the macro slider. An insect weight is nothing and the macro slider is more suited to hold that. On top of the macro slider I can add a rotator, with that I can rotate the object in small steps. Later I must add a support at the front of the lens, if not the vibration will ruin my macro photos. 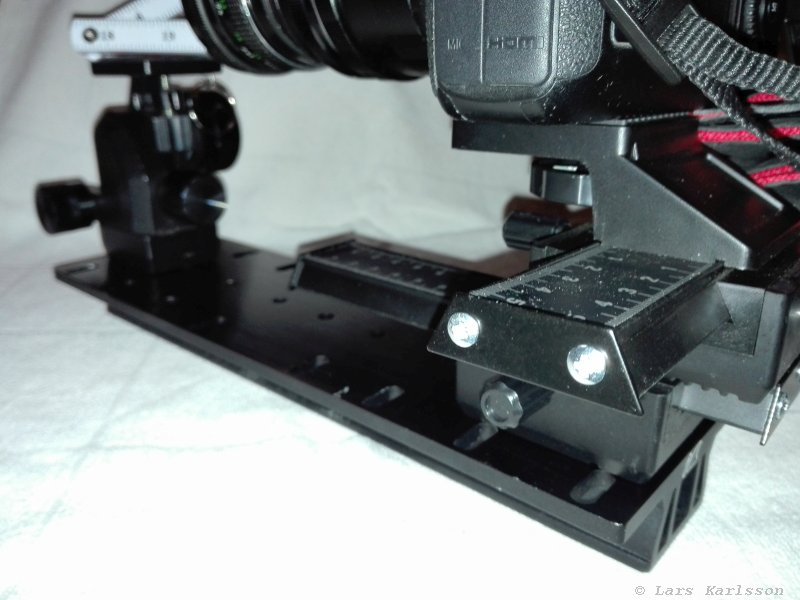
The macro slider has two axis, X-axis and Y-axis. One axis let you move the camera along the focus axis, the other to change the position side ways. A more refined version of the macro slider will be something that you can move by a stepper motor that is controlled from a computer. Then most of this time consuming multi focus photos can be automatized. Now in the beginning it's more fun to do the steps manually.
|
3. Macro slider test: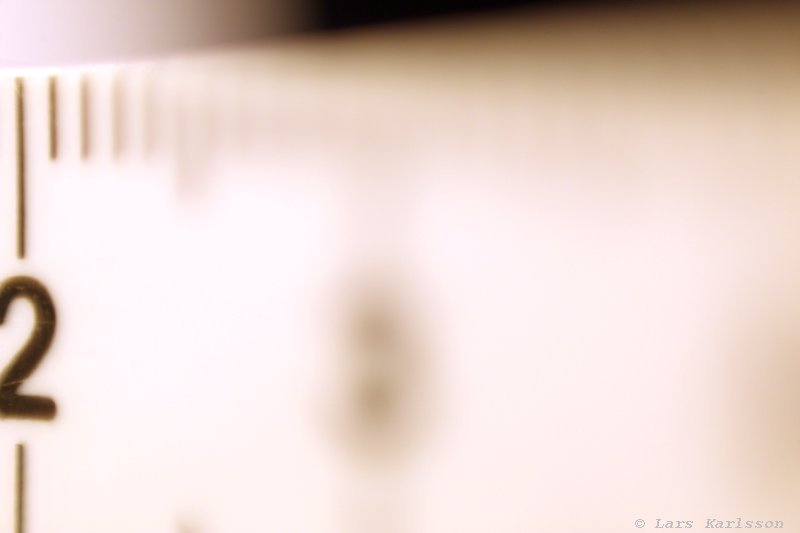
The test object is a thumbstock. If it is at an angle relative the camera lens you easily see the focus depth. Here I have focused on the rear of the object. 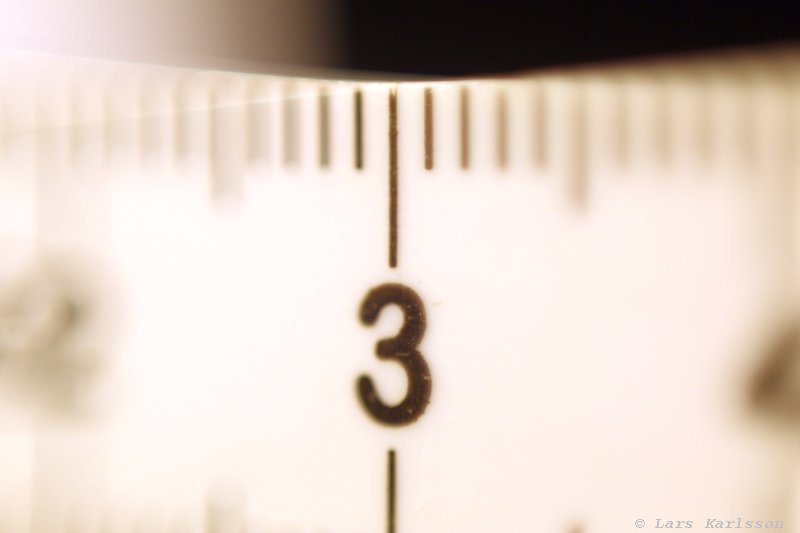
With small increments with the slow motion knobs on the macro slider I move the focus (the camera) away from the object until I have the figure number three in focus. 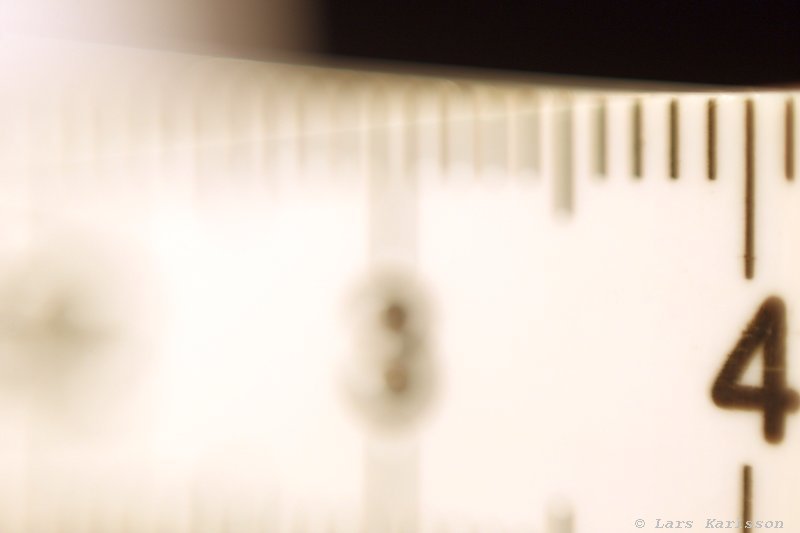
I move the focus to the front of the object. The focus depth is very narrow, it is in focus in just one place at a time. You can see at the photo that the focus depth is about 1 mm, from 3 to 4 it's 10 mm. Then when doing focus stacking you should at least have a photo at each mm. This object is from 2 centimeter to 4 centimeter. That is 20 mm difference and you need 20 photos with different focus of the object. The movement is smaller than 1 mm because the object is tilted relative the focus axis. Now I have three separate photos of different focus, the beginning of a focus stack. Next step will be to add a LED lamp or two so I have more control over the light on the object.
|
| Go Back |