|
Advertisement / Annons: |
Macro photography
|
Content: |
Macro photography1. Introduction, macro photographyMacro photography is always fun and interesting to do. You can do it indoors at rainy days, compare that to astronomy when you maybe have at most 20 days per year with dark clear nights. You can build your own macro photography equipment very cheap. I will explain how I have done it here and show a couple of test photos. But first you can read at this Wikipedia page about macro photography:
Standard lenses with macro function is normally limited to 1:1 magnification. That means that an object that is 36 mm wide will also be 36 mm wide on the sensor, a full frame sensor. There are other special designed macro lenses but they are expensive. What I have done is to use an old normal lens with only manually functions, focus and aperture setting.
|
2. SetupThe camera I use is a full frame Canon 6D, but other DSLR cameras will do as well as long you can replace the lens. The lens I use is a very old Pentacon 50 mm f/1.8, you can use other lenses as long you find adapters to them. 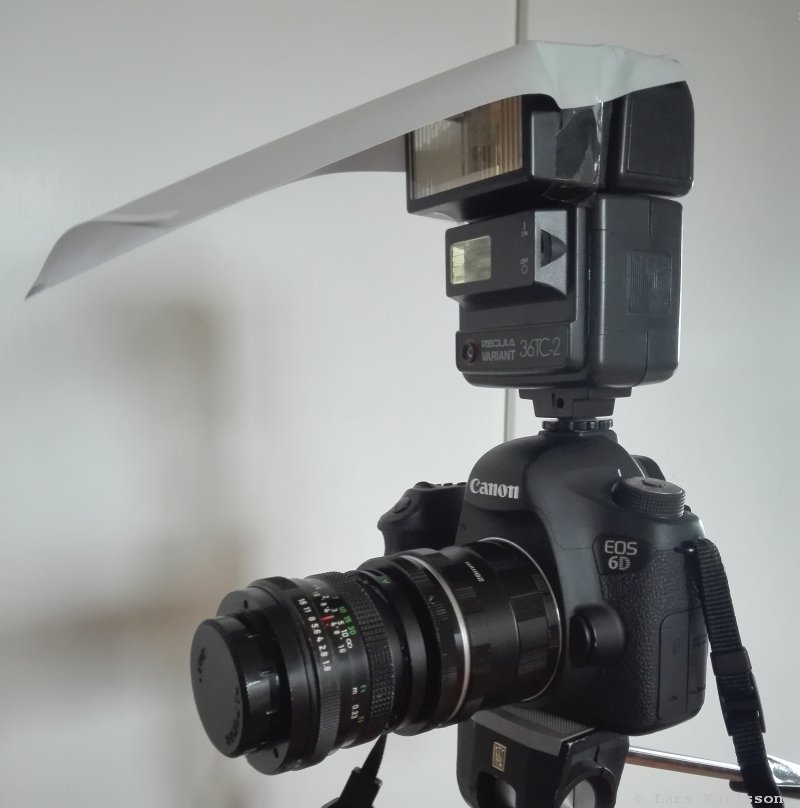
This is how it looks, I explain the details below. 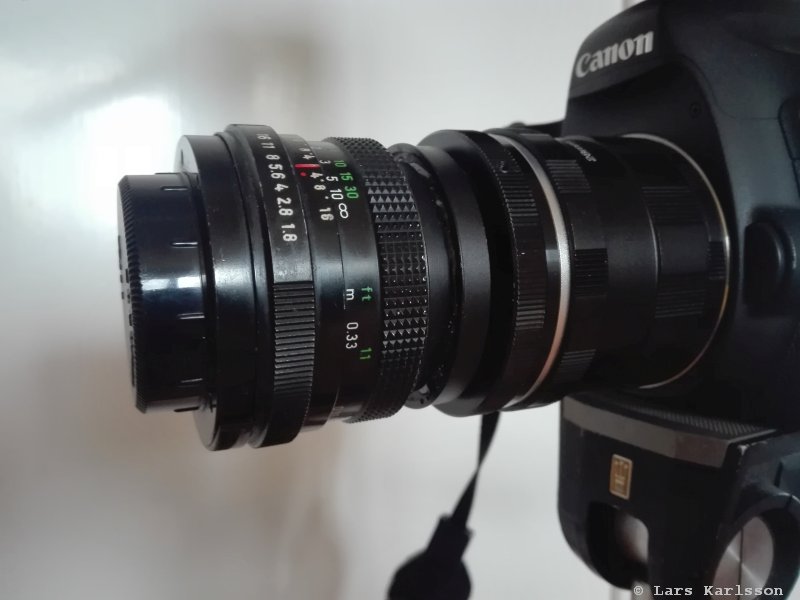
A lens has it best optical quality at long distance objects, when doing macro photography you focus very close to the object, maybe 50 mm. Some lenses will not give very sharp images at this distances. First of all they will not focus at all, you have to put macro extenders between the lens and camera. But the trick here is also to mount the lens backside (reverse) to the camera. 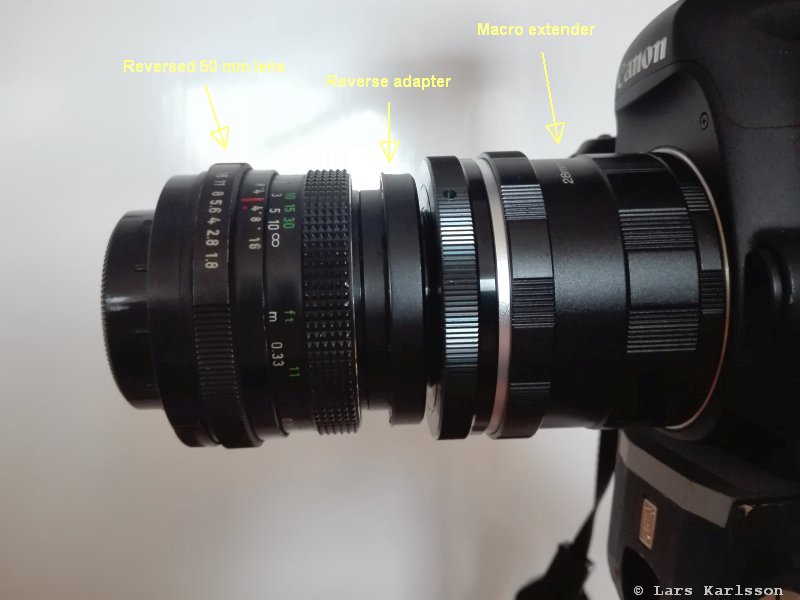
The lens is as told earlier just a normal 50 mm lens and the macro extenders are special made for your camera. The reverse adapter has one side with the bayonet for your camera on the camera side, the side against the lens has a thread that fit the filter thread on your lens, in my case 48 mm. All these three parts can be found for less then 100 Euros on the used market. 
The camera side of the lens which now is towards the object you take photographs of. Note, the focus adjustment doesn't work with a reversed lens, you have either to move the object or the camera when focusing. The aperture you also set manually. 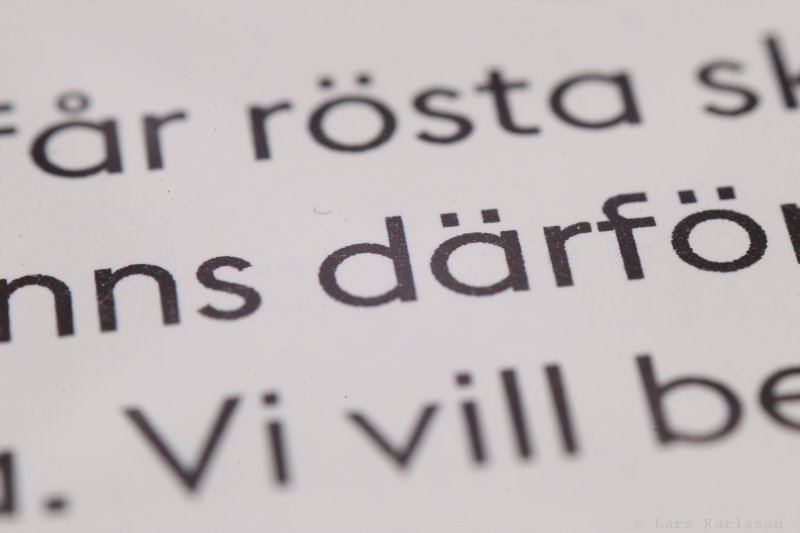
To get an idea of the magnification you can take a photo of something you know the size of. This text is 18 mm wide, with a full frame sensor we then have a magnification of 2x (36/18=2) or 2:1. At least twice as good as a normal macro lens. In this case the extender has 28 mm length plus the bayonet on each side. With a longer extender you get higher magnification. But then also the focus depth will be even more narrow, the text above is tilted about 45 degrees to show the limited depth of focus. You also need more light, as you see I have a flash mounted here to light up the object. With high magnification it is very sensitive to vibration, the flash exposure time is very short which will freeze the image movements. Normal exposure setup in my case is 1/125 seconds, f/4 to f/8, ISO 100 to 200. My flash can be controlled manually, I set it to the lowest power. You also see the white reflector I have made of cartoon, it give a soft light. A side mounted flash with a diffuser is maybe better, but you take what you have.
|
3. Macro photography test: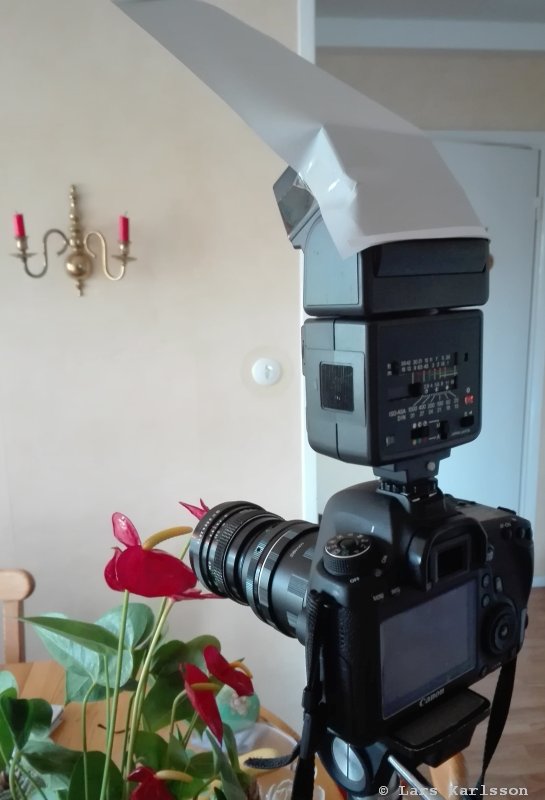
The test photo is done on a flower. Be careful to not get shadows from the front of the lens. 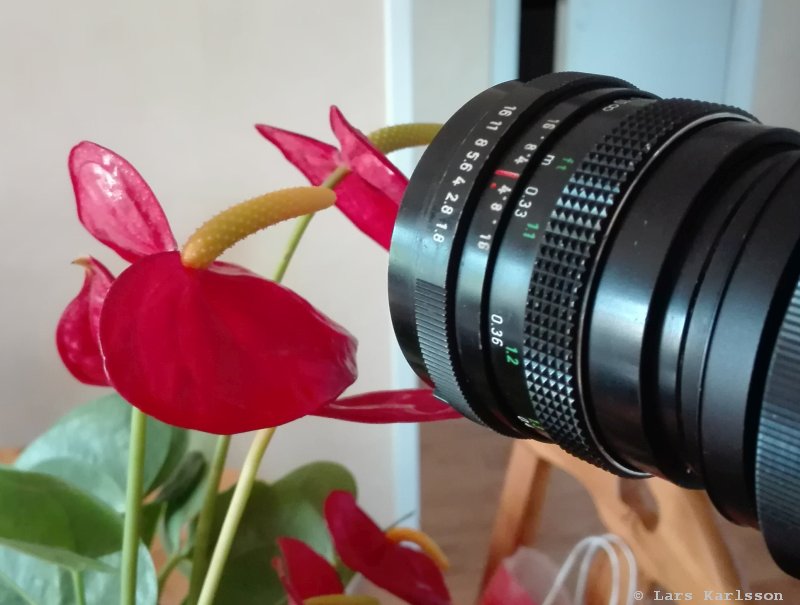
With a lens with longer focal length you get the object more far from the lens. To close and it will be difficult to light up the object, the lens can give shadows from the flash. 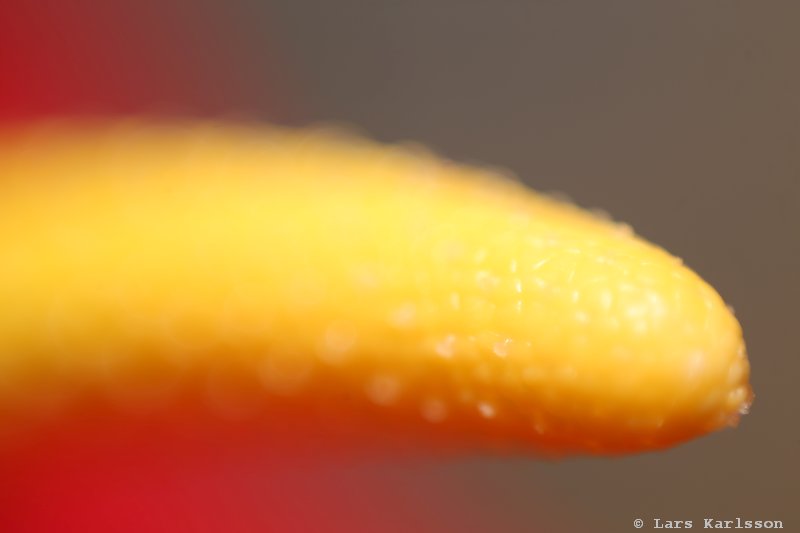
The focus depth is very narrow, it is in focus in just one place. Try to orient your object to have the same distance to all part to get it in focus. 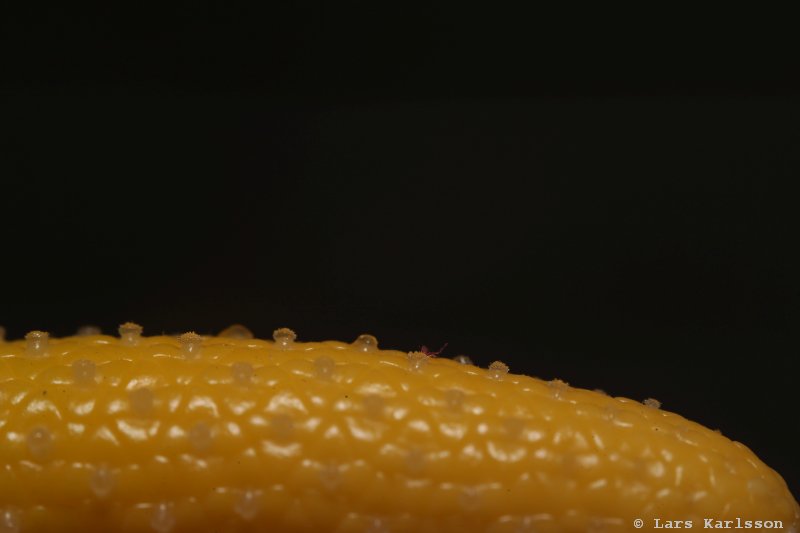
Now with the object oriented in a different angle I get focus along the whole length, left to right. 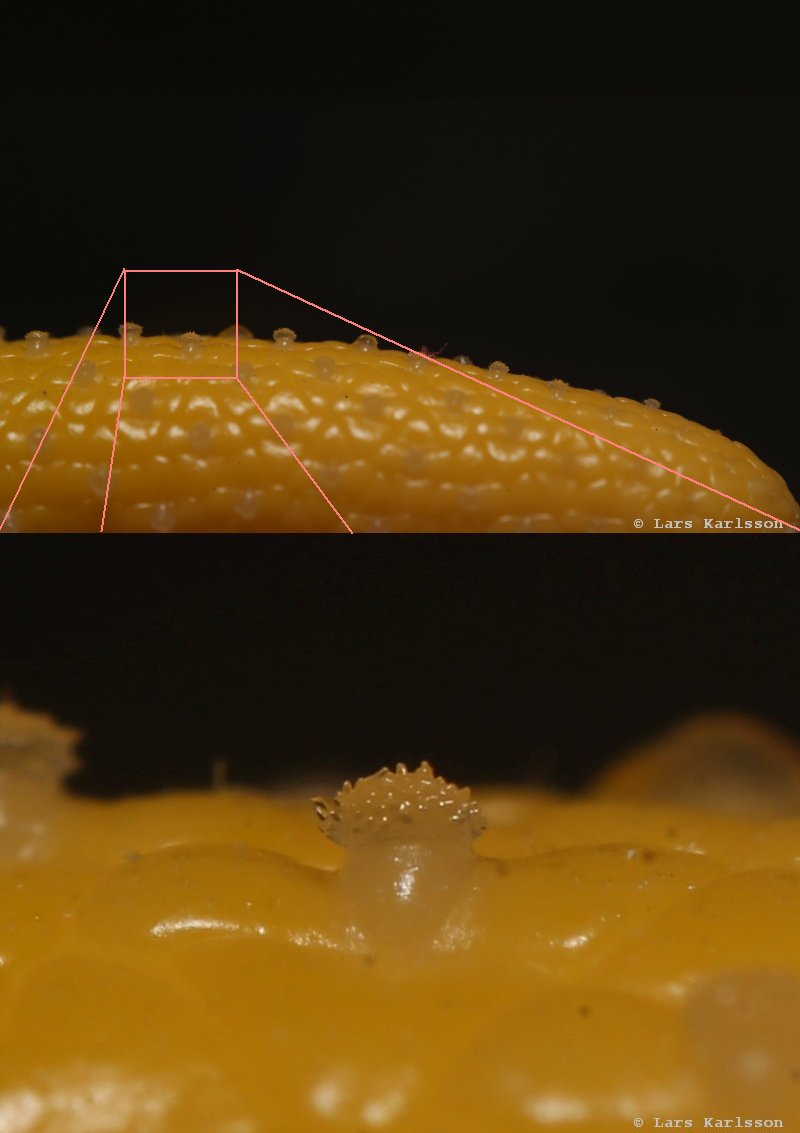
About a 10x magnification, the object that you see in the center is about 0.5 mm. Not bad with this simple and cheap equipment. 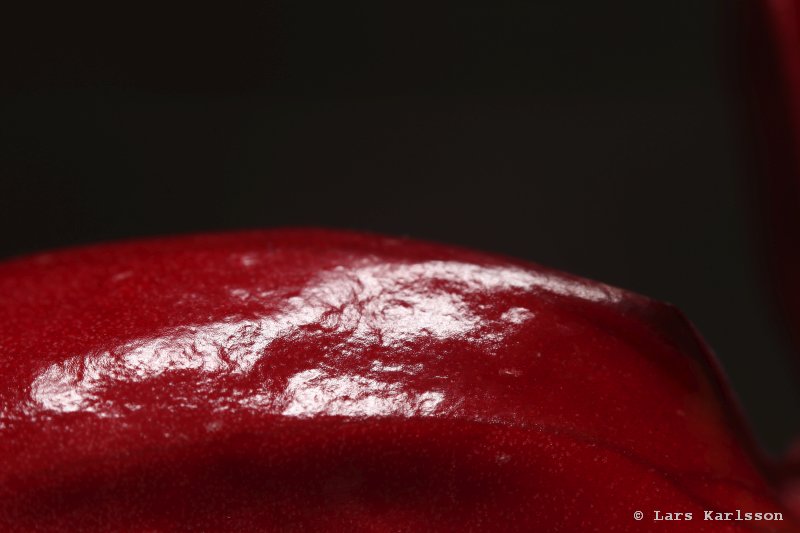
Credits to IrfanView (image processing). Another part of the flower, the bracts are more low contrast and need some experimentation of the light to get it good. Here you can see some older experiment with the same lens setup but with another camera:
|
| Go Back |