|
Advertisement / Annons: |
Tutorial:
|
Content:Introduction:When I do image processing I normally do the first steps with the software AstroImageJ. One of the steps is to retrieve the color information from a deBayer pattern color sensor. As you maybe know there are a lot of different pattern and you have to chose a pattern that correspond to your camera. Here is more to read about Bayer pattern at Wikipeia:
Sometimes I feel the colors look a bit strange, then maybe I have created my macro that retrieve the colors wrong. Here I describe how I do a check if it's correct. My camera is a Canon EOS 6D which have the Bayer filter order RGGB.
|
Test pattern:I simple created a test pattern in Open Office's presentation. What I need is a pattern with distinct Red, Green and Blue color. After some test I ended up with this: 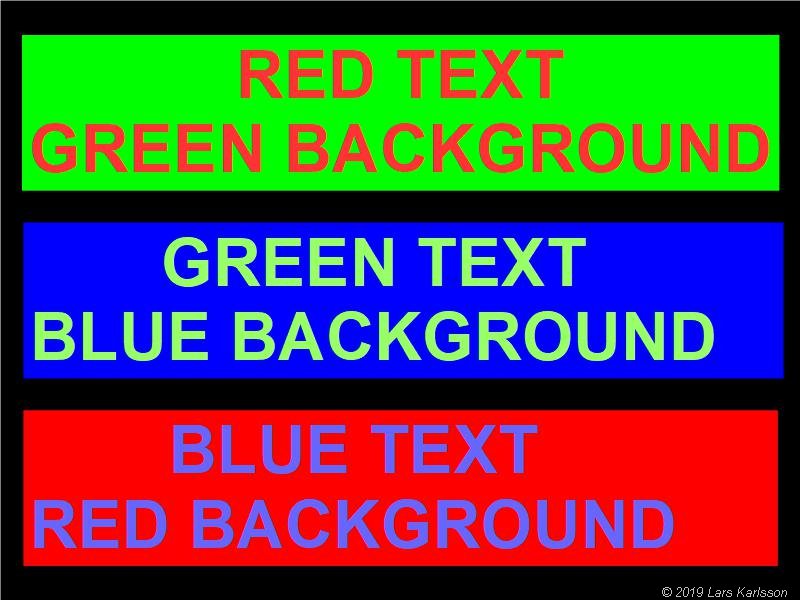
I couldn't get the text in pure color, but the background is correct.
|
Demosaic:What I do now is just to take a photo of this test pattern with the camera set to raw images. Have the room light dark, you don't want any reflections in the monitor screen with unwanted color. It look like this, no surprise: 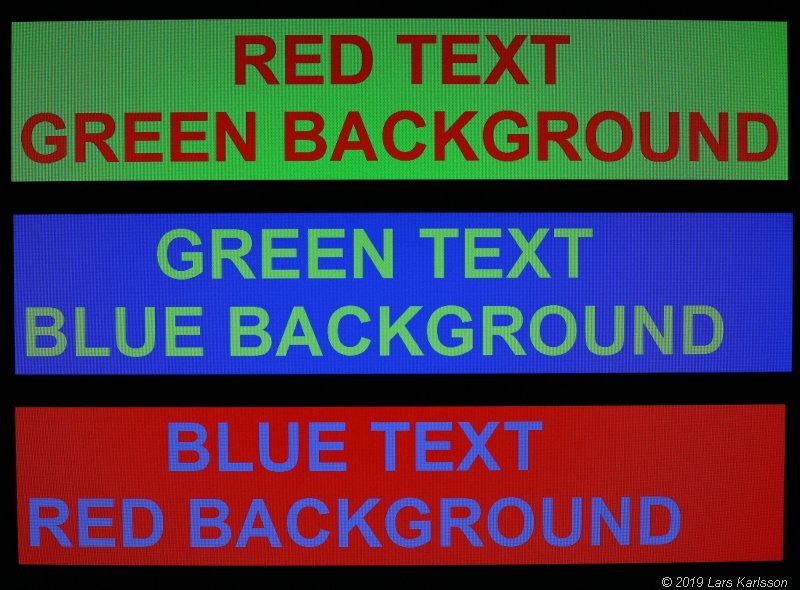
Normally you do a debayering of your raw images. I don't like the interpolation process that standard image processing software do. I do instead a demosaicing and then retrieve four new monochrome images, first I have transformed the raw file to a CFA image. Red, Green1, Green2 and Blue, each 1/4 of pixel count. That's how a single color senor work. The four images look like this: Red Channel: 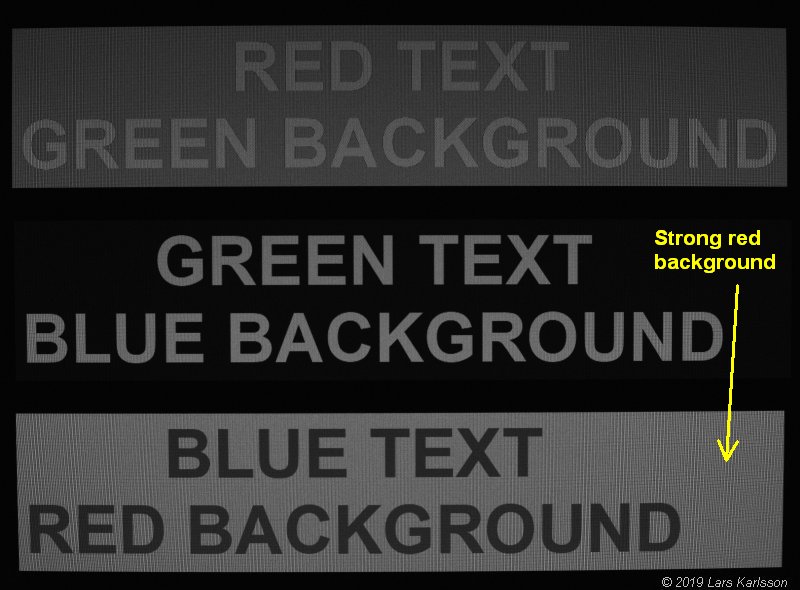
If my demosaiced process was setup correctly we should see the background with corresponding color be much stronger. Here is the Red channel and as you see the red background i stronger relative the other. Don't look at the text's color, only the background! Green1 Channel: 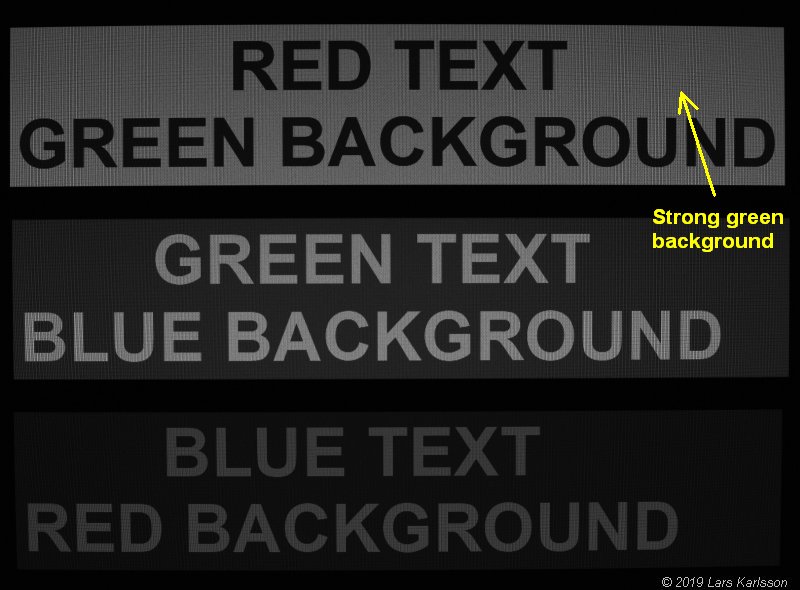
This is the Green number one channel, and here is the green background strongest, correct. Green2 Channel: 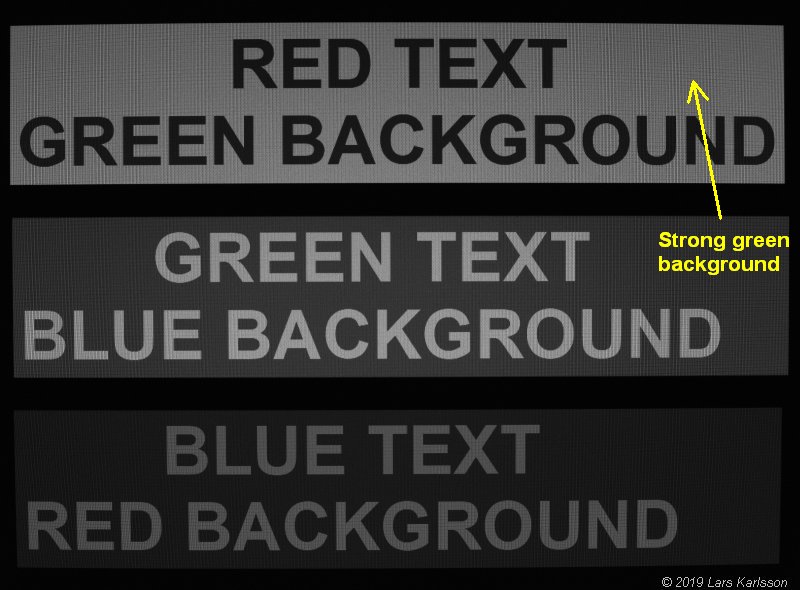
Here is the Green number 2 channel and also here we see that the green background is strongest, correct. Why do we have two green channels? There are double as many green pixels normally. They are not exactly copies, each pixel is shifted one row and one column. When doing image processing you must take care of this. Blue Channel: 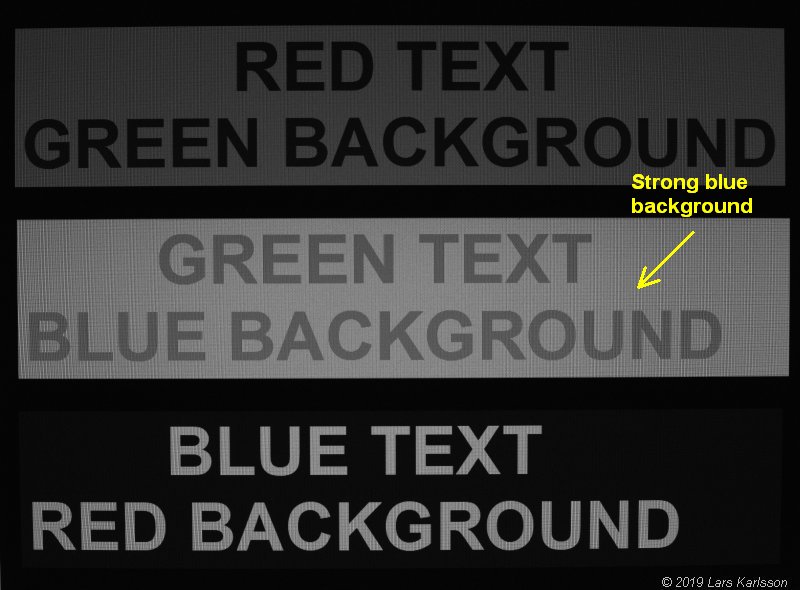
And last the blue channel and that one is also correct with the blue background strongest. I can stop here, but I go forward one step more.
|
Combine:One more test is to combine these four rggb channels to a single rgb image to see if it looks like the one we started with. 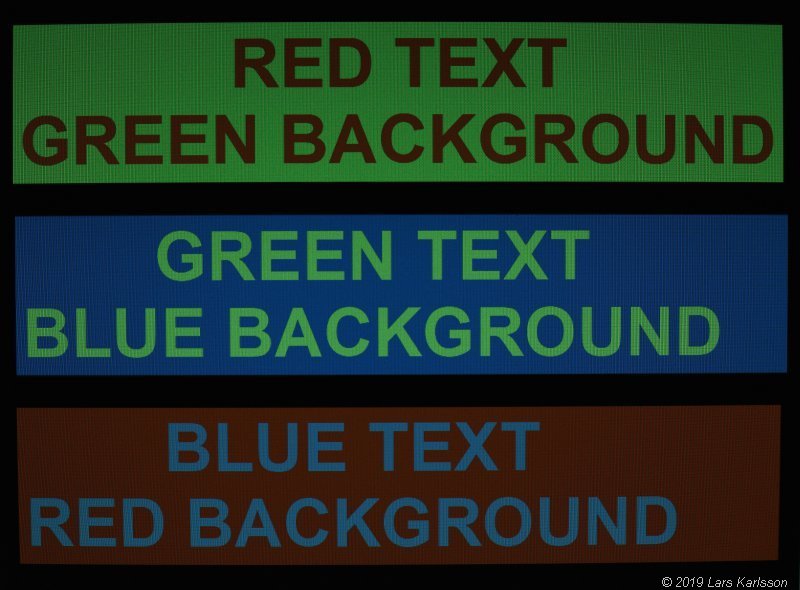
A look at the combined image tells us that the Bayer RGGB order was correct. I have not adjust the different channel's gain. Red and Blue channel has lower sensitivity. Notice how much lower the contrast has been relative test image. You can still adjust the gains and colors and get something similar as the test image, but that adjusting increase the noise. This photo was taken from a distance of 0.5 meter, just think about it, when taken astronomy photos you have light years of distance. If you want to do a similar test you can just take a photo of the above test pattern and do a demosaicing of the color image.
|
| Go Back |