My astronomy project:
Repair of focus' fine adjuster
Fine-tuning focus knob repair
Earlier I fixed the problem with the slip in the focuser, but to achieve that I had to increase the force against the friction
steel plate.
That cause a new problem, the focuser shaft get very hard to turn around, torque about 30 Ncm.
My focuser stepper motor could not handle that high torque and stall.
Now I take the focuser apart, see earlier pages how to do that.
I found the the fine-tuning focus knob, the 10:1 reducer was very stiff.
Something wrong?
I was not sure, I have never disassembling that part earlier and didn't know the details how it's constructed or what can go wrong with it.
I'm not sure what brand it is, maybe Chinese GSO.
I don't use the fine-tuning focuser when I have my motor focuser, but the motor has to turn it around backwards and then load the motor with extra torque.
Follow my work here, similar fine-tuning focuser you find on different brands.
Disassembling:
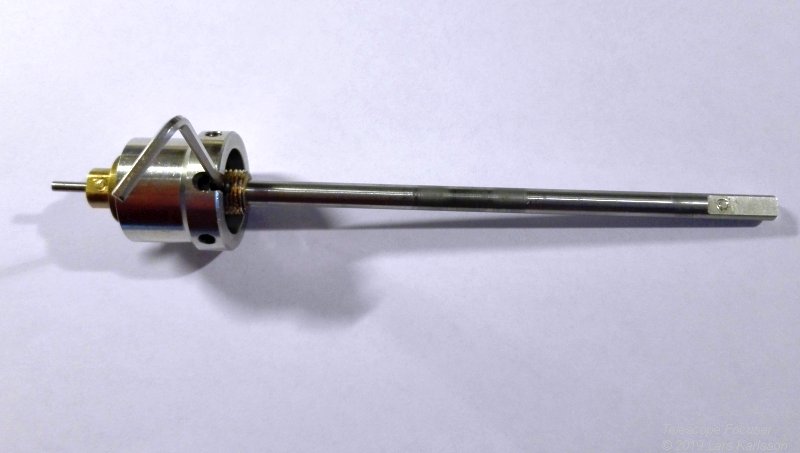
Here I have taken out the fine-tuning focuser from the focuser unit. When rotate it I can feel a heavy torque resistance from it.
There are two locking screws you must loosen first to get the shaft out from the 10:1 ratio reducer.
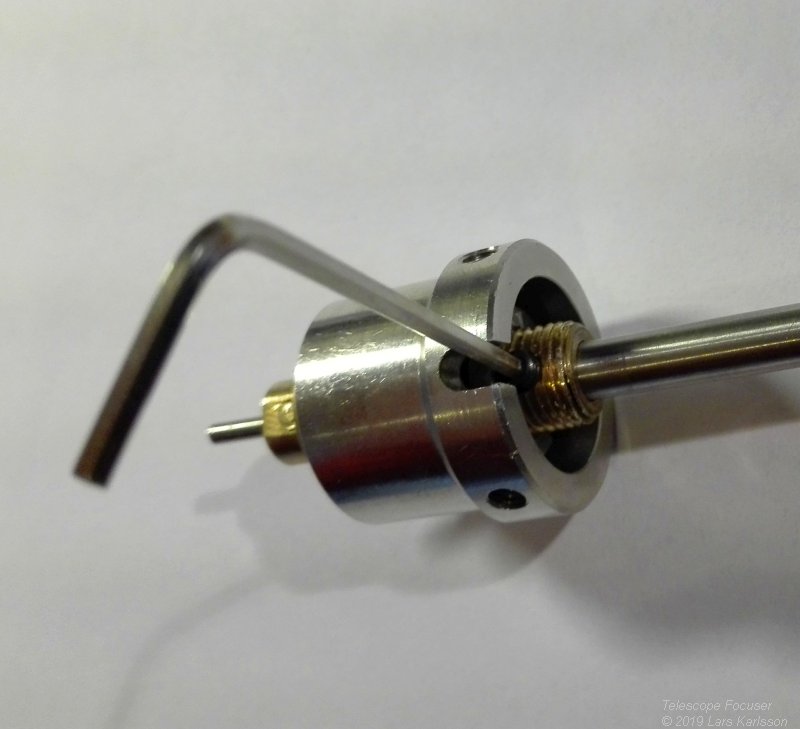
You can rotate the sleeve so that the locking screw comes in the middle of the hole in the housing.
You will need an Allen key to the lock screws.
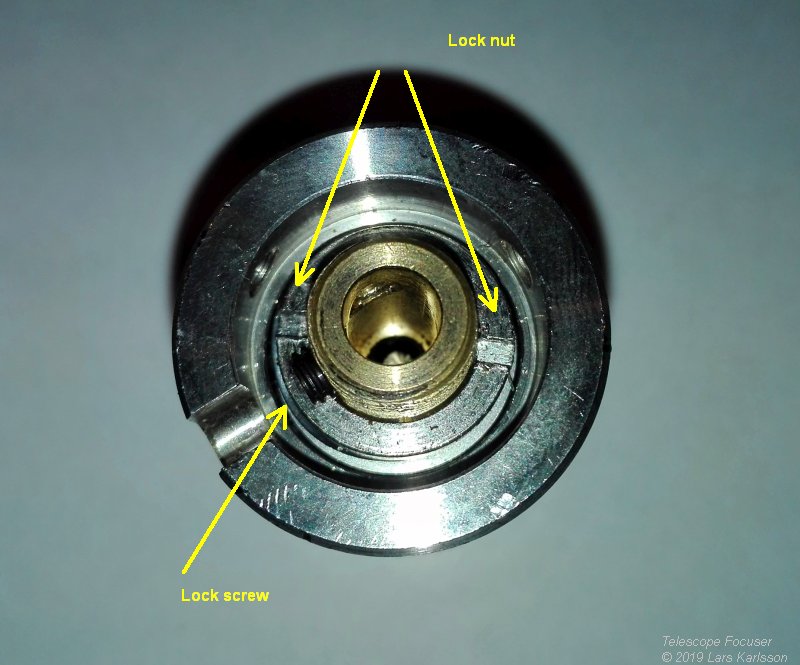
When you remove the shaft and look in here you will see a lock nut in the bottom.
They have locked it with Loctite and it's hard to loosen it.
NOTE:
You must completely unscrew the locking screws in order to thread the locknut out of its place.
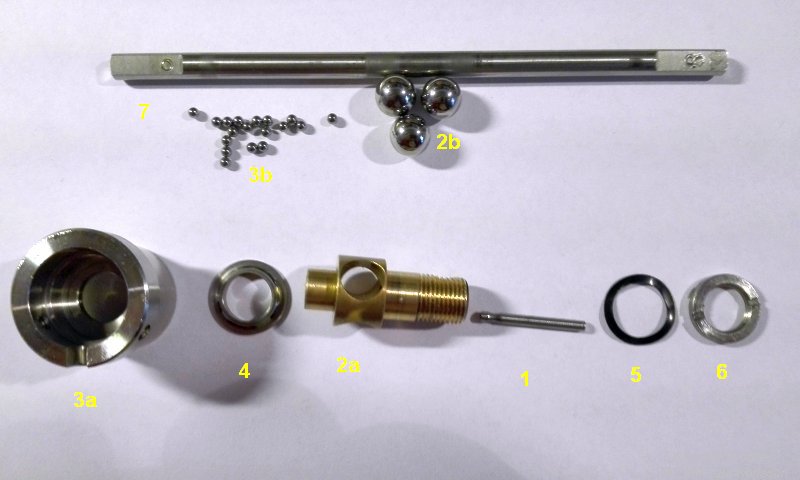
As you maybe know there are normally no gears in a high quality fine-tuning focuser, they use friction coupled shafts instead.
Be very careful when opening the friction reducer box, lots of small parts fall out, including lots of small balls, don't lose them!
Note:
The items are not in correct order, follow the numbers!
The small shaft no 1 shall also be in the opposite direction, very important.
Now that I take apart these parts I see that the grease has aged and now is more like a glue.
I clean the parts carefully.
Assembling:
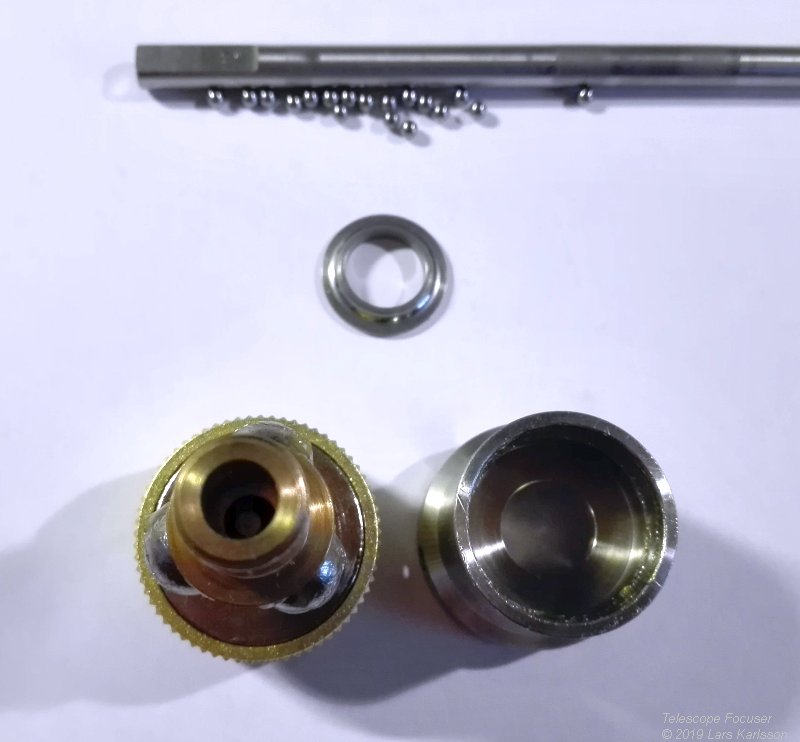
Here I have installed the small shaft, taking care that the groove on the shaft ends up in the middle of the three balls.
I have also screwed the small knob to the shaft end to more easily hold it, it's in the bottom here.
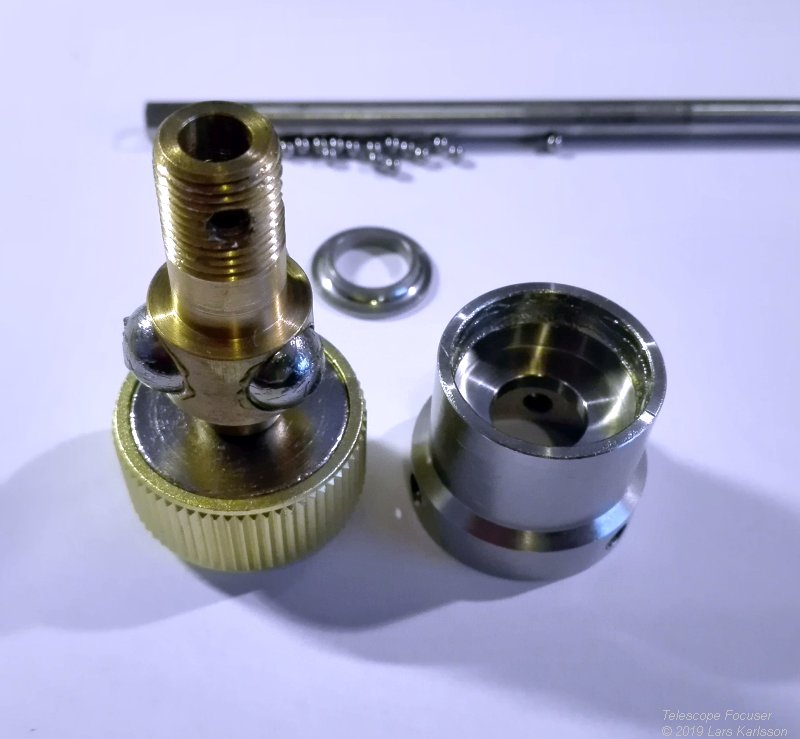
The sleeve to the right must be absolutely clean from dirt,
even the smallest small debris will feel some unevenness otherwise when turning the fine-tuning knob.
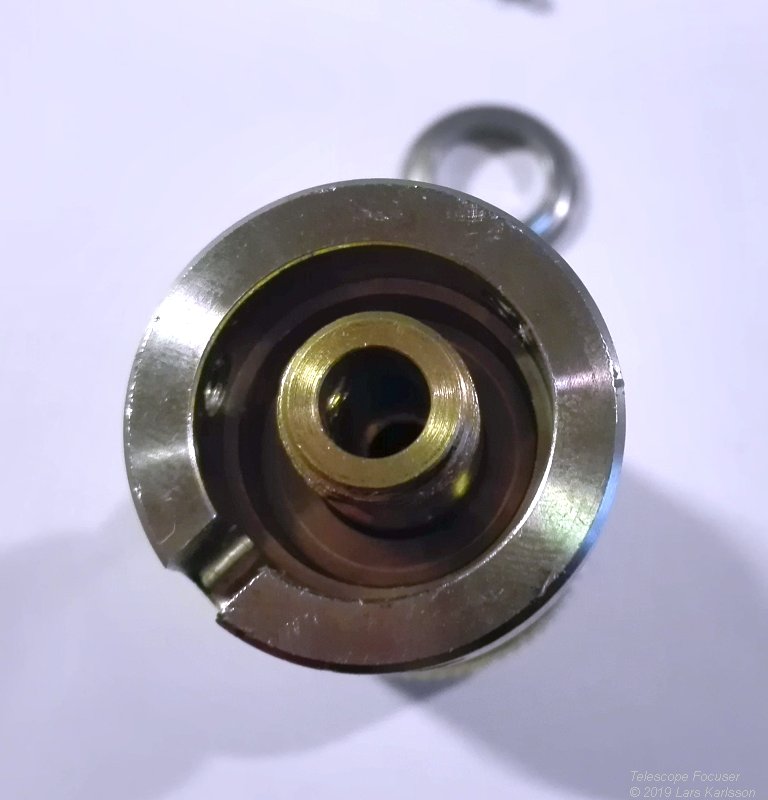
Now it is time to assemble the bearing, place the stainless steel sleeve on top of the brass unit.
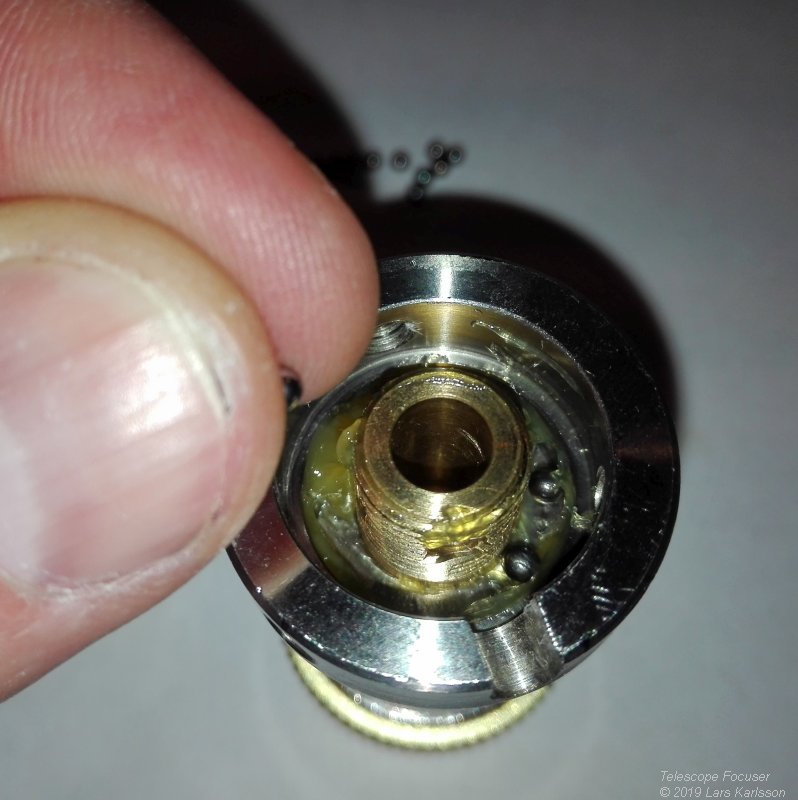
Grease the bearing surface properly, you cannot access this part later when assembled.
Place the small balls in the bearing race, making sure they lie in a smooth row around the shaft.
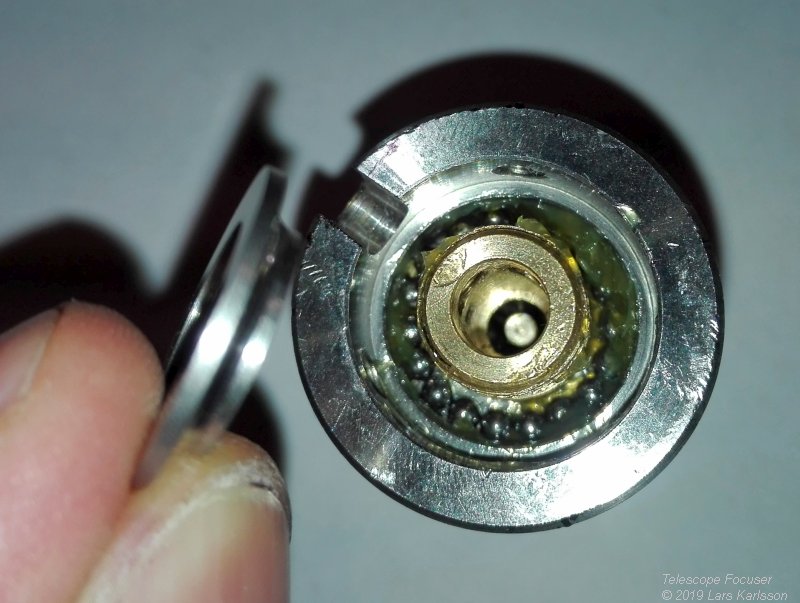
Before laying on the upper raceway, make sure that no balls are on top of each other.
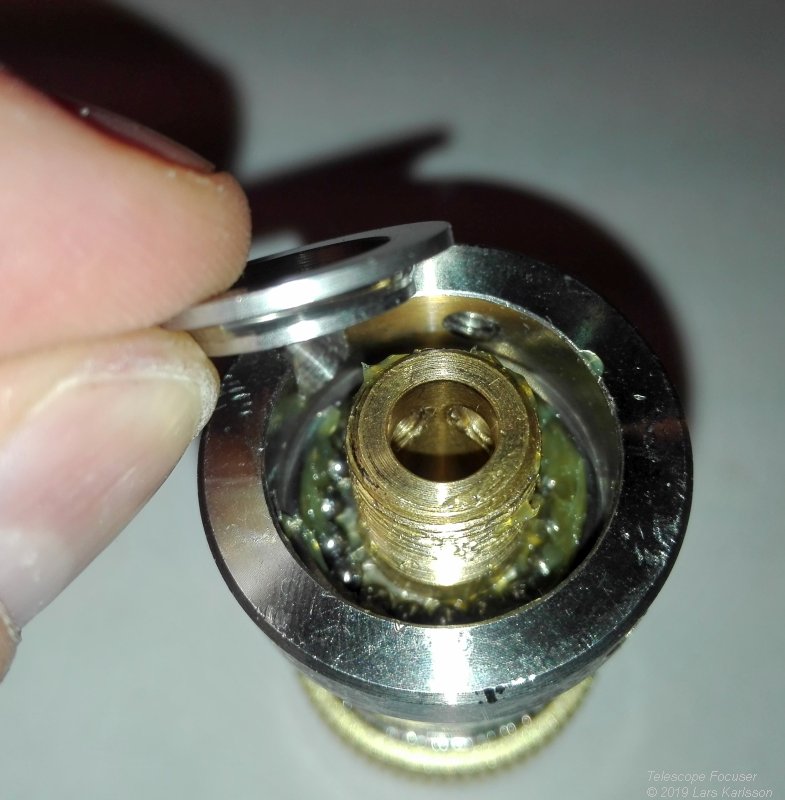
The upper raceway must be turned in the right direction!
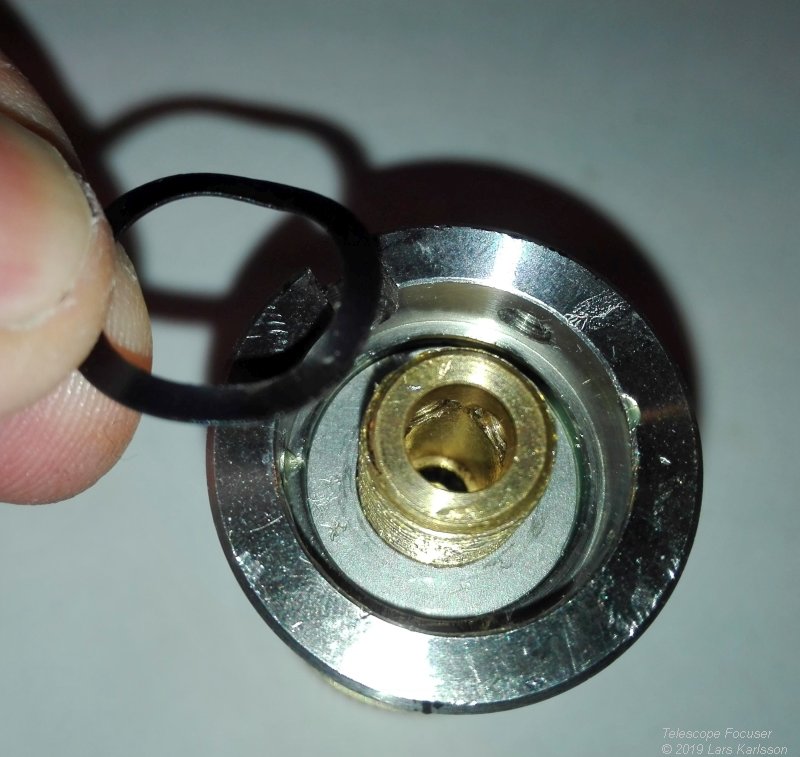
Gently push the upper raceway down to the bottom. On top of this, the spring washer should be placed.
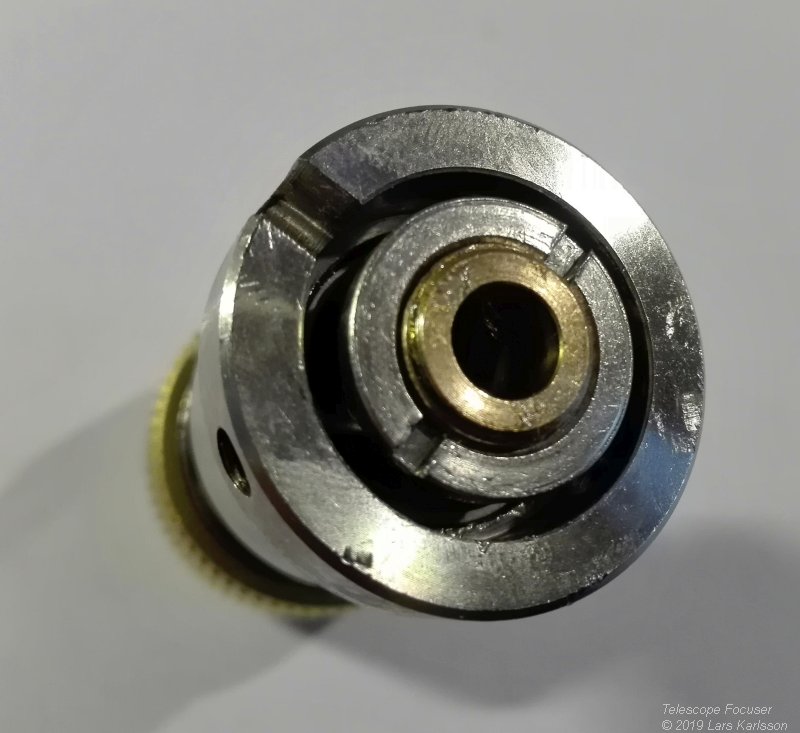
On top of this, the lock nut is screwed there.
This lock nut determines friction in the reduction gear.
It is important to tighten it properly, too tightly and it goes heavy to turn around, if it becomes too loose, the friction coupling slip.
In my case, since I do not use this fine-tuning device when I have the motor focus, I only pull it lightly, it rotate freely.
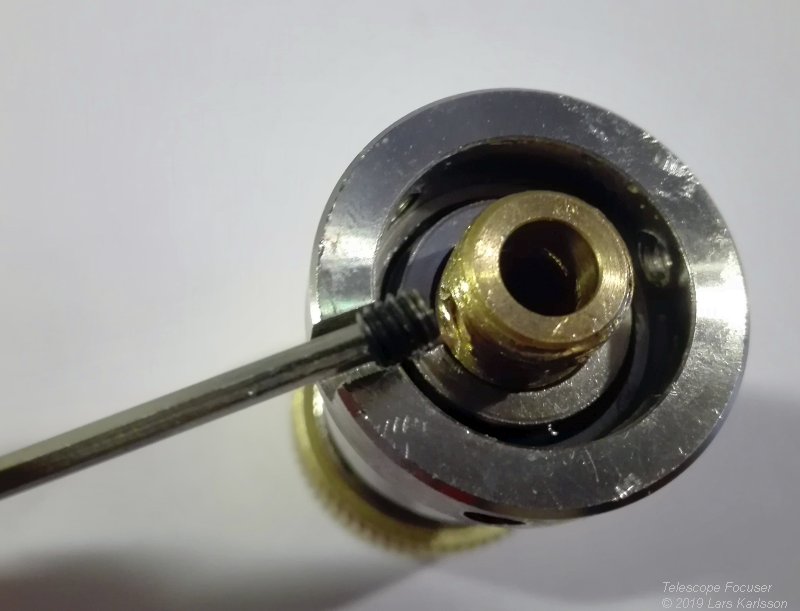
Thread the two stop screws, just a few turns so you can get the shaft into place later.
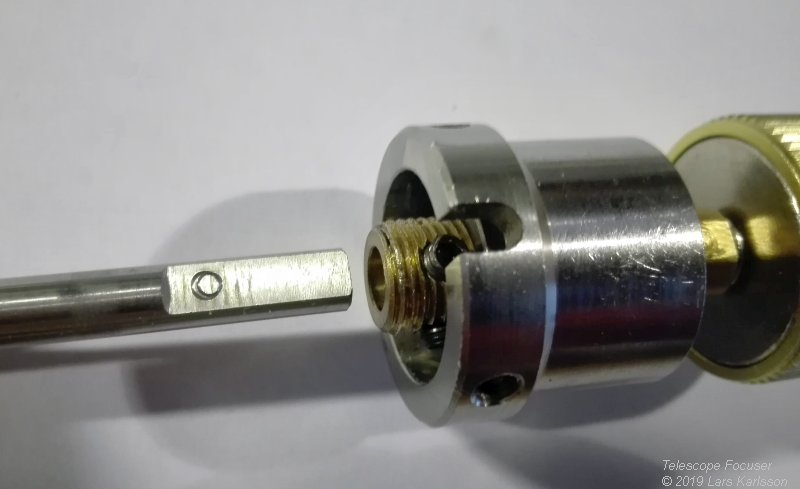
Insert the shaft.
Note:
Insert it in the same direction as it was before,
the locking screws make marks in the shaft and it is to prefer if they end up on the same side.
You look at the marks after the locking screws how it was sitting before.
Also turn the chamfer against the locking screw.
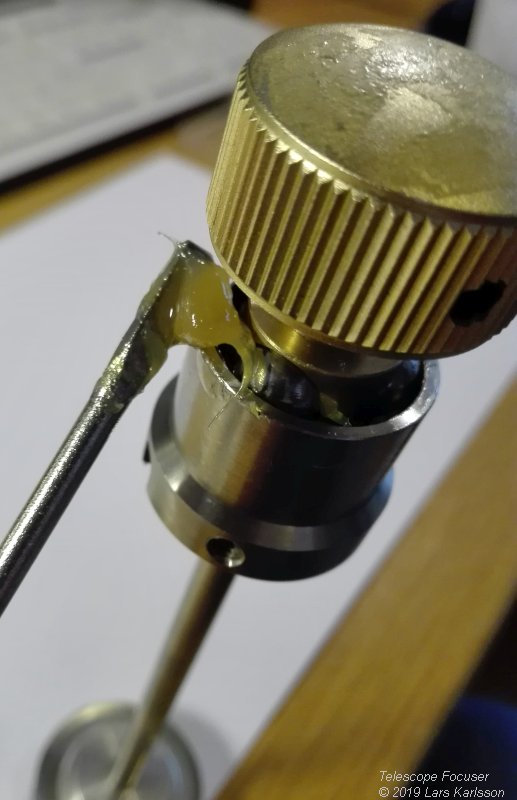
Put more grease around the three friction balls.
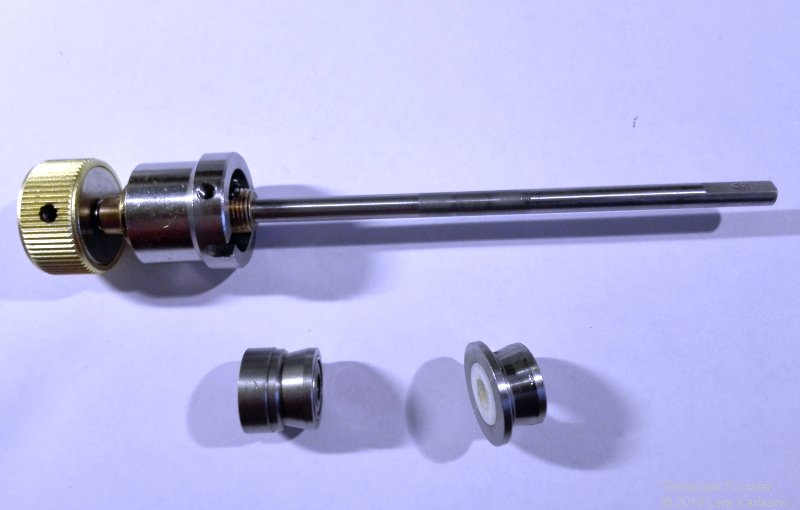
Test and rotate the fine-tuning unit to be convinced that you have the correct force on the lock nut before proceeding.
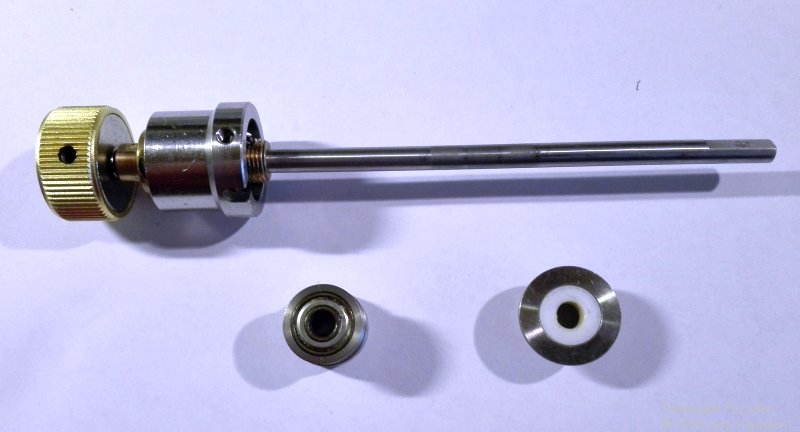
There are two roller bearing that holds the focus shaft, they are not of the same type.
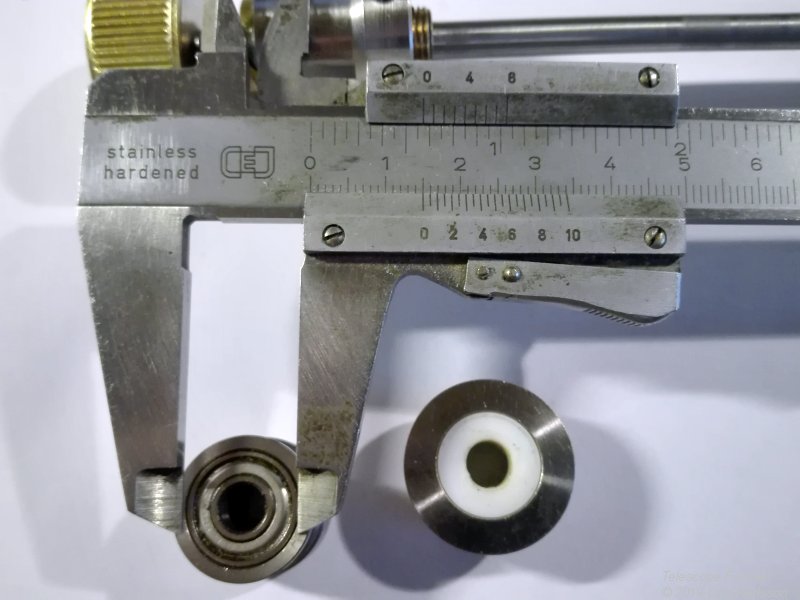
They looks to be standard 15 mm roller bearings.
The white plastic ring on the right one is for dust protection and to get a low friction against the backside of the knob.
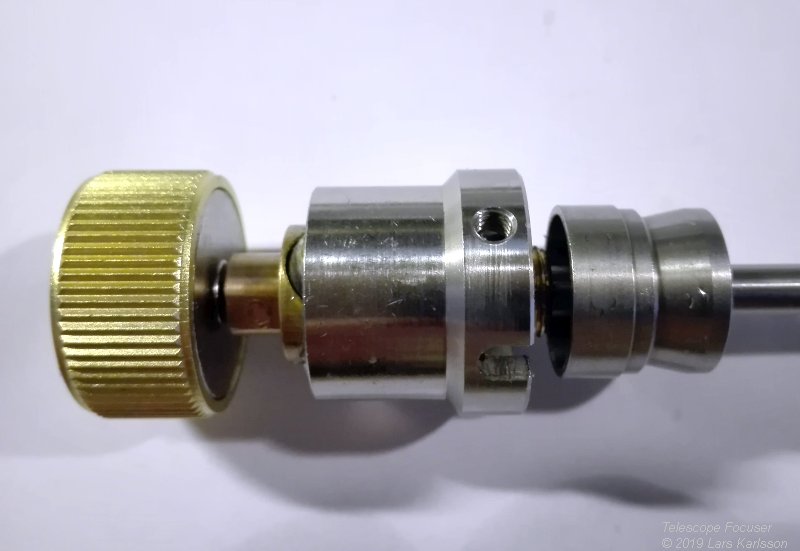
Push the first roller bearing in place.
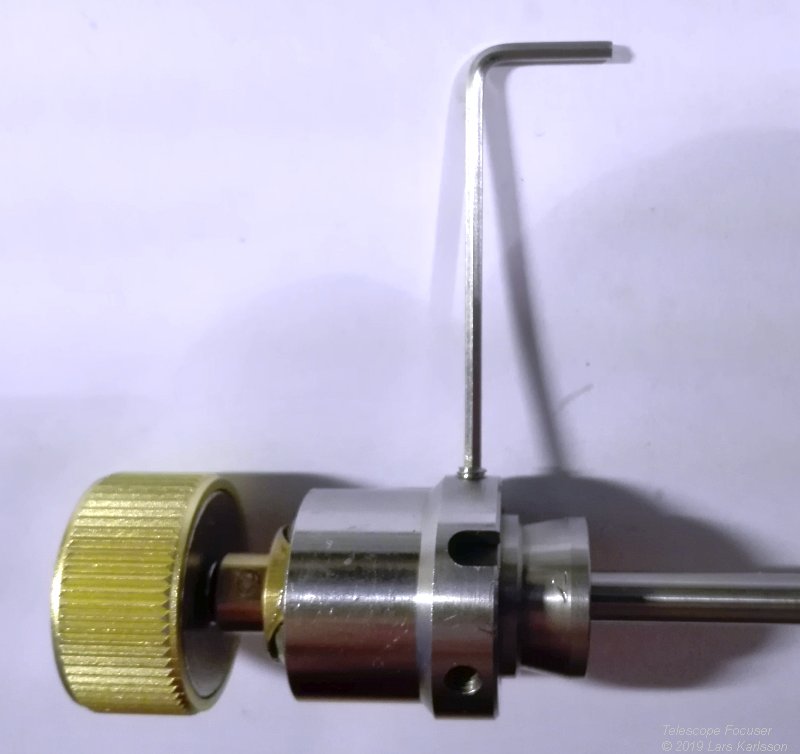
Lock it with the two locking screws.
The fine-tuning unit is now finished.
Look at earlier pages how to reinstall this packet in the focuser.
Stepper motor bracket:
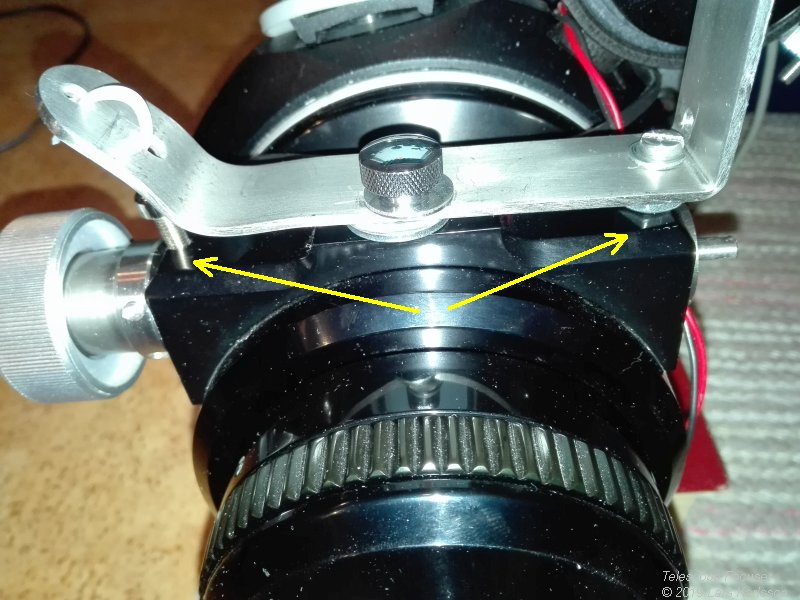
I noticed one more thing that was wrong later when
I finished the assembling.
The screw to the right was too short, I use it as a holder for the motor bracket and it didn't go all the way down.
That cause the focus shaft to not press hard enough against the steel plate.
After I had correct this I didn't have to set that hard force on the friction screw anymore (hidden behind the center screw).
As a result that reduce the unwanted friction torque on the focus shaft.
Now
when I measure the torque on the unloaded (no camera or other equipment) focus shaft,
it has decreased from high 30 Ncm to more manageable 15 Ncm.
Later test showed that the stepper motor can handle the torque much better now, but still on the limit.
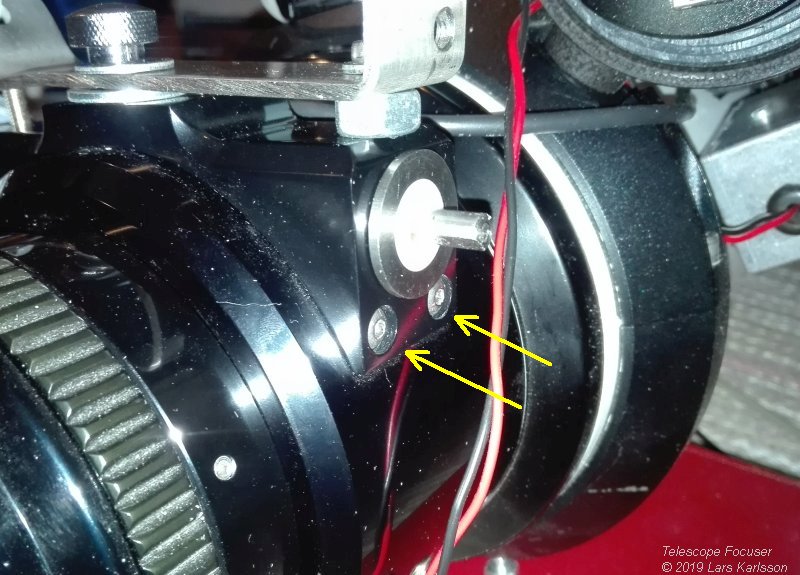
For the future I maybe shall make a new bracket holder to the stepper motor.
Perhaps I can use these two screws instead?
More problem with the focuser: Focuser's friction coupling.
|