|
Advertisement / Annons: |
Chrysler Crossfire
|
|
2, Replacing the sway bar bushings at front:Now when the spring are closing in it's time to start to fix this problem with the sway bar bushings at front. I already earlier found that it's only the outer bushings that needs to be replaced. Front left side: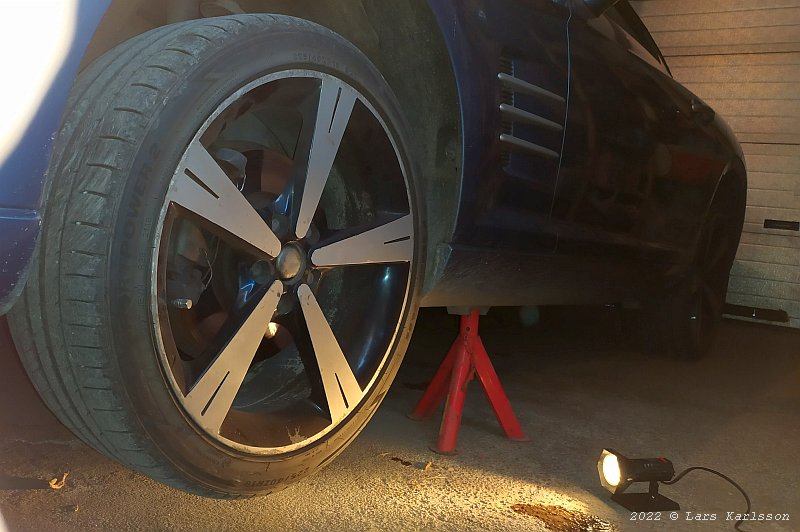
Both sides of the car must be lift up and placed on jack stands, it must be safe to work with the car ! The car is low and there isn't much space under here. 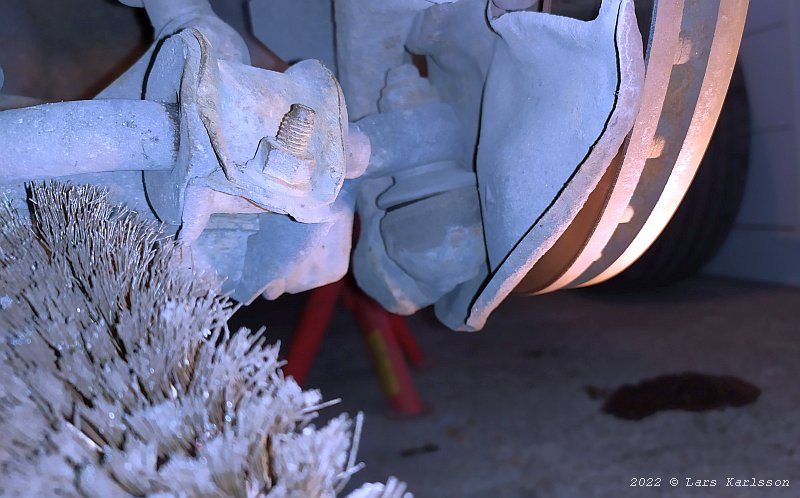
I use the steel brush on the bolts that hold the clamp around the rubber bushings and put some oil on the threads before I try to unscrewing the nut. 
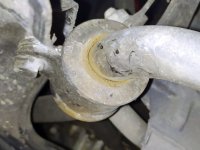
The gap between the bushing and the sway bar is clearly seen which shouldn't be there, it must be tight against each other. No problem to unscrewing the nut. 
There is another bolt on the backside, steel brush it and oil it. 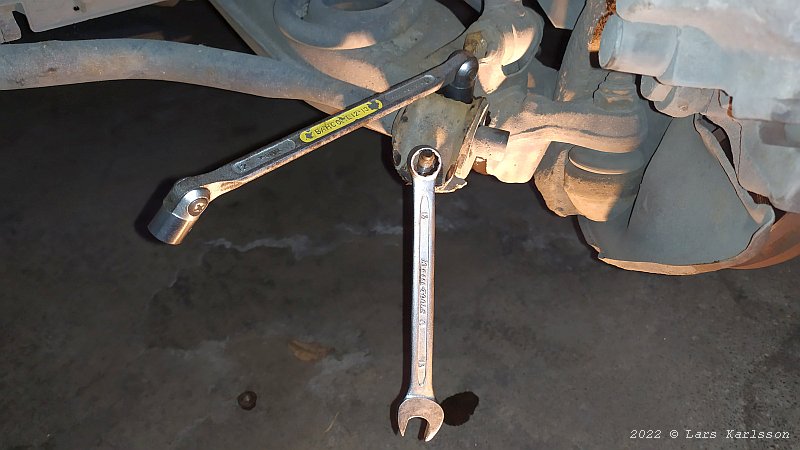
I use two kind of tools when unscrewing the nuts, both are of the size 13 mm. 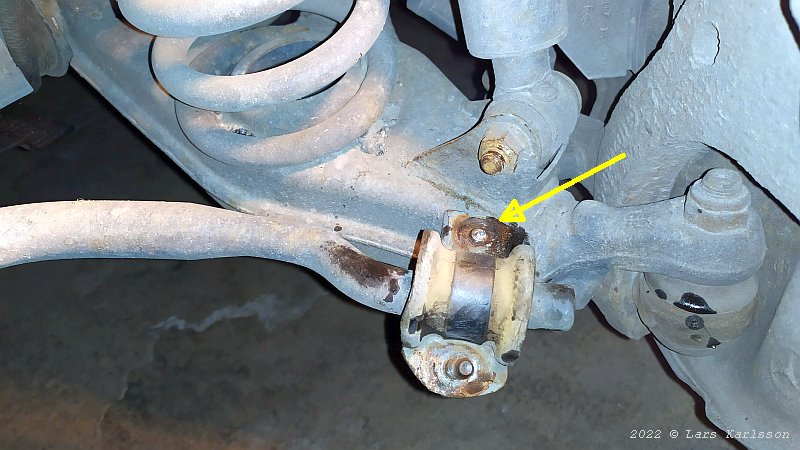
Disaster, the bolt broke off. The bolt is welded in the A-arm and I have to drill the remainings of the bolt out. 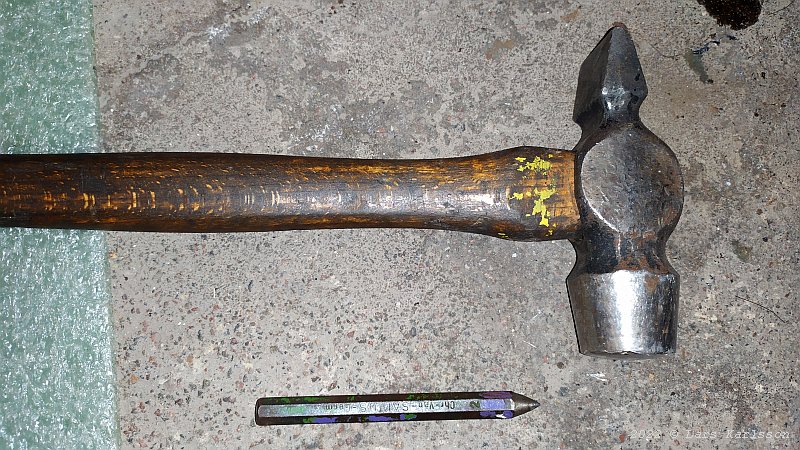
To get the drill centered on the bolt I use a core and a hammer. The bolt is a M8 and I first drill with a 4 mm drill and after that a 8 mm drill. It was relative easy to do. Front right side: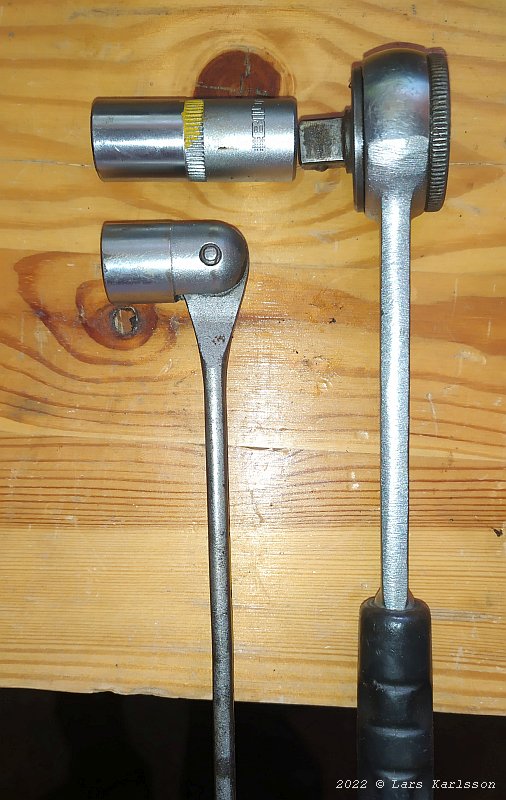
I shifted one of the tools to one with a deeper sleeve before I remove the clamp for the rubber bushing on the right side. 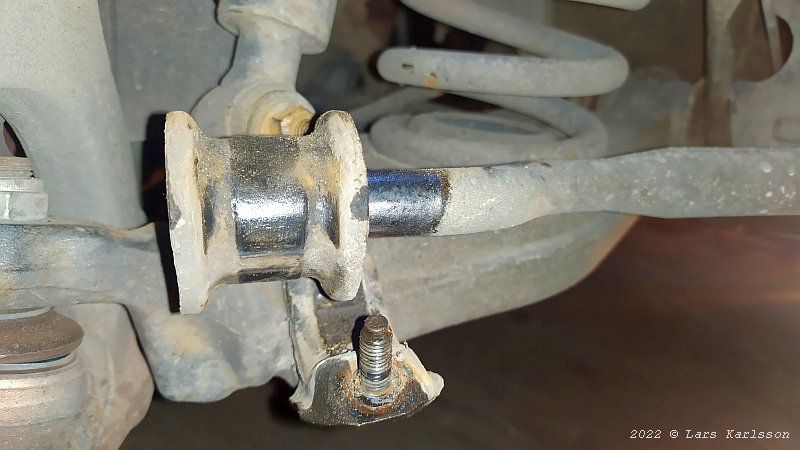
On this side I didn't snap off any bolt. The rubber bushing was easy to remove, no need of any tools. Note: if I hadn't lift up the car on both sides I couldn't have lifted the sway bar, it had been a strong force downwards. That's the sway bar's function. I go back to the left side and remove that rubber bushing too. 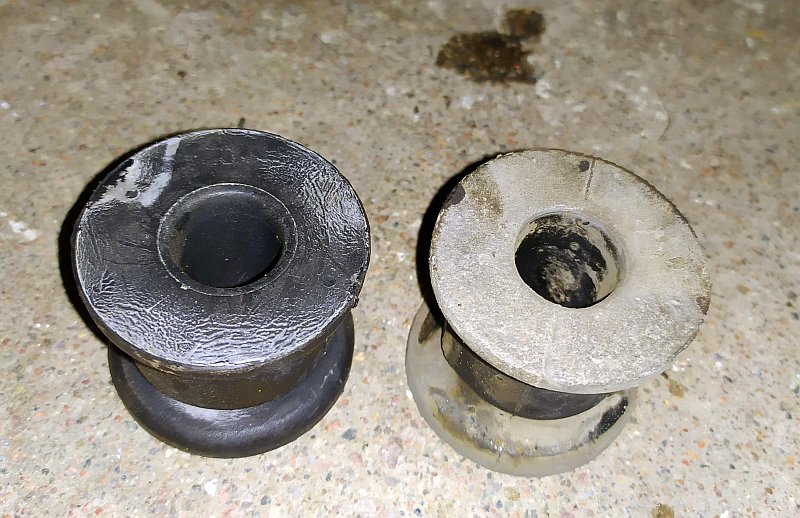
Now I can compare the new and old rubber bushings in detail, the new one has the correct dimensions. Front left side: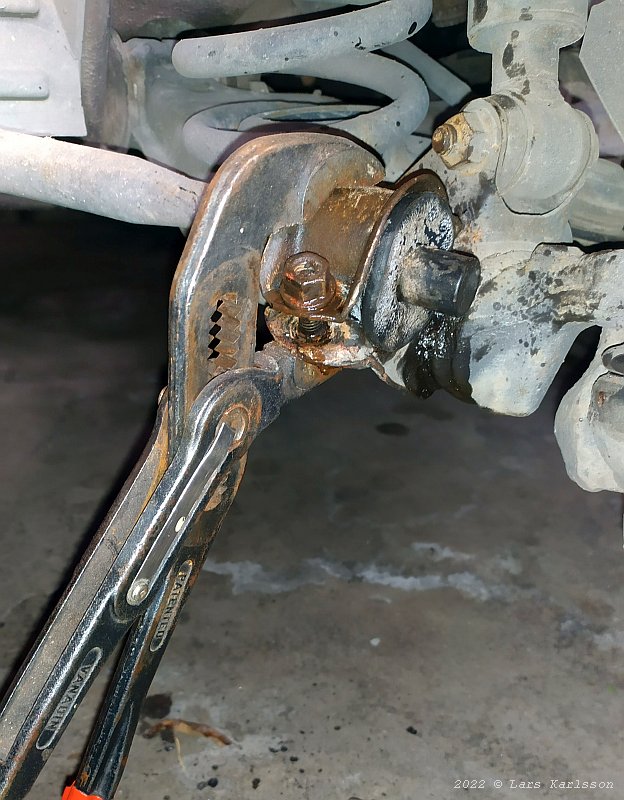
Now it's ready to install the new rubber bushings. I used an adjustable pliers to tighten the clamp so I can get the nuts on. Before tighten the nuts, install the rubber bushing on the other side and move it in correct position. I put some silicon grease on the rubber's surface and other grease on the bolt's threads. 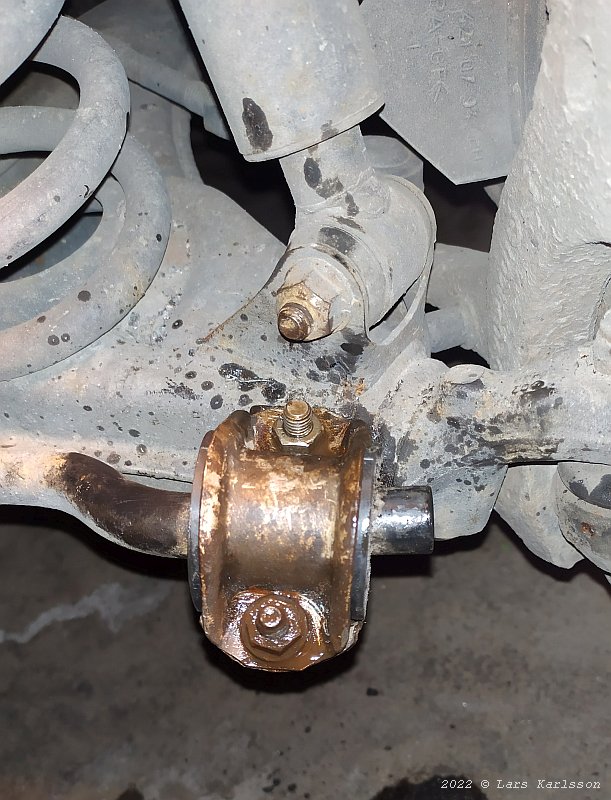
Finished and the new bolt that replace the snapped bolt is in place, looks good.
|
|