|
Advertisement / Annons: |
Home Theatre resurrection |
Content:
Note: |
7, Test with a Raspberry Pi4 as a HTPC:My old HTPC needs to be replaced by something more modern that can handle the 4K resolution on TV screens. One alternative can be the tiny Raspberry, the latest one, the Pi4 can handle two 4K outputs and has 4GB of RAM. It's very small and does not take very much power, the old HTPC takes about 120 Watt when running, the Raspberry Pi4 takes only 4 Watt. In one year we save some money and the equipment will be more GREEN and save the environment. 
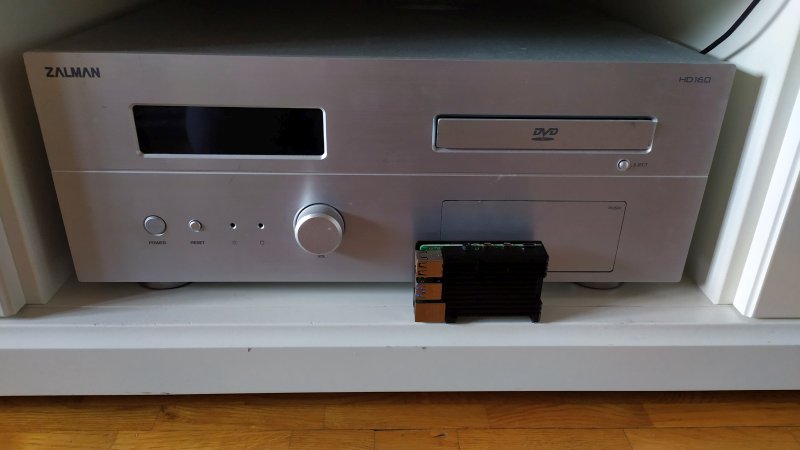
There is a huge difference in size when comparing the old HTPC with the new Raspberry HTPC. Passive cooling:
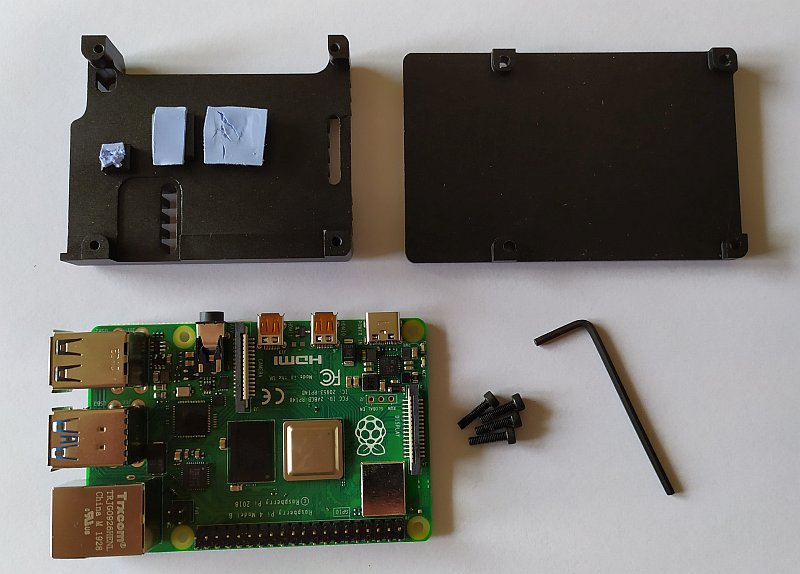
The new more power full Raspberry Pi4 get hotter. It need some cooling device. I bought the biggest passive cooler I could find, I don't want any extra noise from a fan. They grey stuff on the cooler is the thermal glue that connect the processor and others with the heat sink, very important. Compact format with lot of connections:
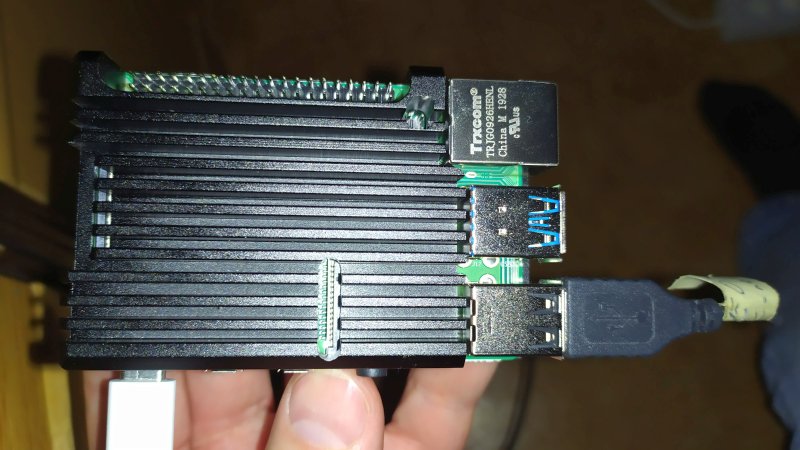
The Raspberry is really small, still it has two USB 2 ports and two USB 3 ports. It also have a Lan, Wifi, and two 4K microHDMI outputs. Very power full. My plan is to use it to see all Web TV channels we have in Sweden today. Many of them are free to view. If I want to look at traditional old TV casting there is a connector on top where you can add extra hardware, a TV receiver. But why, when you have Web TV that normally have better quality and you always have it online, no time schedule to wait for. What I have find out yet it's working as it should even at 4K material from YouTube and my own movies and photographs. It's very practical to maneuver, I use the same remote as the TV control, it communicates over the HDMI cable. Setup of the Raspberry:I followed the instructions from the Raspberry's homepage.
It's not difficult to do the base setup, but you can add a lot of other futures that maybe is a bit more difficult.
Update:
|
|