|
Advertisement / Annons: |
My astronomy project:
|
Content:
Related projects:
Note: |
11, Setup as a Hotspot and controlled from a pad:Until now I have controlled the Raspberry through the LAN network, I always had my equipment on the balcony when I learn how to use this Raspberry and its Linux technique. My bigger APO refractor will be connect that way, but my smaller setup with my HEQ5 mount and a Pentax 645 300 mm lens is thought to be portable. Then I setup the Raspberry as a hotspot and control it from a LapTop or a Pad or even from the Smartphone. You can follow these projects at these pages: Setup the Raspberry as a Hotspot: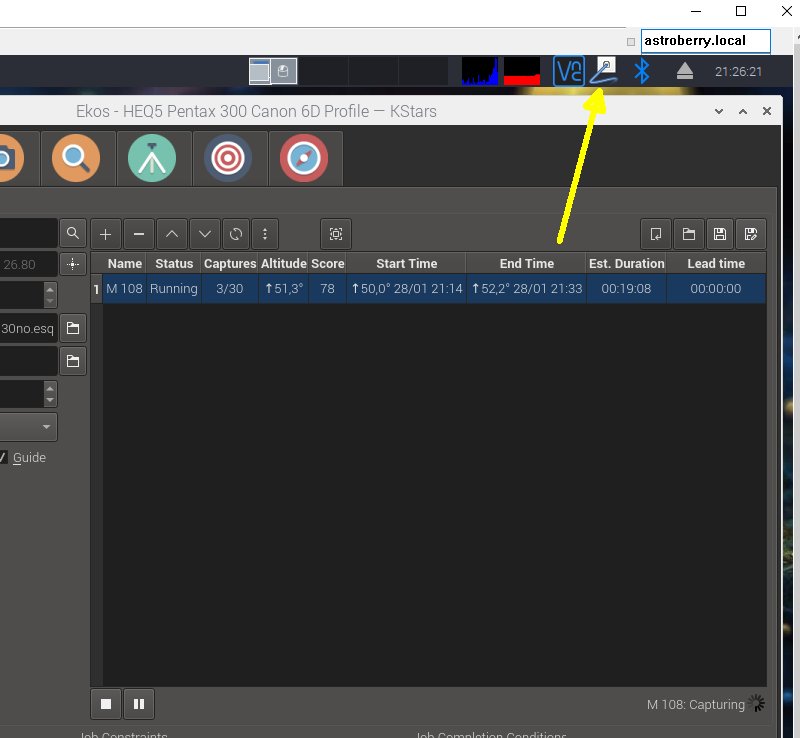
This isn't difficult because Astroberry is by default setup to work as a Hotspot. The SSID of it's Astroberry and by default the password is also Astroberry. In your web browser or even better VNC you set the IP address as astroberry.local. For me it doesn't always work, I have to set the IP address direct, by default in Hotspot mode the IP address is: 10.42.0.1. The image above show how it looks when connected with a LAN cable, wired connection. The WIFI icon only appear when connected wireless. 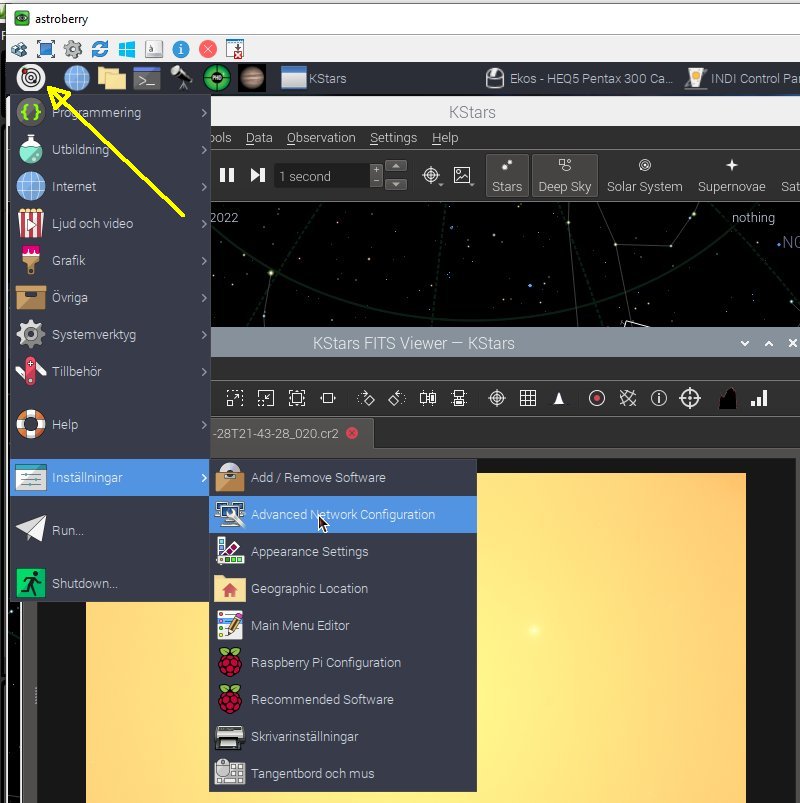
I want to change the name and password for my Raspberry Hotspot. It could be that we are many people on a star meeting with the same kind of equipment. It will be chaotic, need to be different SSID and passwords. Sorry, image text partly in Swedish. Go to Setup>Advanced Network Configuration. 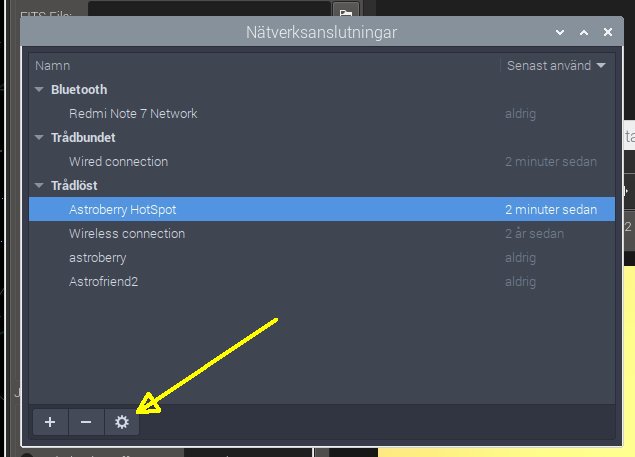
Highlight the Astroberry Hotspot, click on Setting icon below. 
Type in a new name at the SSID row. 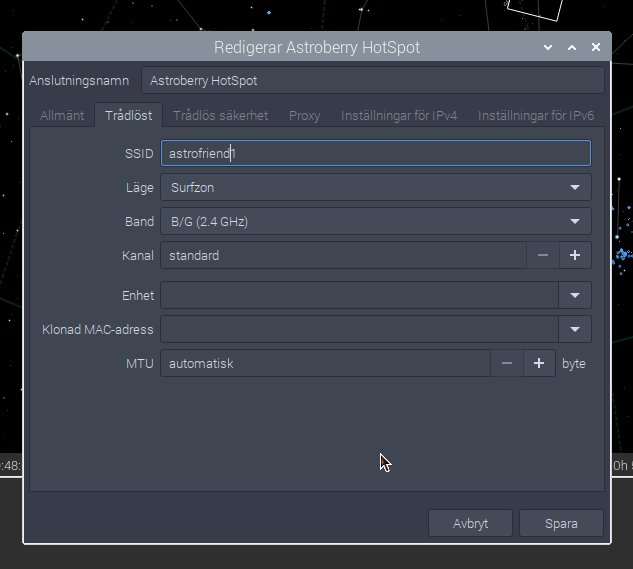
I gave the name astrofriend1. 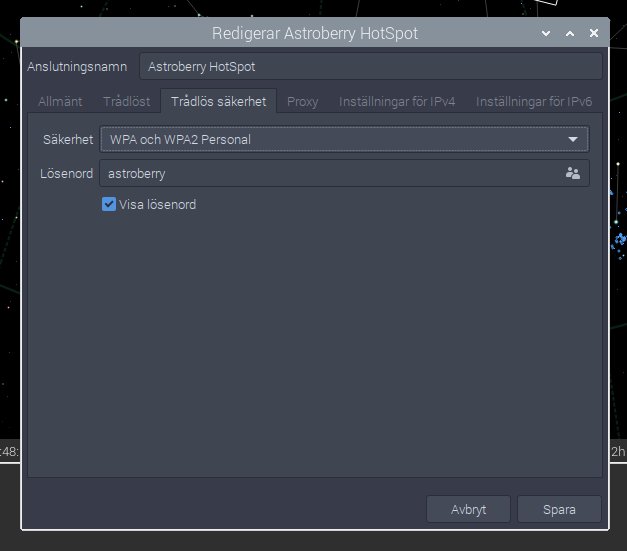
I also change the default password to my own. 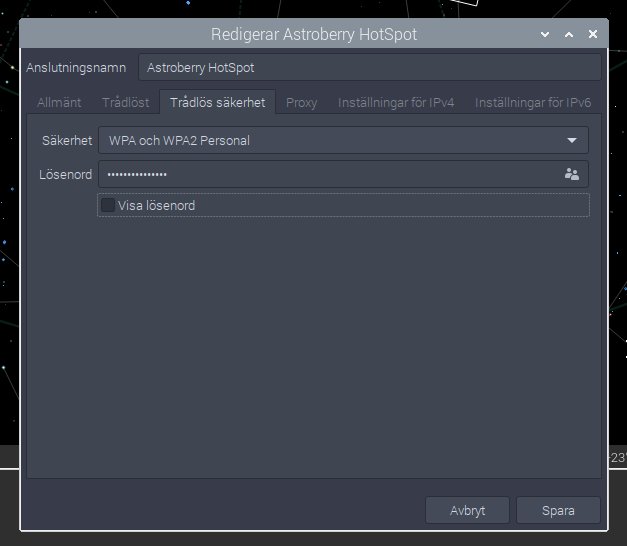
Save your new setting, before it take action I had to do a reboot of the Raspberry.
Note: 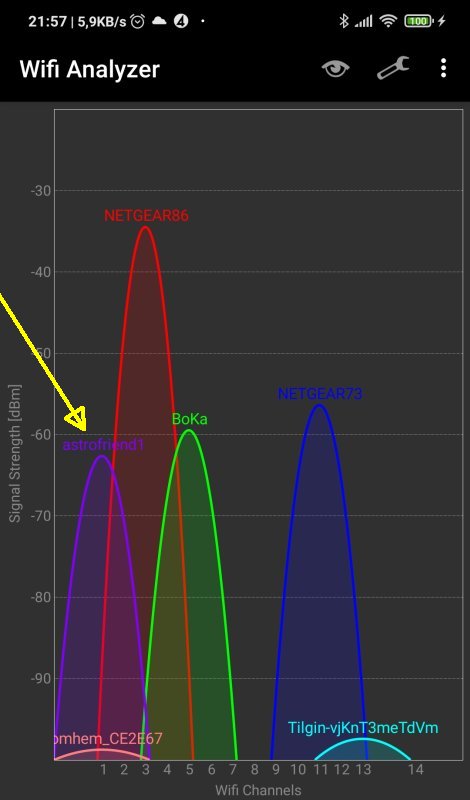
From my smartphone and the app WIFI Analyzer I check that the new WIFI channel astrofriend1 is there. Log in with a LapTop, Pad or Smartphone: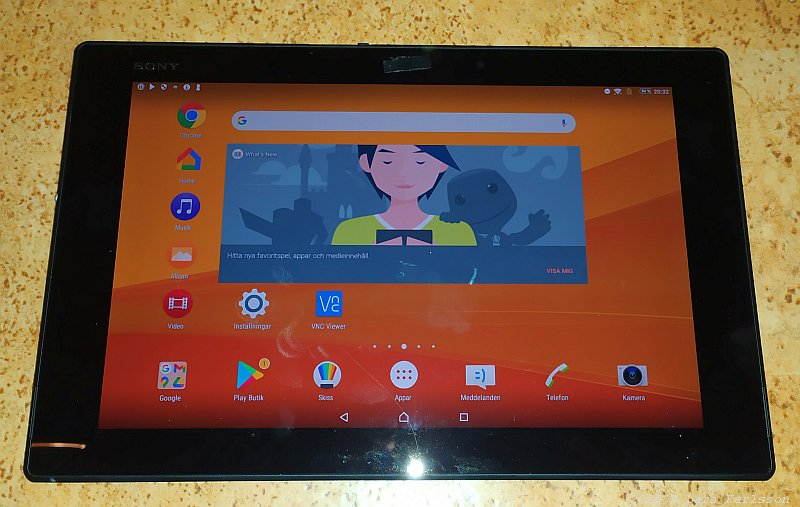
I plan to use my Pad to control the Raspberry out in the field. Very small but still a high resolution screen and the battery last for many hours and if needed I can charge it from my USB backup battery. Connect/Change WIFI network:Whatever device you use you must first connect it to the Hotspot, go to the setting and WIFI. Look after your Raspberry, in my case the new name "Astrofriend1". Connect to it and use your new password you created above. Now you are ready to connect to the Raspberry. Connect to Hotspot Raspberry:In your web browser or even better VNC you set the IP address as astroberry.local. For me it doesn't always work, I have to set the IP address direct, by default Raspberry in Hotspot mode have the IP address: 10.42.0.1. When you connect it will ask for the password. This isn't the new password, this is the default password Astroberry. 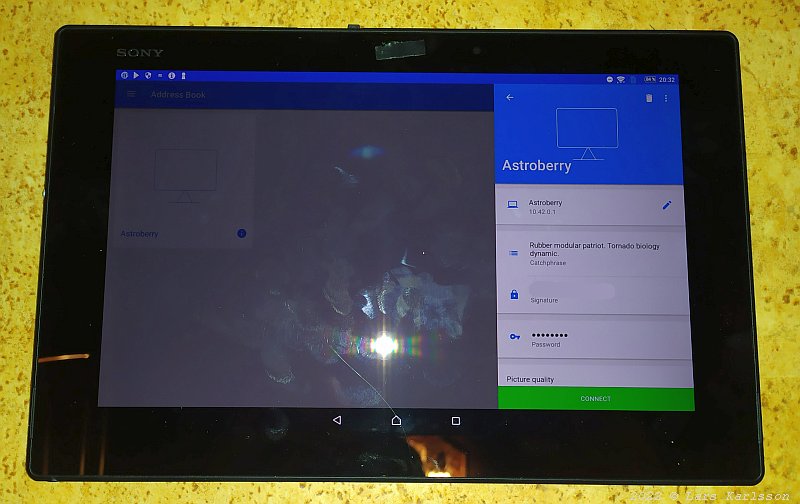
Setup VNC app for the default IP address of Raspberry or the the name of it: astroberry.local. I have found that VNC Viewer is the app that works best for me on my Android Smartphone and Pad. I have now tested the three devises I have and I made some comments here:
Pad handle: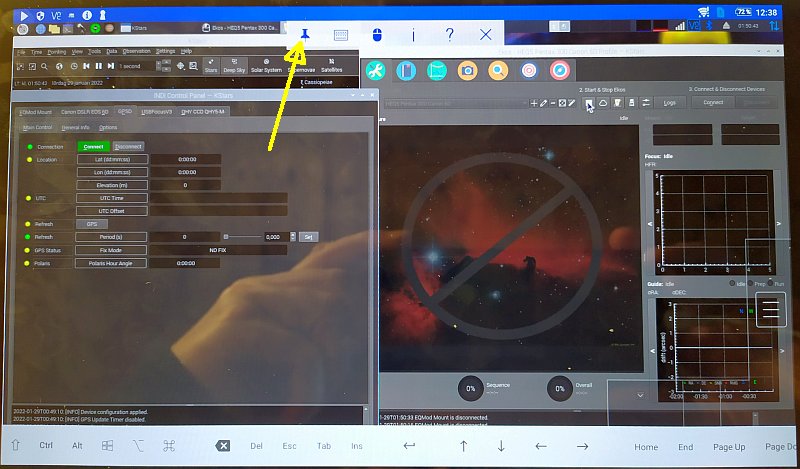
After some practice how to handle the Pad and KStars without a keyboard I got it to work very well. Most problem was it bring up the keyboard on the screen, the white list above. But once I for a glimpse get it up I can lock it on the screen with the pin, see arrow. I also tested to charge the Pad from my USB backup battery, it works that too.
|
|