|
Advertisement / Annons: |
3D CAD drawing:
|
Contents:
Note: |
5, Design of the L-bracket and 3D-print:Info:I don't know if I will have much use of this bracket. It's a L-shaped bracket that connects the Power terminal to the mini PC. But because it's easy to design and print it out I make one. The L-bracket: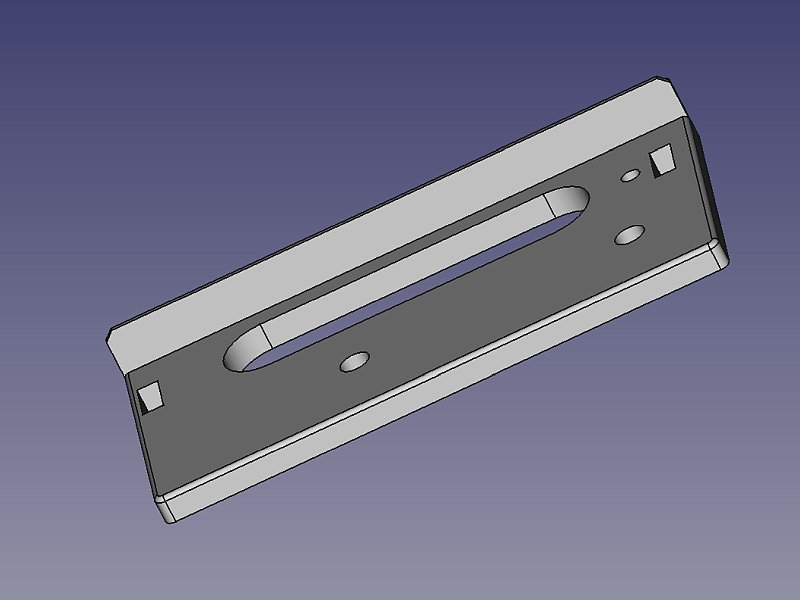
This L-bracket connect to the mini PC by two cylindrical guiders and one screw. At front, the two M6 screw holes that connect to the Power terminal. 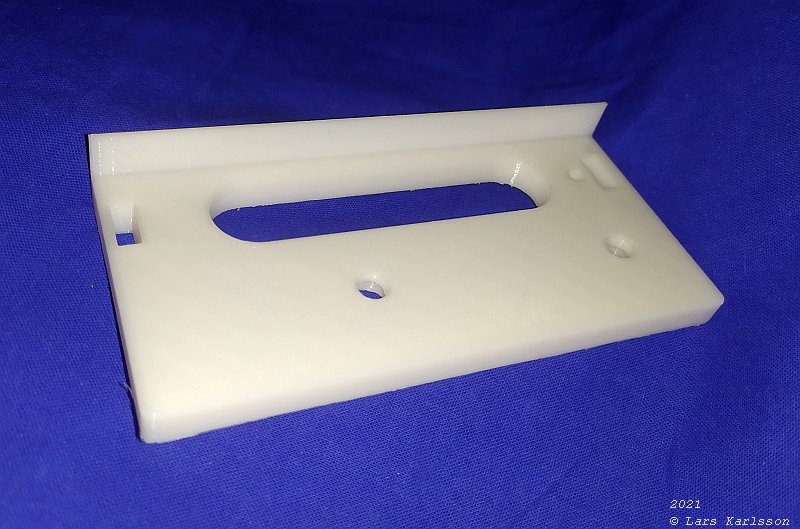
The upper side of the L-bracket that connect to mini PC and Power terminal. 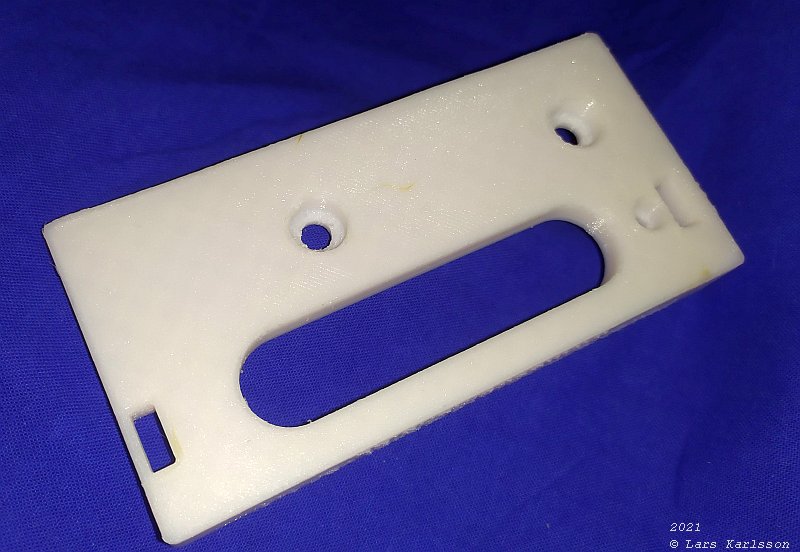
Bottom side with the guide and screw holes. The big elongated hole is for the cooling of the computer. 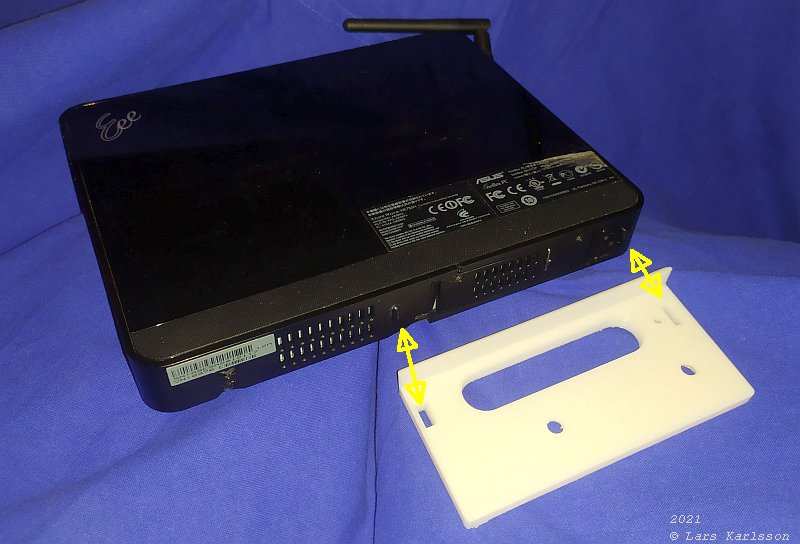
The two guide holes connect to the pads on PC. Only one tiny screw hold it to the PC, but not much I can do about it. The wall on the backside stabilized it. 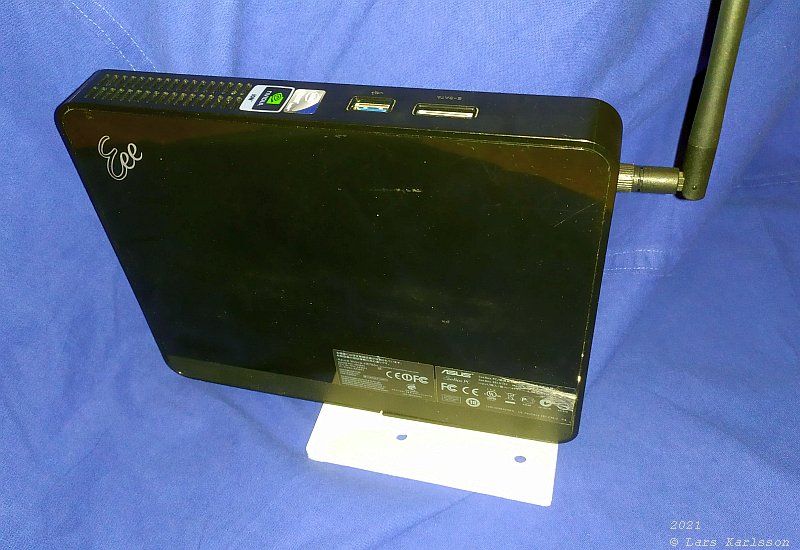
Mounted on the mini PC it act as a foot. 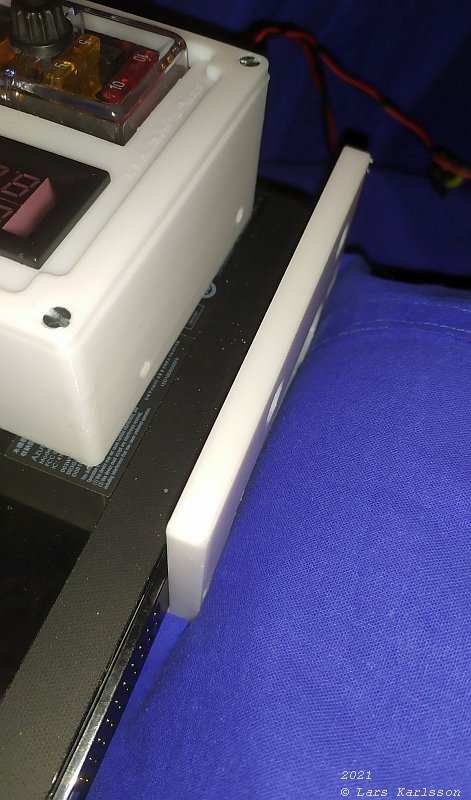
Next is to mount the Power terminal on the L-bracket. 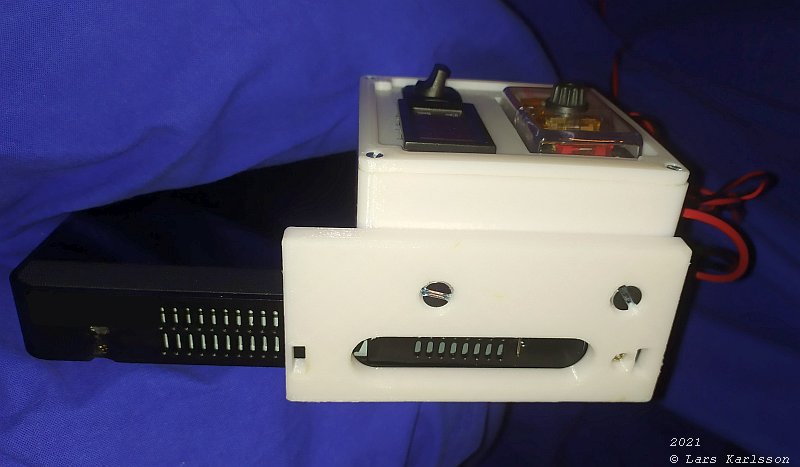
Two M6 screws hold it in place. I made the base 7 mm thick to let the screw heads sunk into it. 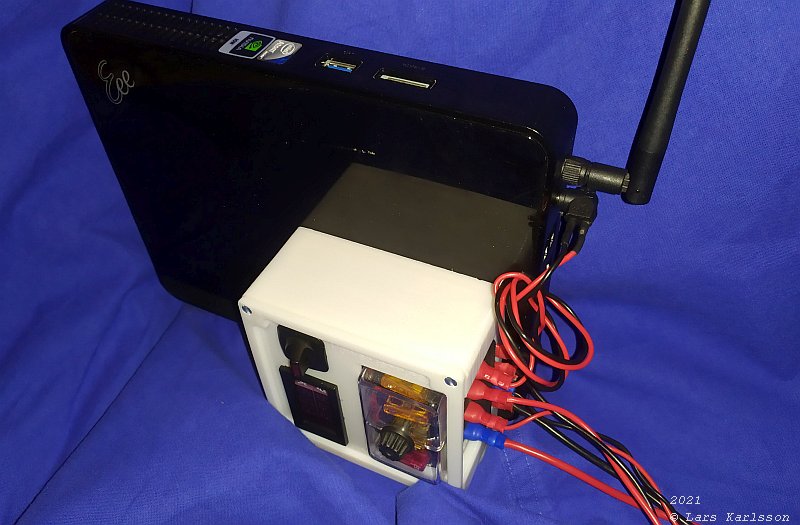
Finished. 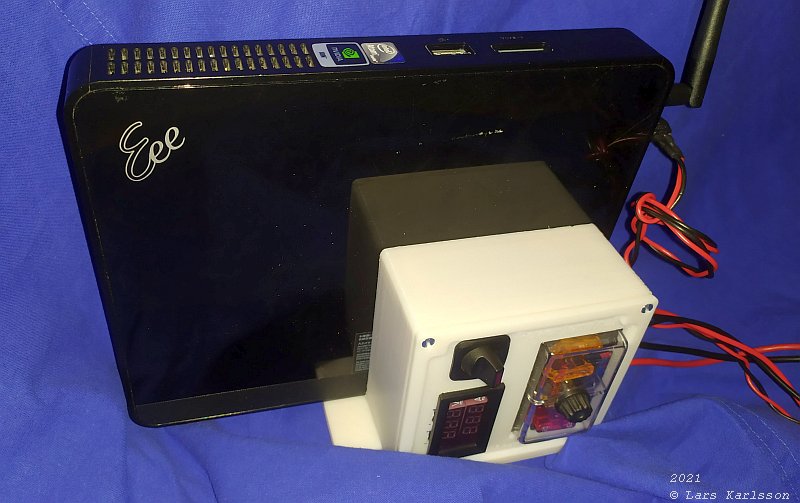
Much easier to handle in the dark now. 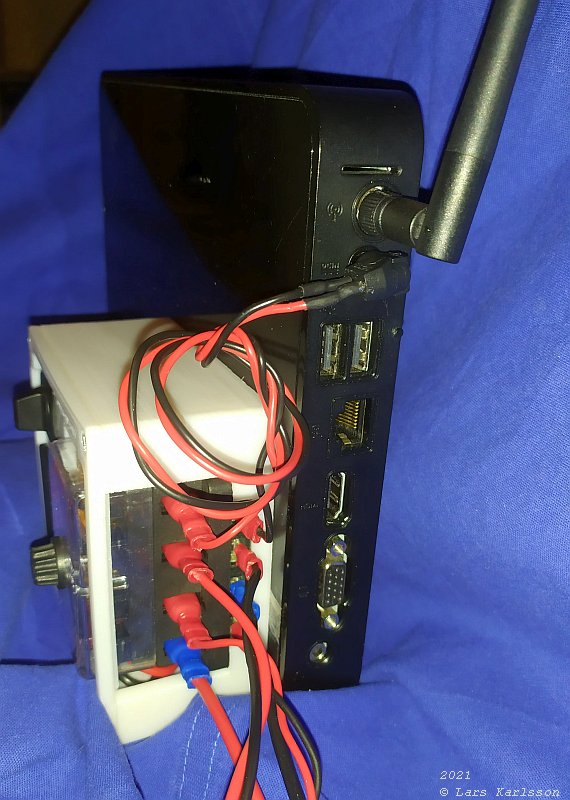
The mini PC is the Asus EeeBox EB1012P. It has 6 USB ports, four USB 2 and two USB 3. From the beginning I connect all my devices direct to it. Now with the new USB Hub mounted on the mount I only use one of the USB 3 port to connect to that USB Hub, and one more USB 2 port to the GPS receiver. The CPU is an Atom D510, 1.67 GHz and 2 GB RAM. It can handle up to 4GB RAM, some earlier owner has already installed 4GB RAM. It's on the limit to handle all task I have load it with. I have Windows 8 installed, from the beginning it was Windows 7. What I can do is to replace the HD with a SSD, then I also save some power. Overview of AUS EeeBox series:
Now the Power terminal is finished, what I can do in the future is if I find a more compact fuse terminal is to build a thinner enclosure. When out on the field I normally have this PC in the same thermo insulated box where I have the big car battery. The heat from the PC helps the battery to give some more power out in the cold. |
|
|